About This Dainty Life

I'm excited to announce that thisdaintylife.com is live!

Why "This Dainty Life"? Most of you started following my blog or social media accounts when I was "Essentially Bre". While I loved that name for awhile, I didn't feel it captured everything I want to represent in my blog. Essential oils are a large part of how Tim and I live a holistic, healthy life, but it's not the only topic I write about. I wanted a name that fit the breadth of topics I love, from DIY to life in general to food to essential oils. I needed something that's more all-encompassing. So I did some brainstorming and "Dainty" came to mind.

Dainty, adjective: delicate, small, graceful

Enter "This Dainty Life." Here's what this blog name means to me:

  1. Minimal. I want this blog to capture mine and my husband's journey to build a simple and minimalistic life. One of our goals is to continue getting rid of things we don't need. There are so many of these things. It's going to be an interesting journey, but I think one that will ultimately make us happier and freer.
  2. Handmade. Those who know me know I LOVE to craft. It brings me joy and I can't get enough of it. I make everything from home decor to handmade candles, soaps, lotions, and other health products that contribute to our holistic health lifestyle. My goal is to document as much of this as possible on This Dainty Life and share it with you all so you might be able to bring some of these wonderful projects into your own home.
  3. Health. I look at the word "dainty" and think "simple." I want the way my husband and I eat to reflect this idea of going back to our roots - buy organic where we can afford to and cook with lots of fruits, veggies, and meat. While I'm inspired by those who eat a Paleo diet, I think we'll probably not be quite that strict with ourselves. I am an avid baker, after all ;) But this category isn't just limited to how we eat; it also encompasses what we put on our bodies (like the lotions and soaps mentioned above) and how we treat our bodies (getting into a consistent workout routine). I'll provide updates along the way.
  4. Growth. My husband and I are building the foundation for the rest of our lives right now (what a crazy but exciting thought!). I want this blog to grow with me, with us, and with our eventually growing family (not pregnant yet, mom! ;)). In all seriousness, though, this blog is going to hold some precious memories for us and I can't wait to capture all of those sweet little moments with our future kiddos.
  5. Whole. Life is delicate. I want this blog to represent living our lives together to their fullest potential. From adventuring more to connecting even more with our faith to truly living in the present, we don't want to miss a thing this great life has to offer. And we'll, of course, document it along the way.

Thank you so much for tagging along with us through this journey. It's going to be a great ride!


DIY // Salt Dough Snowflake Garland

Merry Christmas Eve! I hope you're enjoying some special family time this weekend. Since moving, we haven't been able to spend Christmas with our immediate families. It's been a few years since we moved to Portland, so Christmas has just been the two of us since then. It's definitely been nice being able to spend quality Christmas time just the two of us, but there's something to be said about being surrounded by siblings, parents, and our nieces. 

This year we're getting to do something a little different. Tim's cousin just moved (like two weeks ago!) to the Portland area (about an hour outside of the city), so we're taking advantage of having family in the same state and having dinner with them tomorrow. We're so excited!

Today I wanted to share another holiday DIY with you all - this super cute salt dough snowflake garland. The best part? It's easy! Here are the supplies you'll need:

  • 1 cup salt
  • 1 cup flour
  • 1/2 cup warm water
  • Snowflake cookie cutter (I got mine with a holiday set at Michael's)
  • Twine (Michael's again!)

Directions:

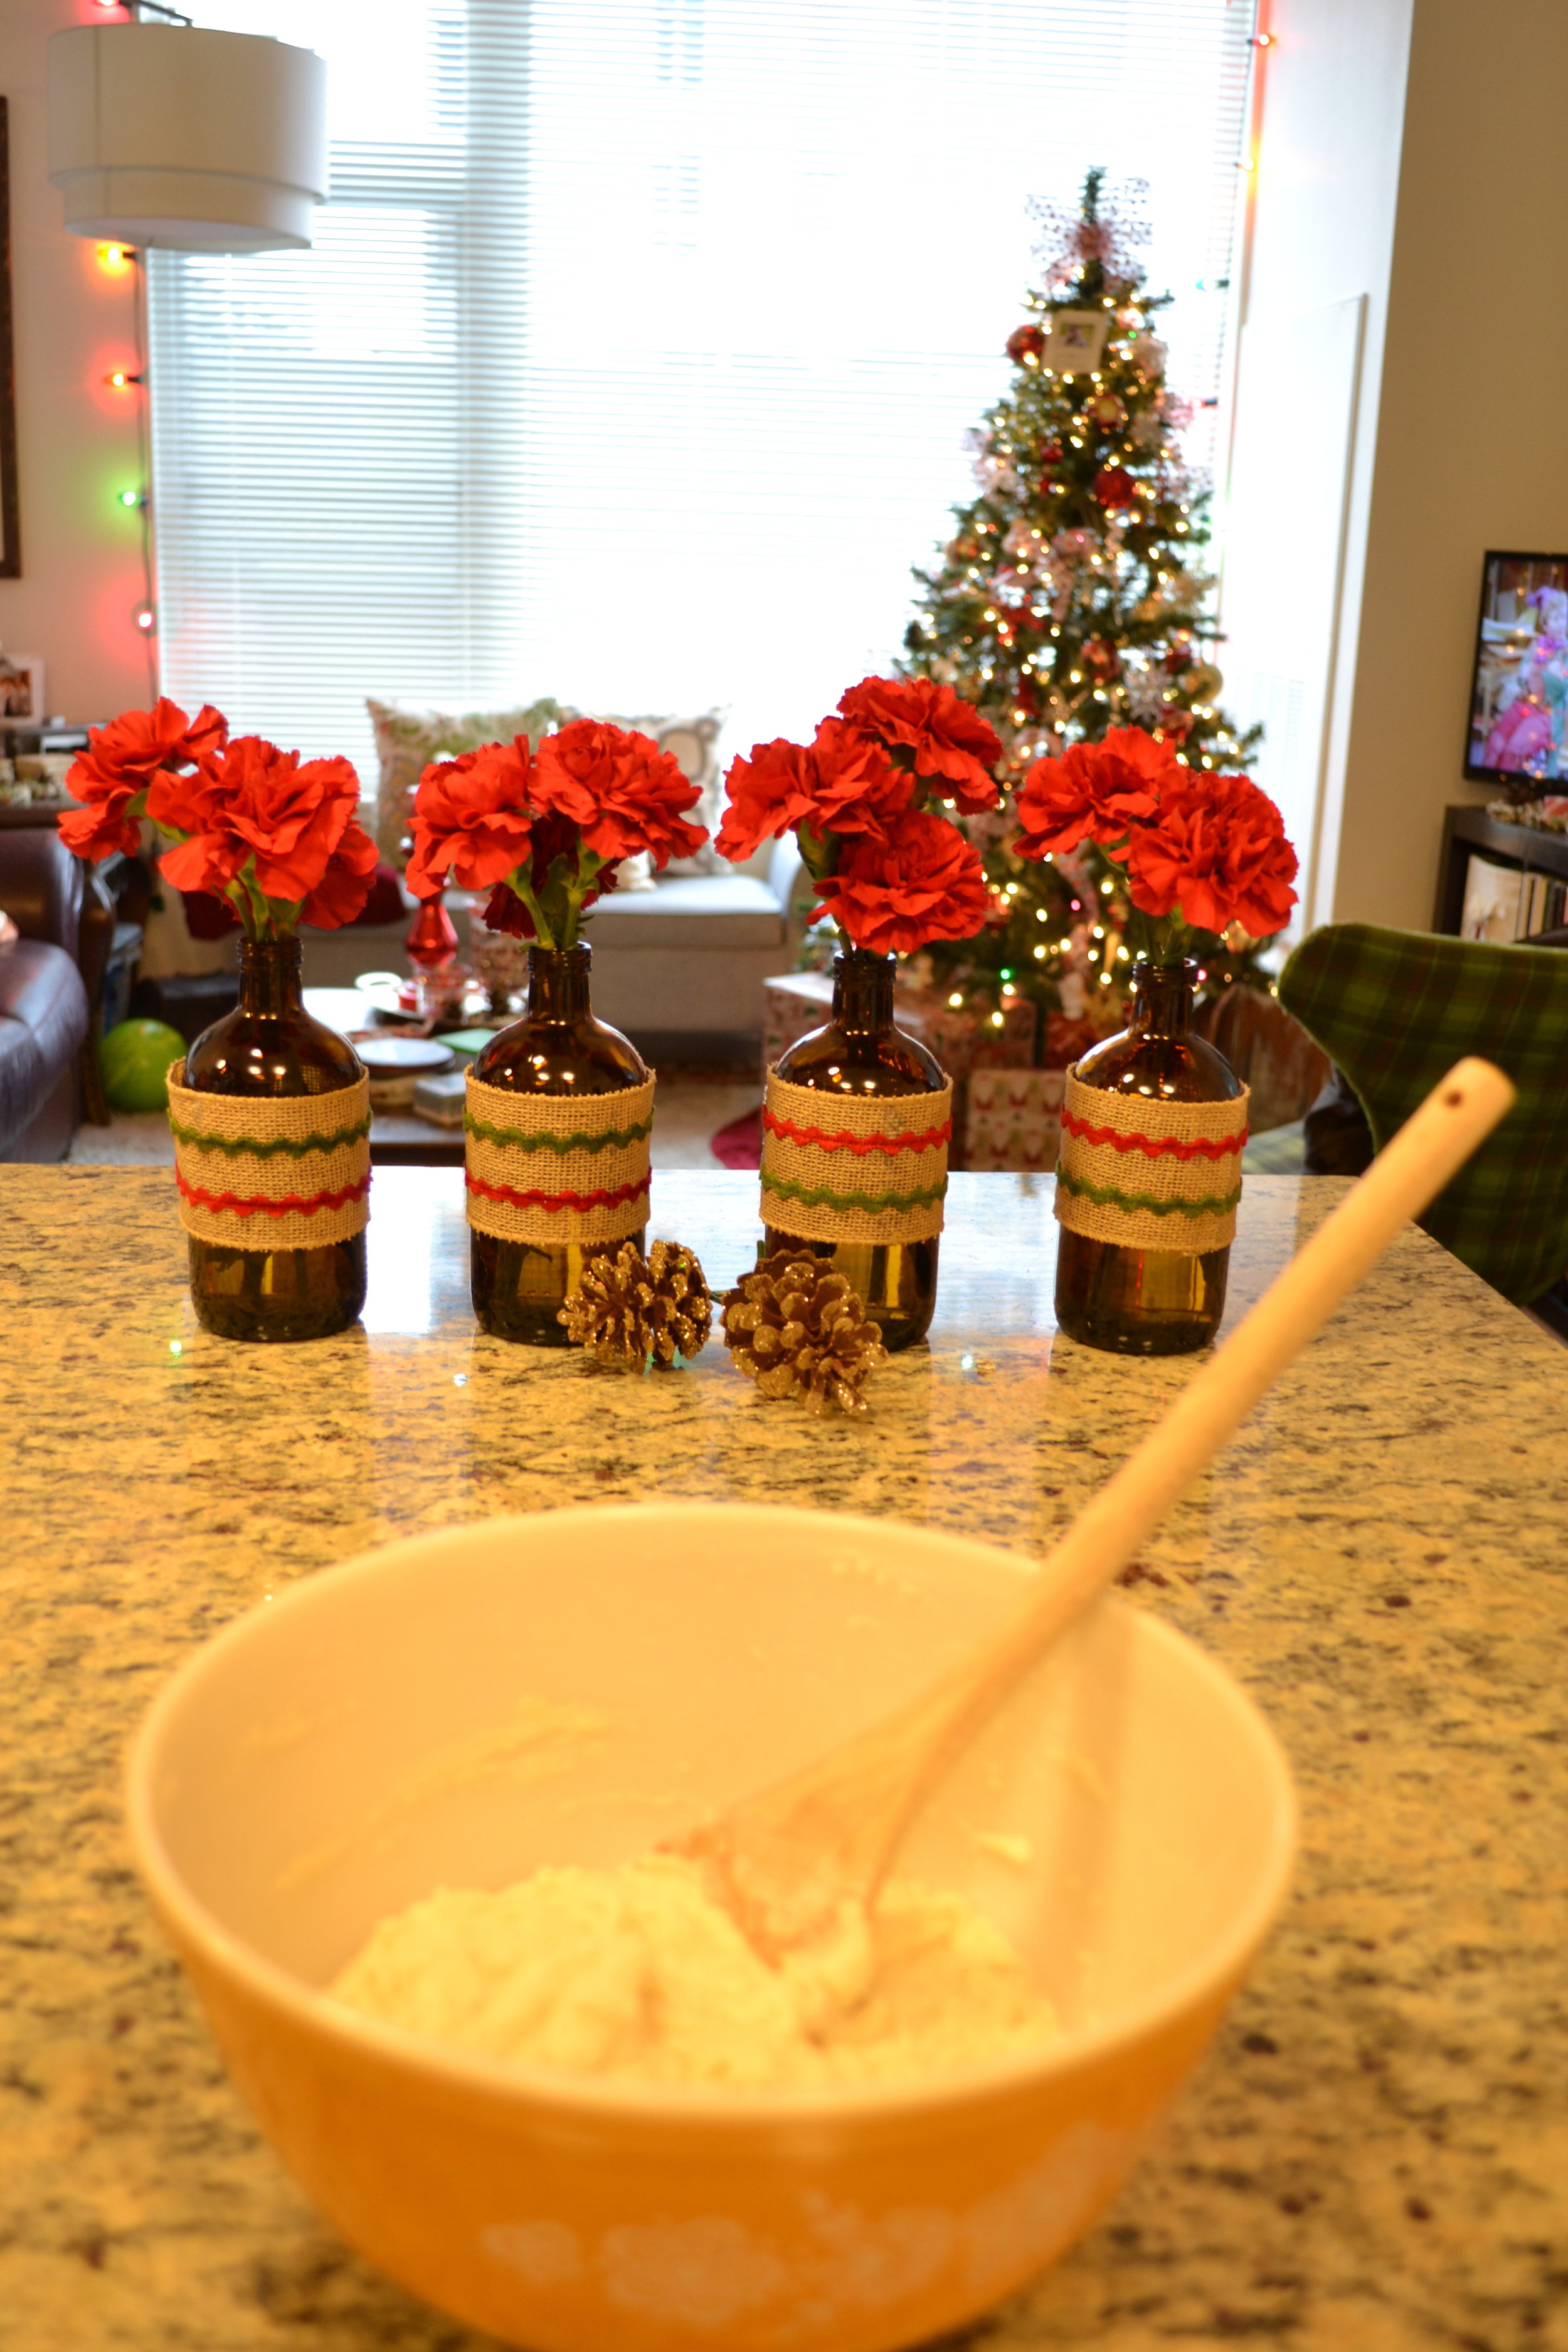
  1. Mix the salt and flour together
  2. Pour warm water over the mixture while stirring
  3. Continue stirring until solid dough forms (Hint: if it feels too dry, you're probably still on the right track. Mine was almost falling apart, but the snowflakes turned out perfectly!)
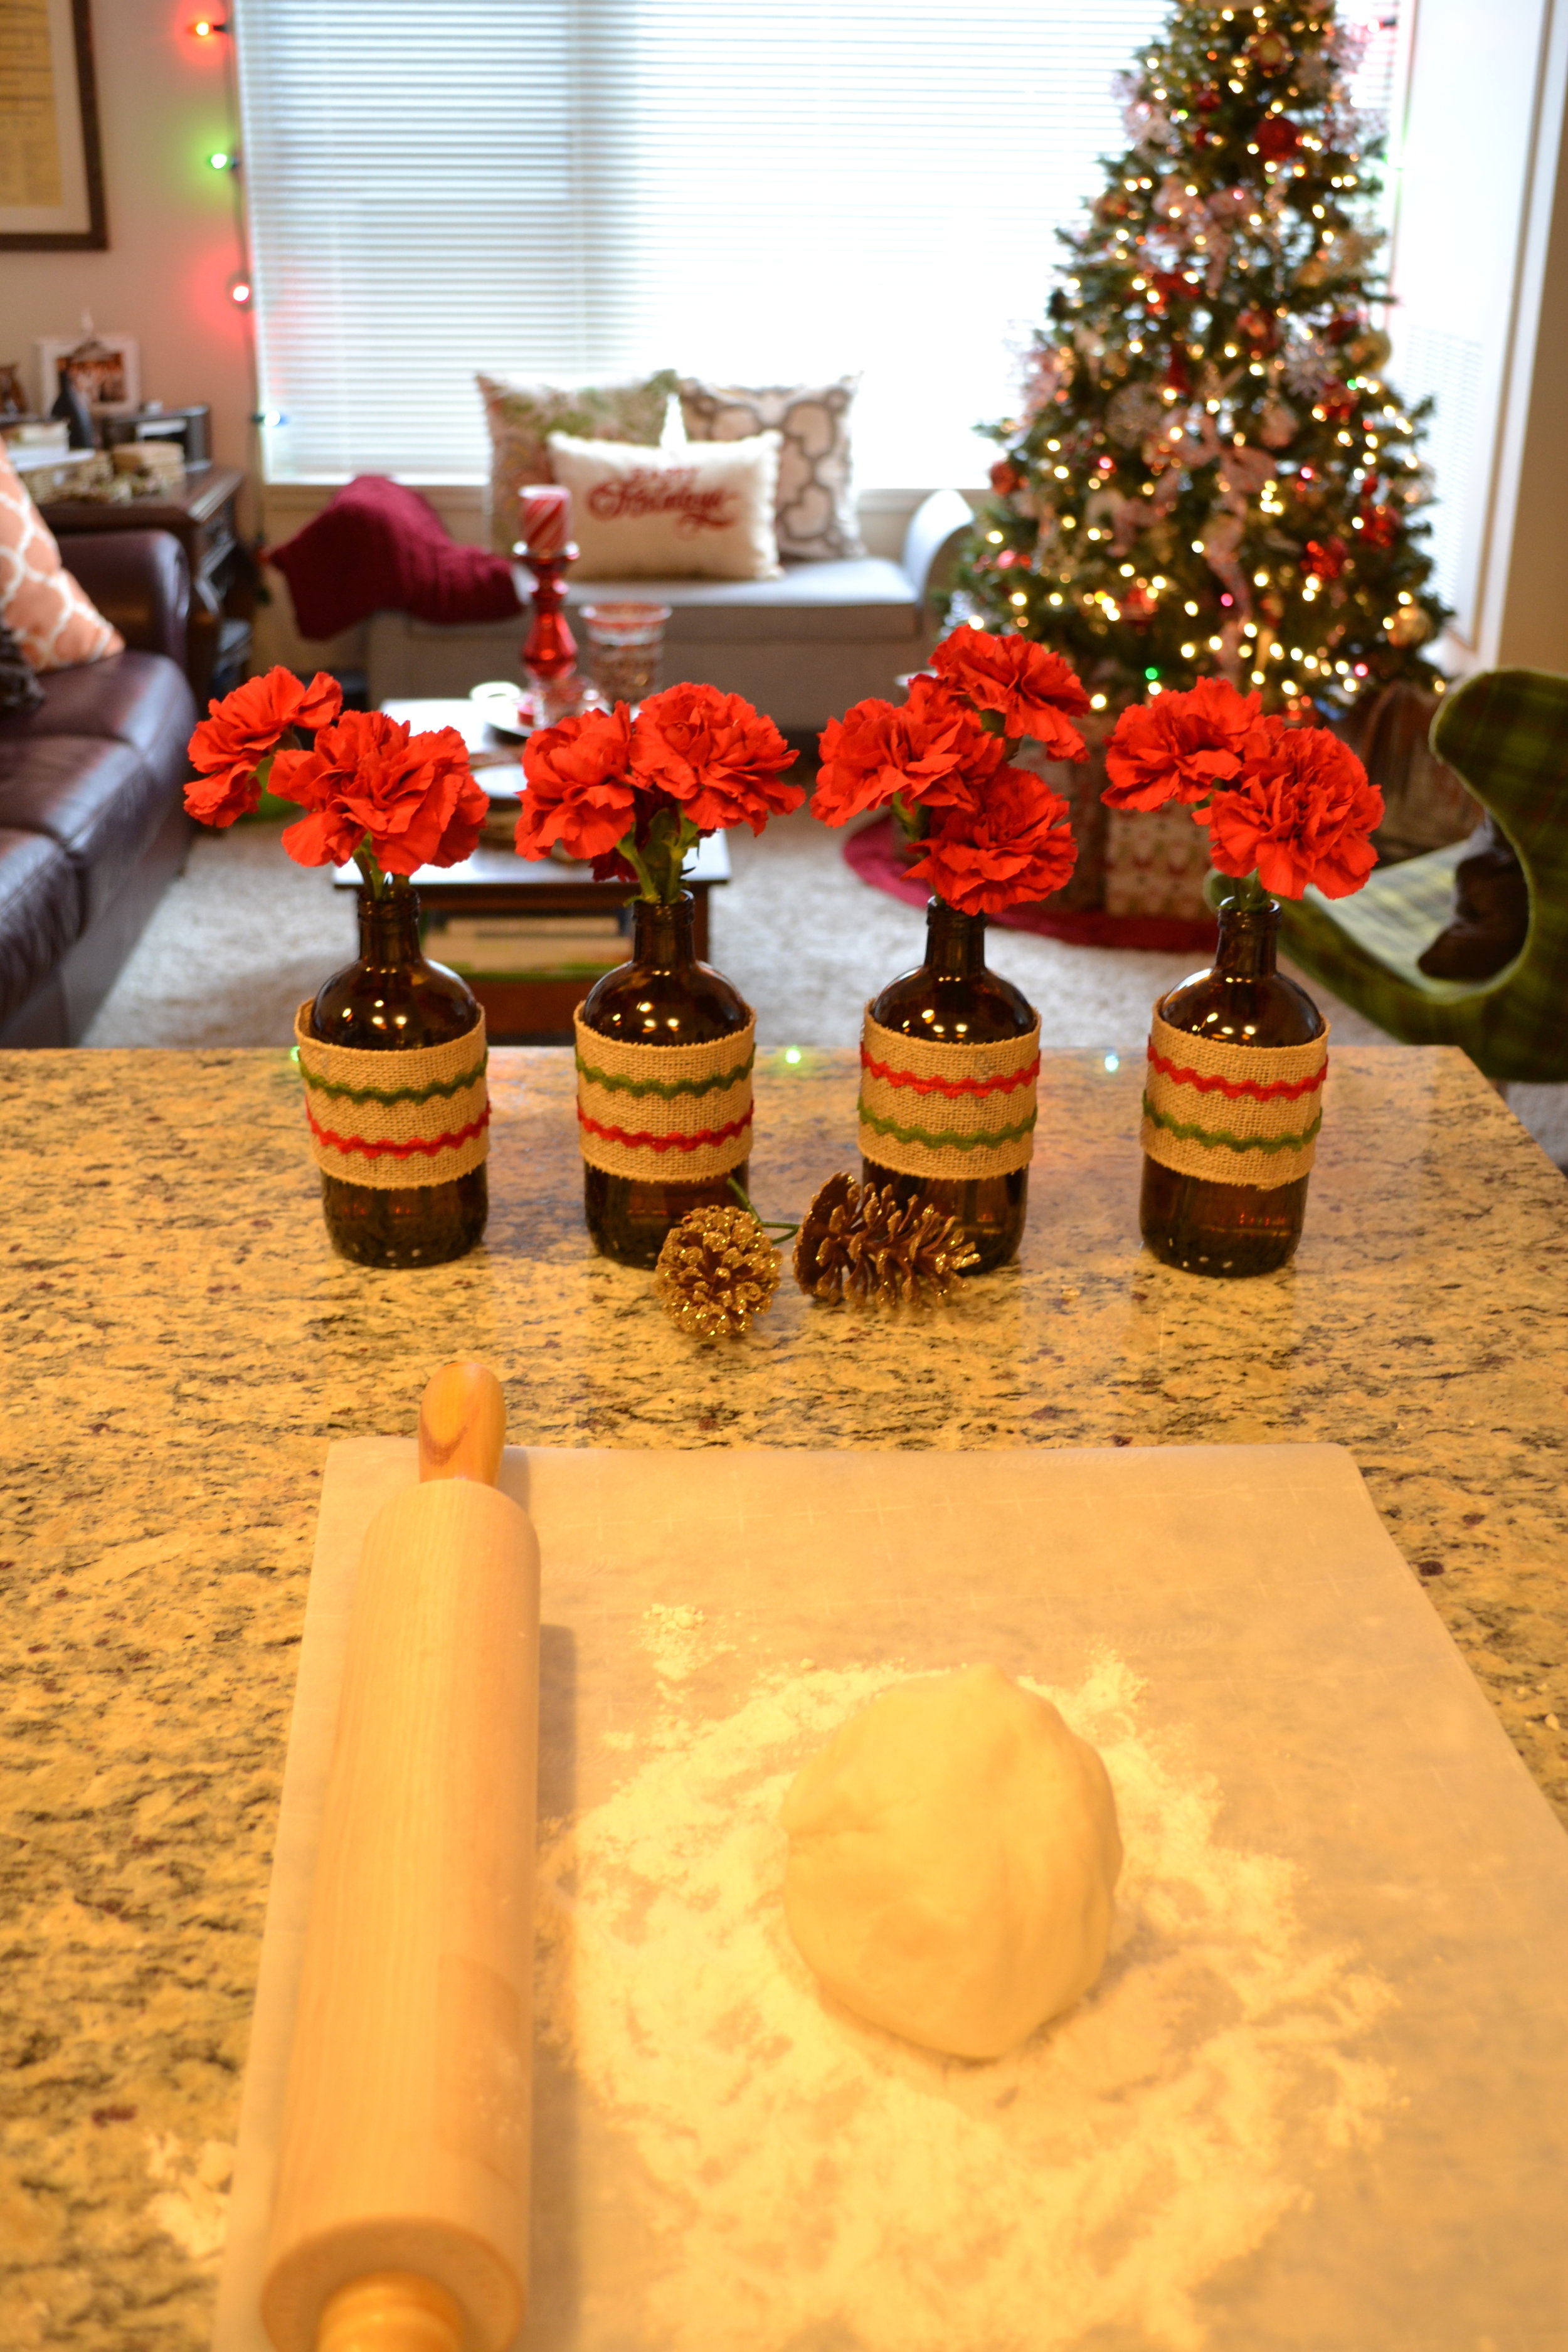
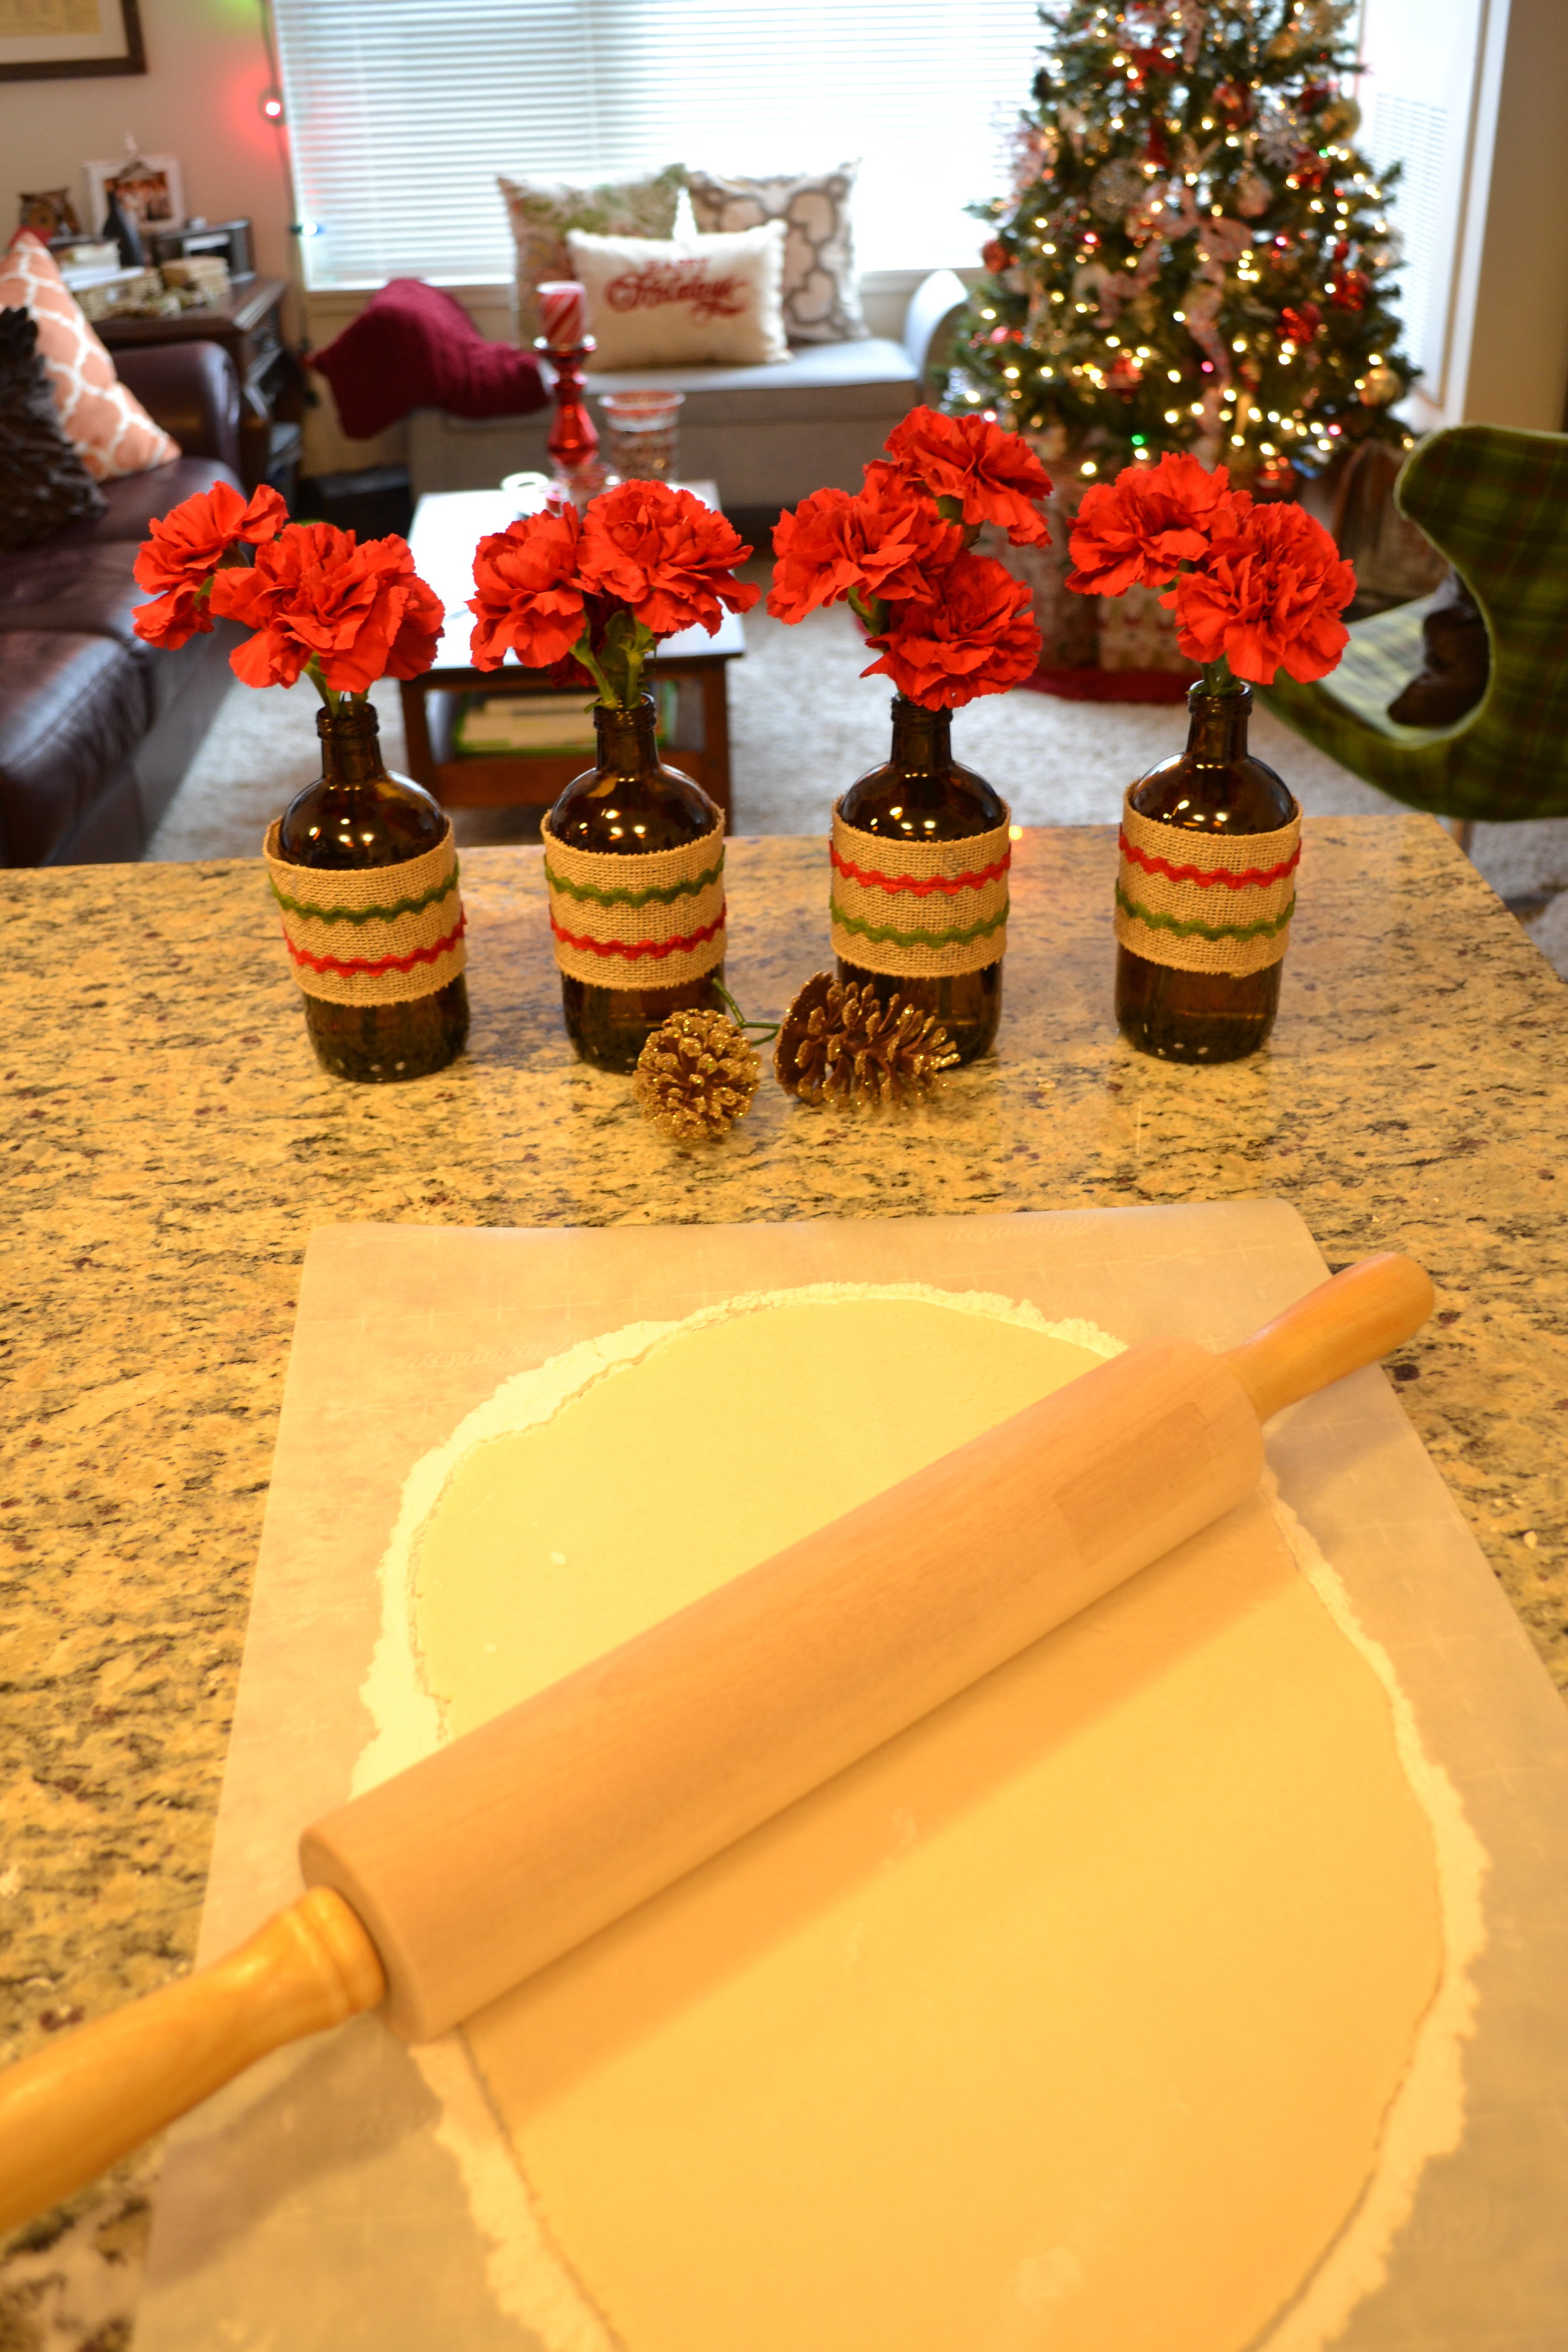
  4. Roll out the dough on flour-dusted parchment paper
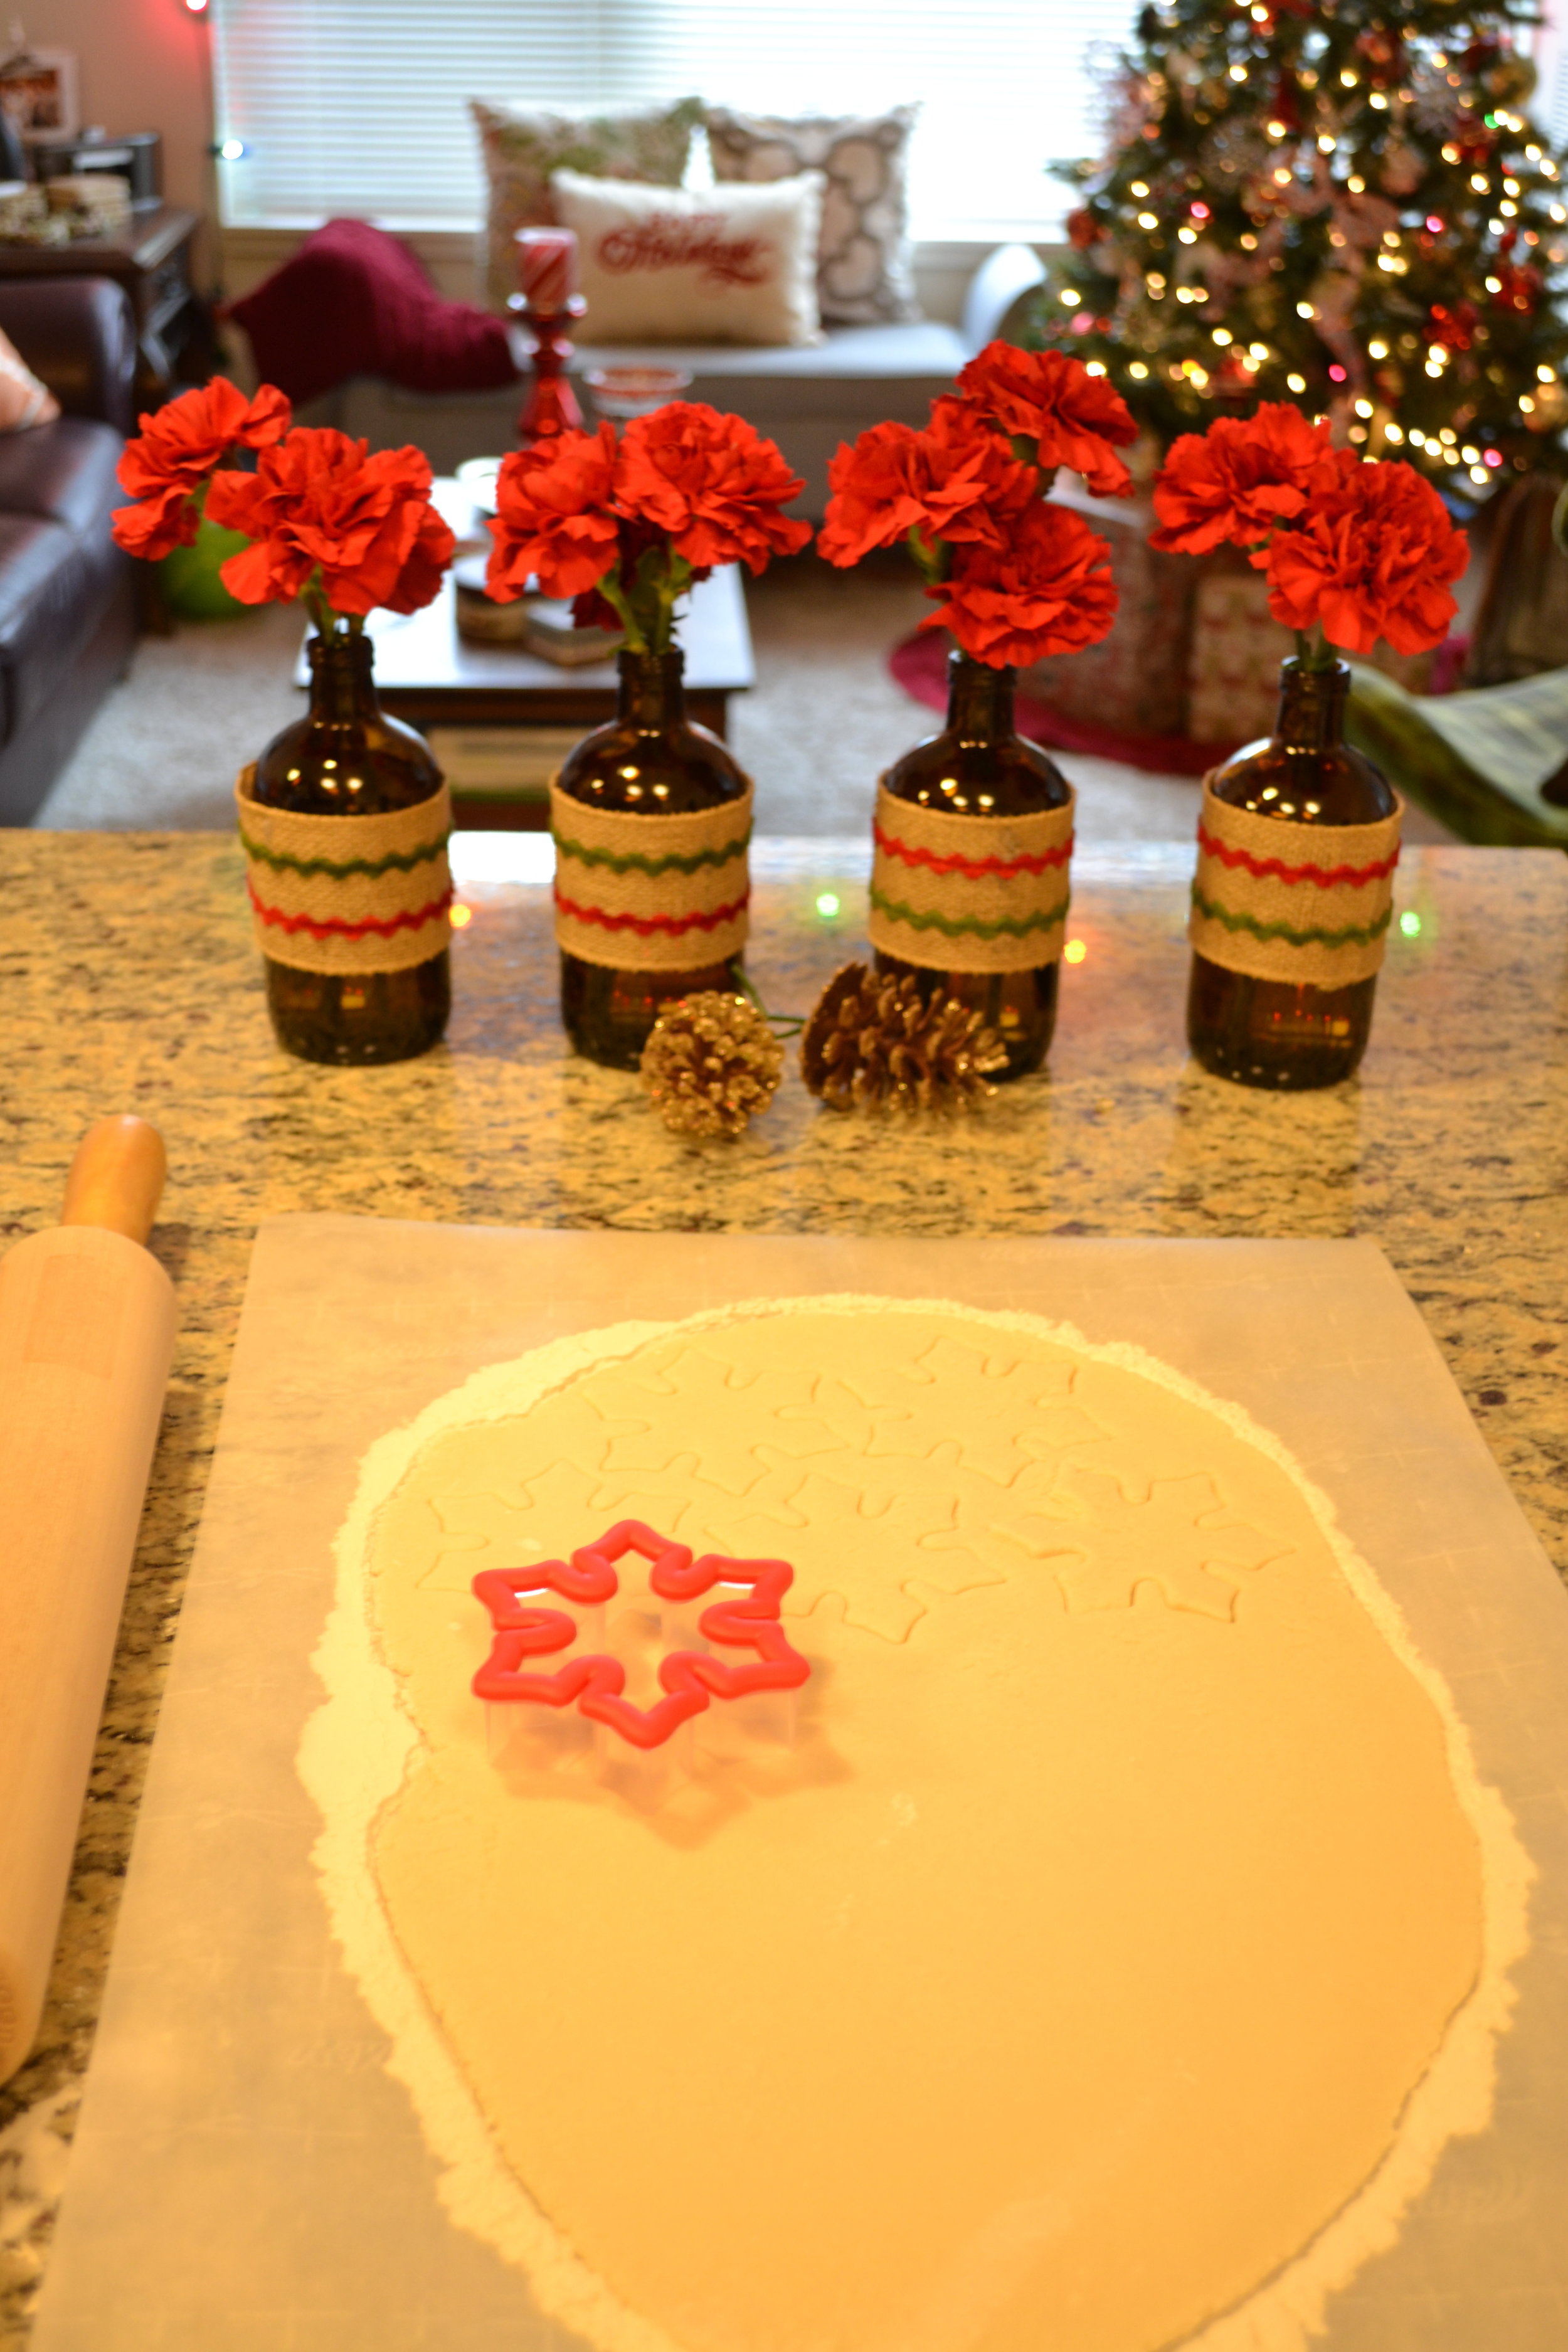
  5. Use the snowflake cookie cutter to create at least 9 snowflakes
  6. Use a straw to poke small holes on one of their edges so you can string twine through them
  7. Remove the excess dough, but leave the snowflakes on the parchment paper
  8. Let sit for the day (I let mine sit for about 8 hours or so and they were fairly hard by then)
  9. Place in oven on 150 degrees for about 2 to 2 1/2 hours. All ovens are different, so just make sure to peek in on them every now and then. I checked in on mine about every 30 minutes or so to make sure they weren't burning.
  10. String them with twine and hang!

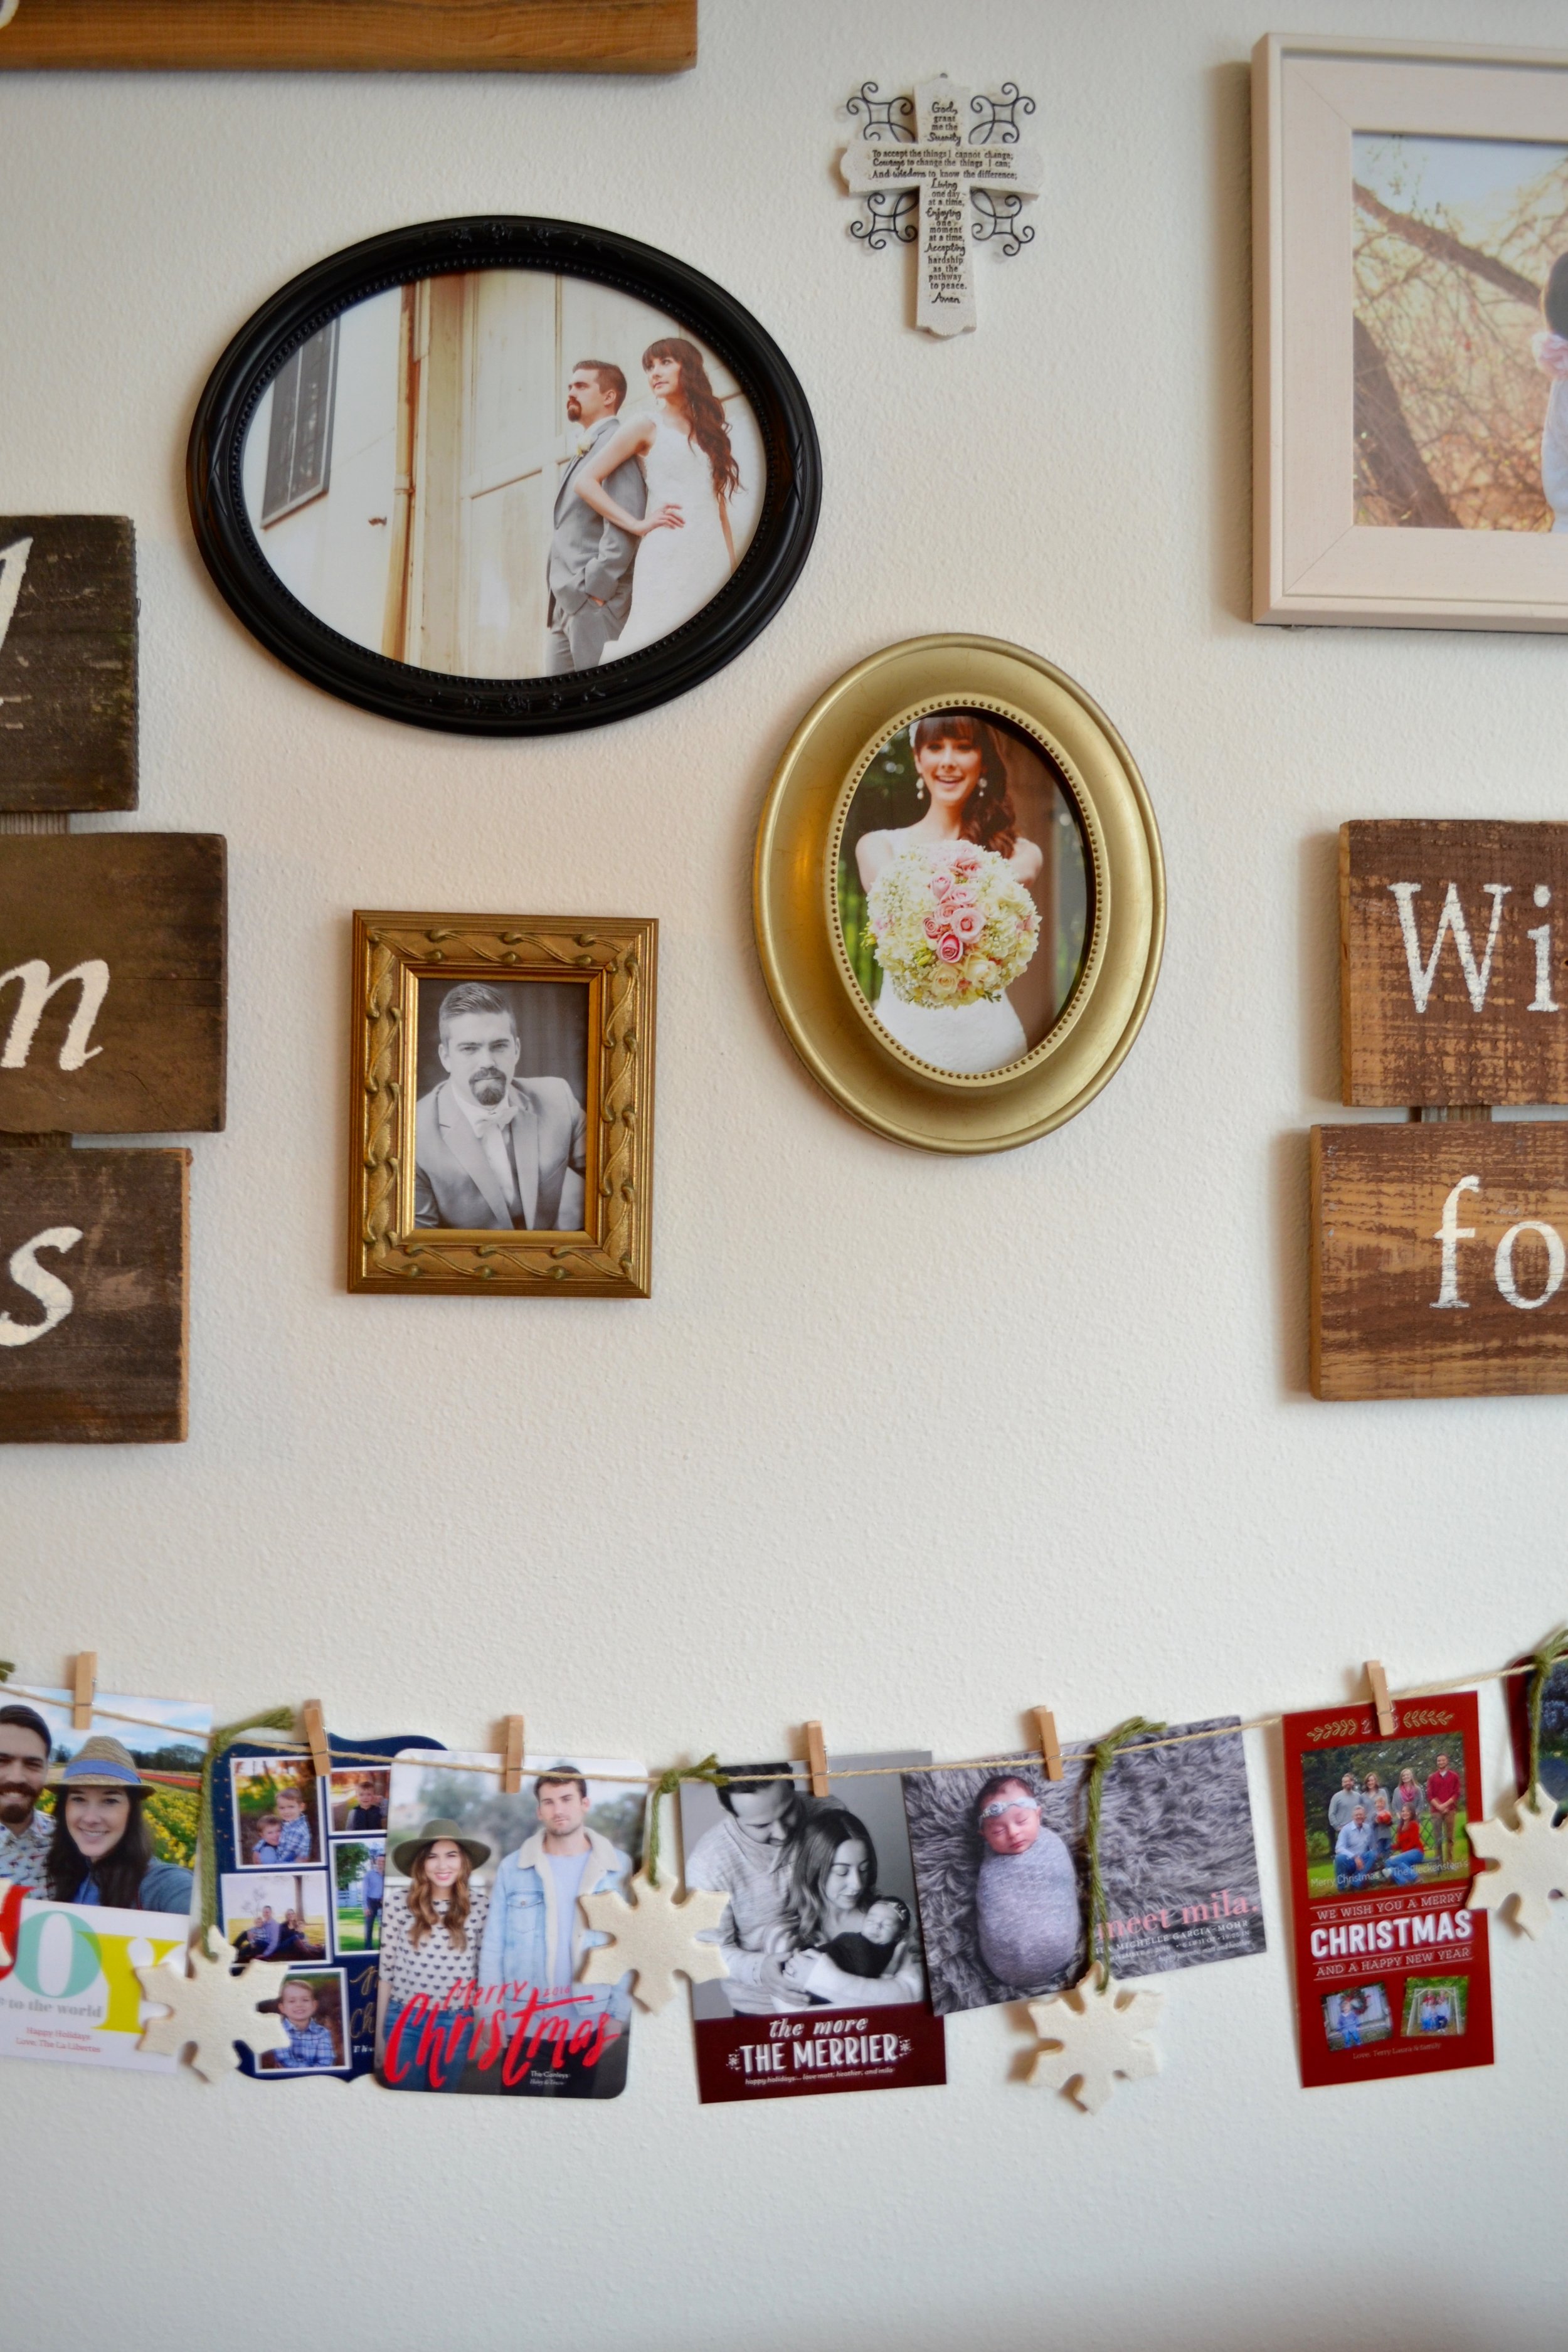
I wanted the snowflakes to hang at different lengths, so I tied them to the regular twine with green twine to give it a pop of color. We don't have a fireplace or mantle in our apartment, so we hung it below our gallery wall and decided to attach the Christmas cards we received to it. I love how it turned out! I think it's the perfect way to show off our beautiful family and friends <3 (If you sent us a card and it's not displayed, it's not because we don't love you! ;) We just didn't receive it before I took these photos. We've gotten some really cute ones since then that are now displayed as well).

Wishing you and yours a truly wonderful Christmas. We're off to church and Christmas light-seeing and we'll finish the night in our Christmas PJs with hot cocoa and a movie. Love to you all!


DIY // Mini Christmas Wreaths

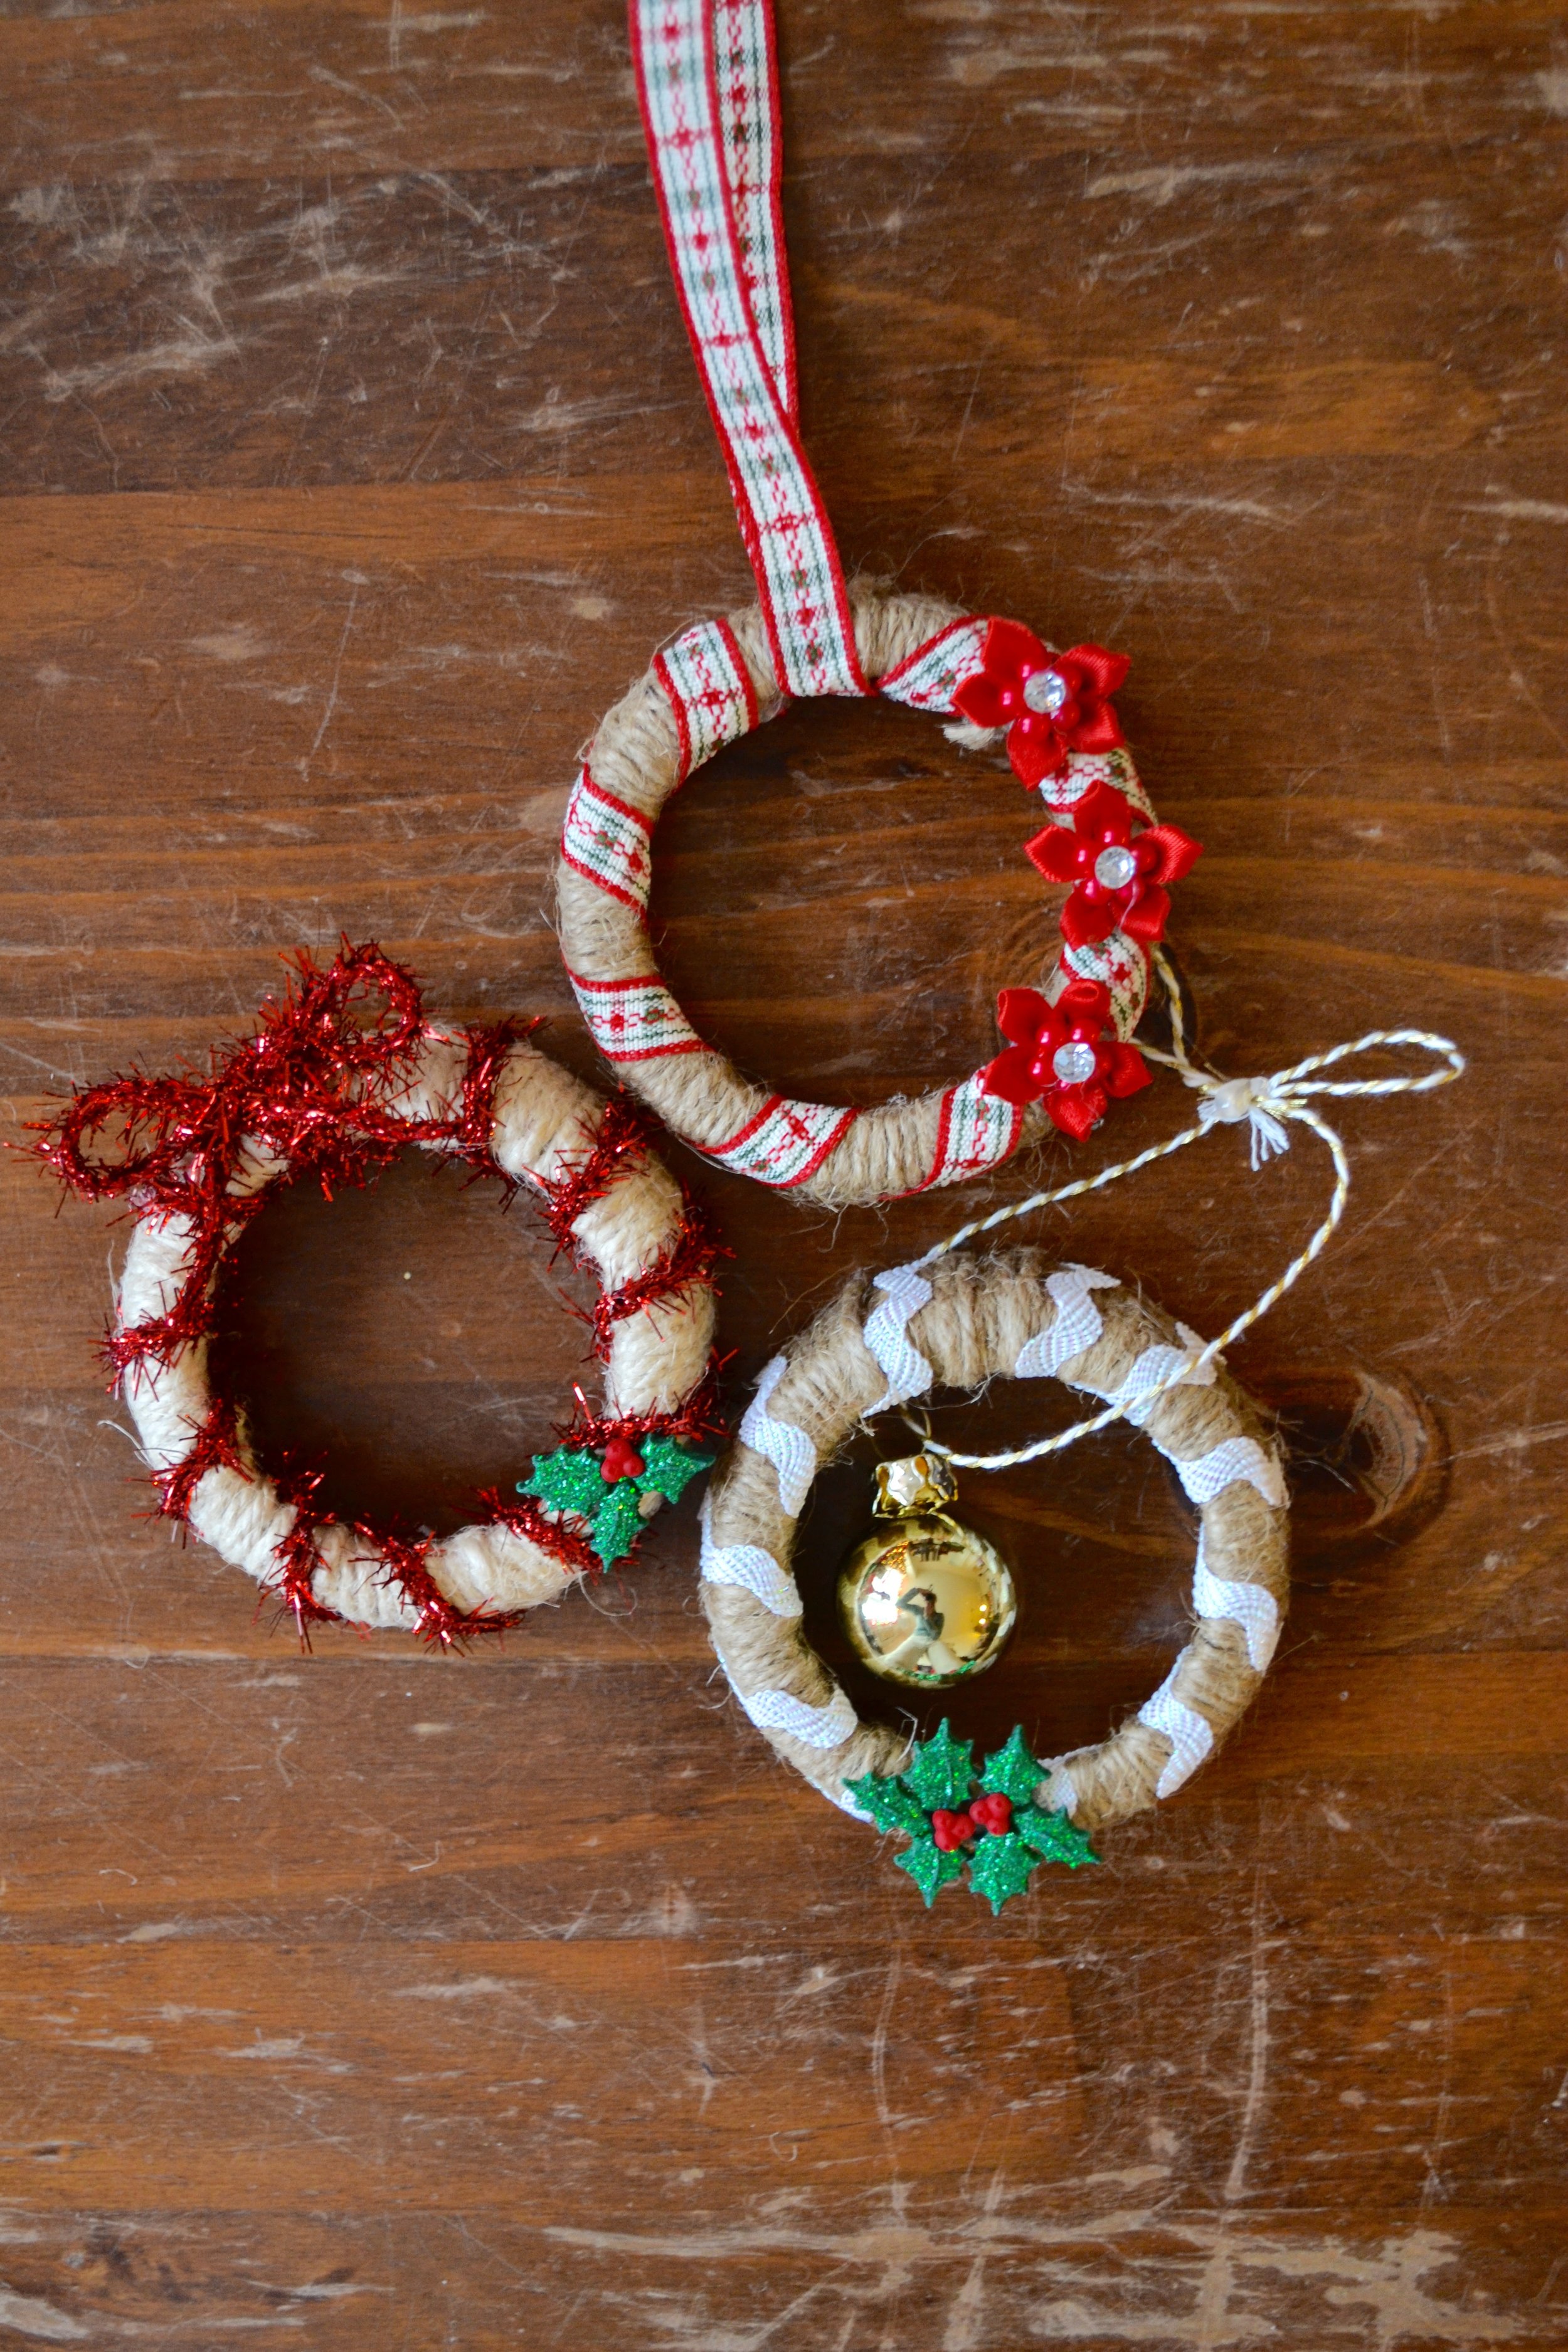
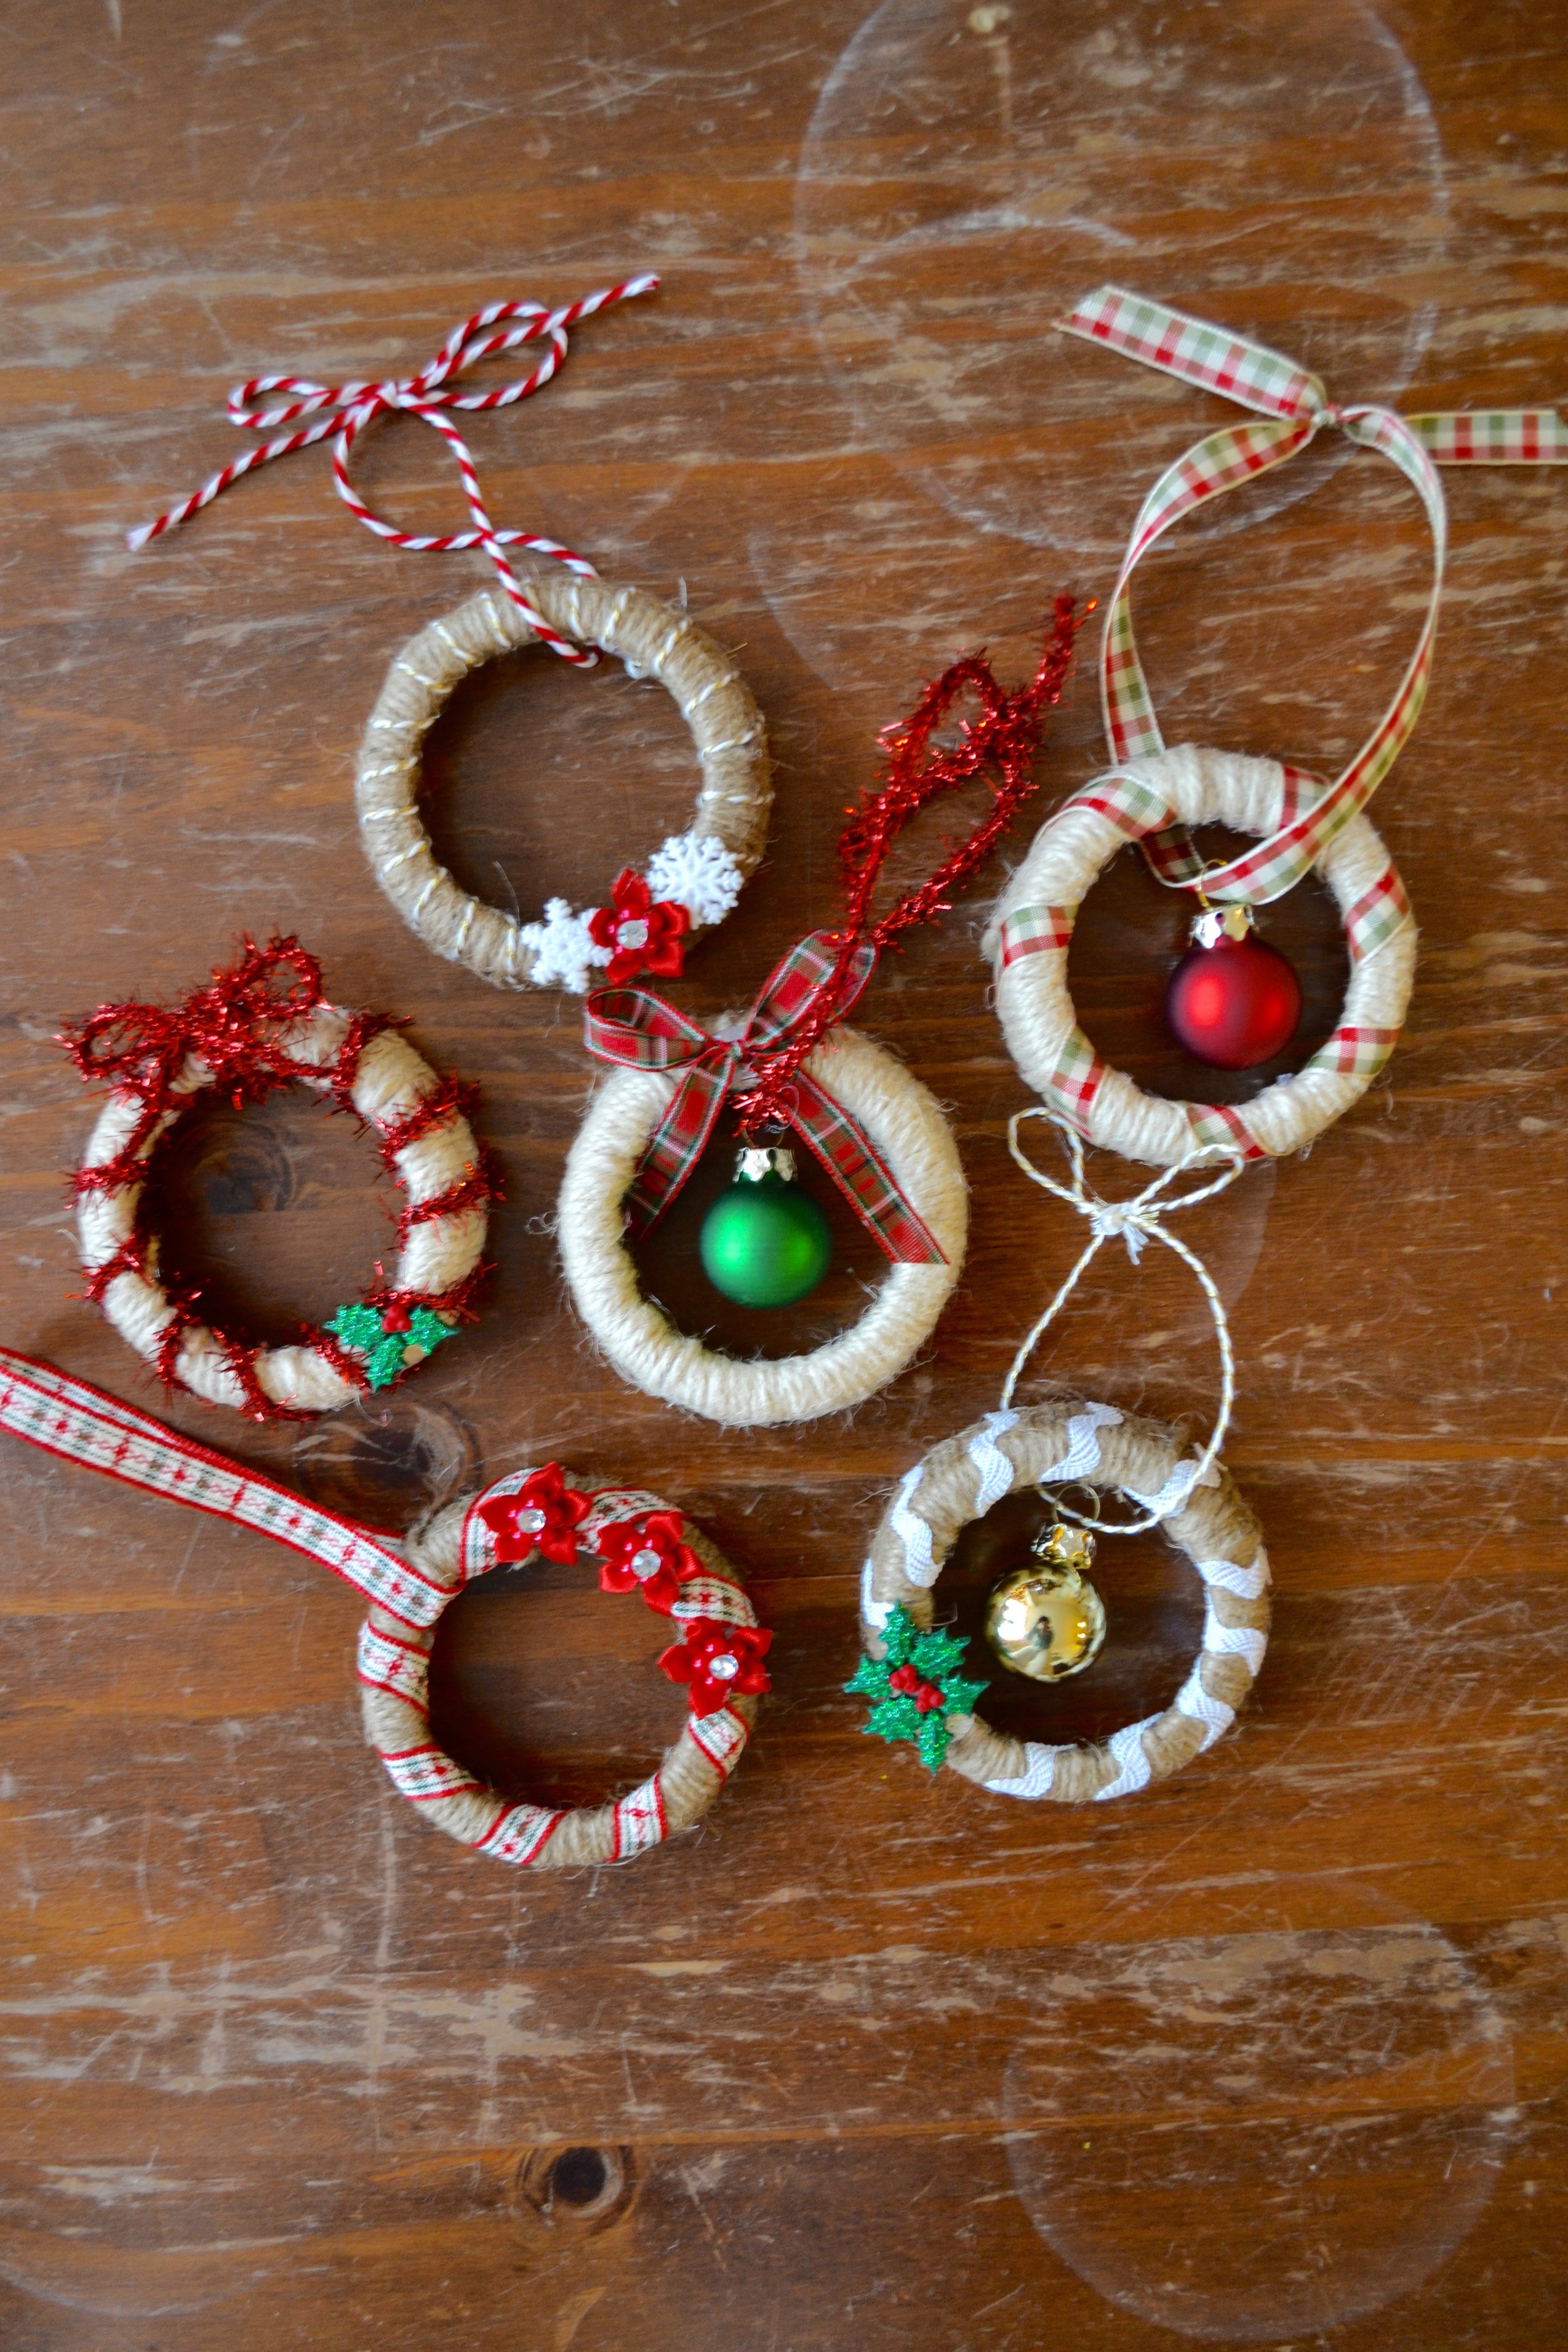
You guys. I'm kind of obsessed with how these mini Christmas wreaths turned out. They're not only adorable; they're also super easy to make! You may not be able to tell, but they're made with mason jar lids, which just happen to be the absolute perfect size for mini wreaths! ;) 

Here are the supplies you'll need:

  • Mason jar lids. I used the lids from a set of 8 oz jars I purchased for candle making. They're a bit smaller than the standard size.
  • Twine. I purchased a beige and a darker tan.
  • Ribbon. I bought a few different thin ribbons for 60% off at Michael's!
  • Holiday buttons and embellishments. I found the ones pictured at Michael's. I can't get over how cute they are!
  • Mini ornaments. I loved these mini ornaments - they came in a set of 10 at (where else?) Michael's. ;)
  • Hot glue and glue gun.

I made these at the holiday craft night I hosted for a few girlfriends. It was so fun! In case you missed it, I hosted a fall wreath making party a few months ago. I think craft parties are going to become a regular thing for me in 2017. Or at least I'd like them to ;)

If you make these this weekend, I'd love to see how they turn out! Tag #TDLminiwreaths so I can take a peek :)

Happy Holidays!