Deck the Halls: Christmas Decor Home Tour

If I could only have two seasons in a year, they would be Fall and Winter. Give me 6 months of beautiful fall colors and chilly, cozy weather and 6 months of Christmas decor with a little sprinkle of snow, please 😍

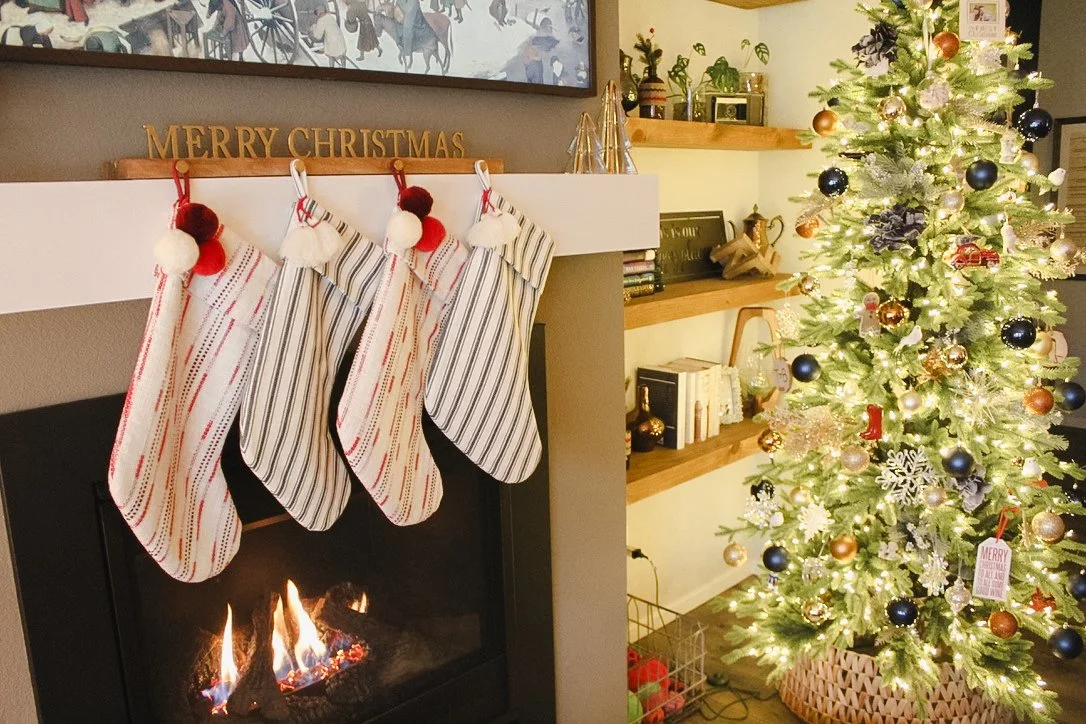
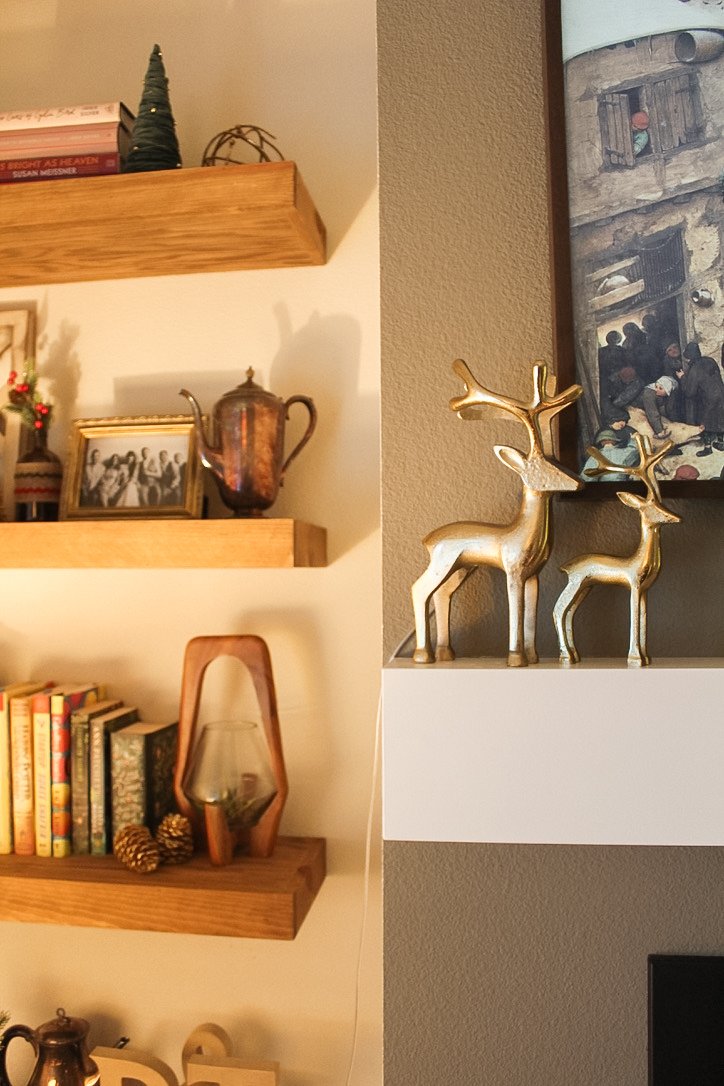
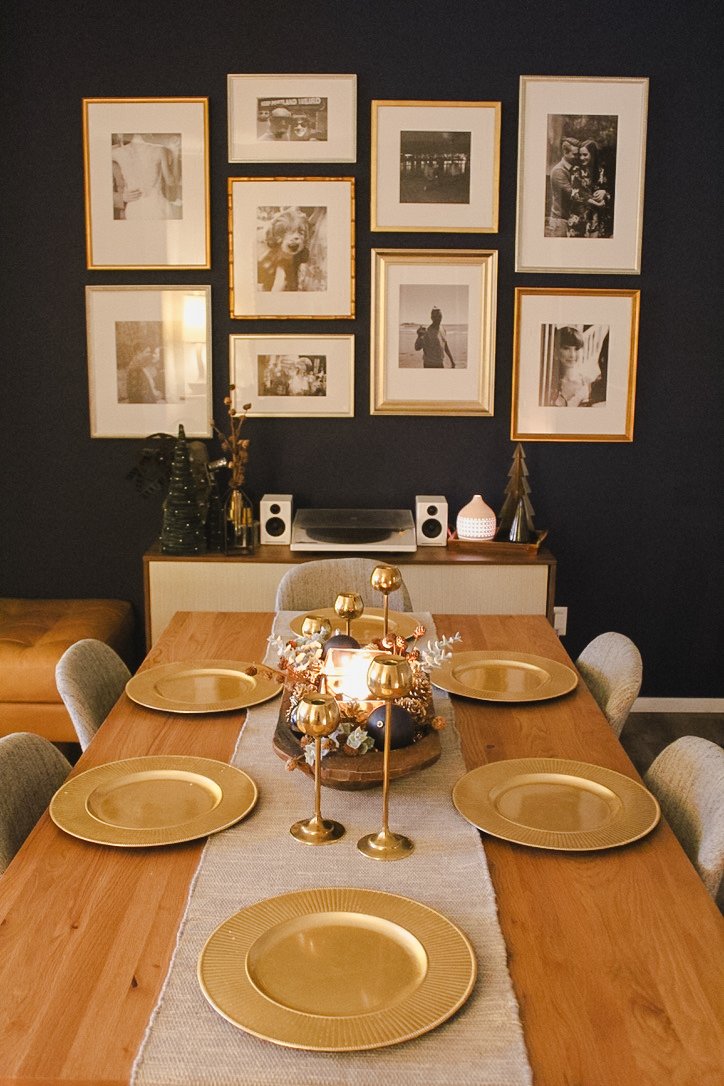
This last year, we’ve made so much progress on our downstairs decor, most notably creating a deep blue gallery accent wall, DIYing a board and batten wall, and installing beautiful floating shelves in our family room!

Christmas time always brings me such joy, but the only problem this year? Those two beautiful wall projects we conquered earlier in the year meant we now have two deep blue walls downstairs… and we didn’t want our Christmas decor, with all the red in it, to look like Fourth of July 😉

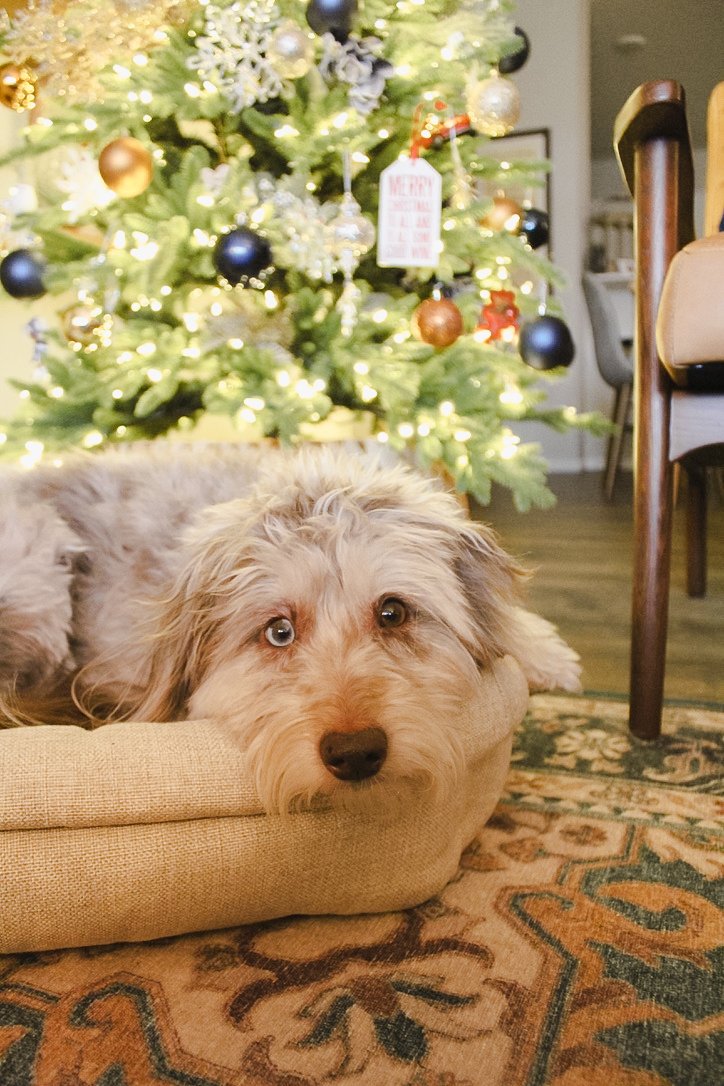
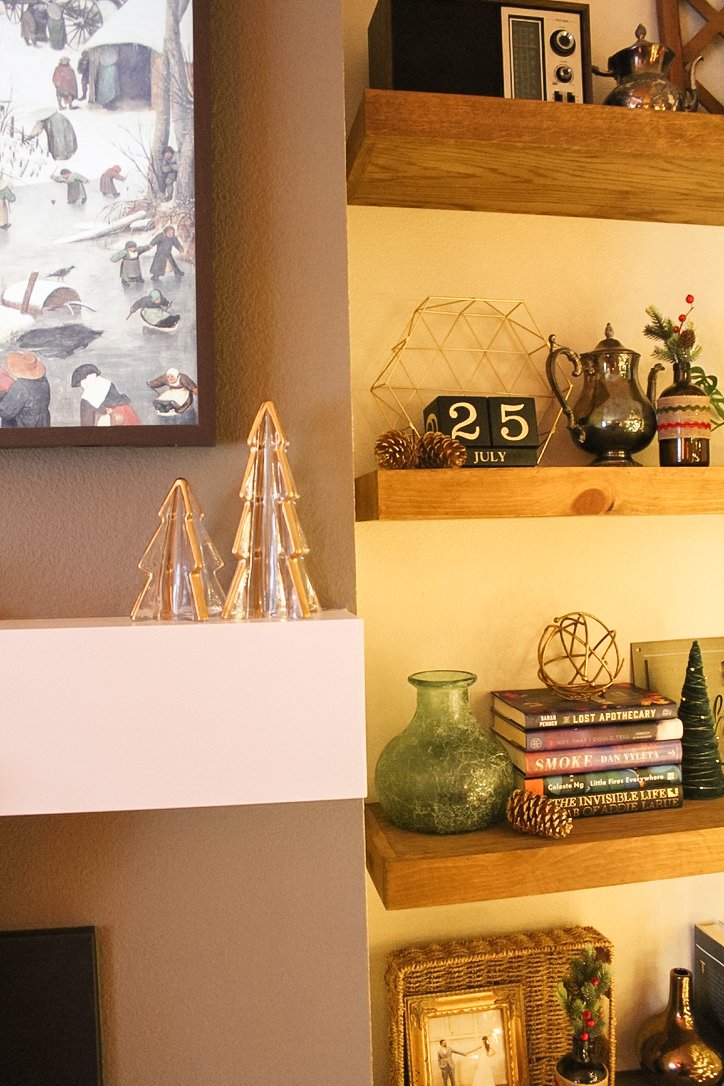
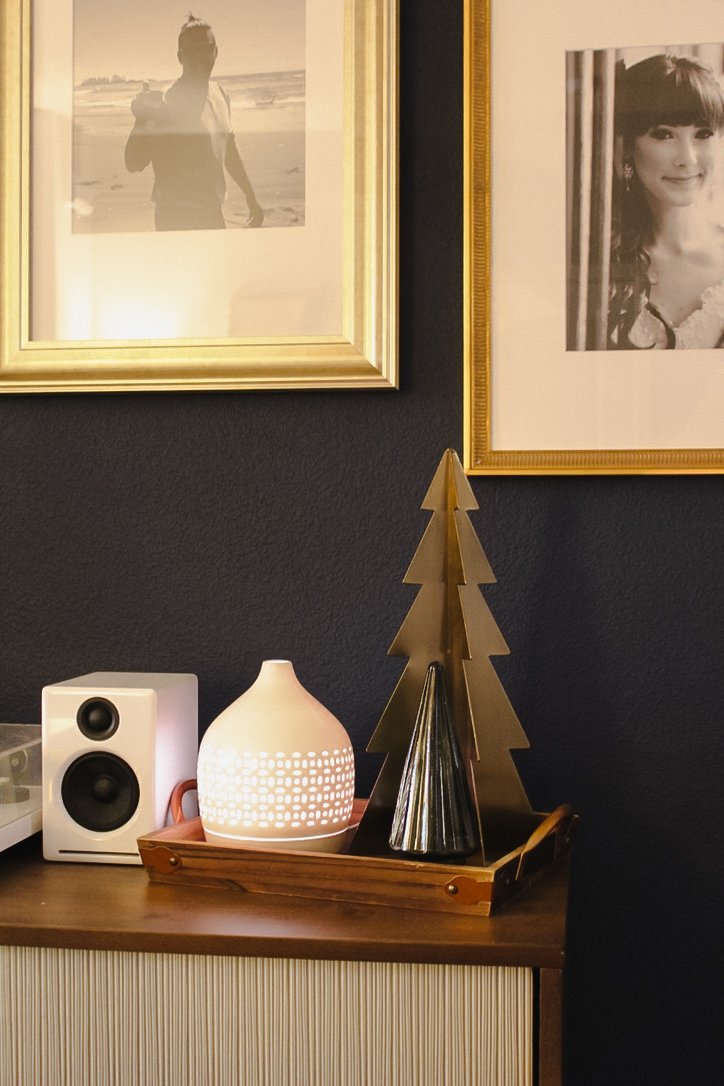
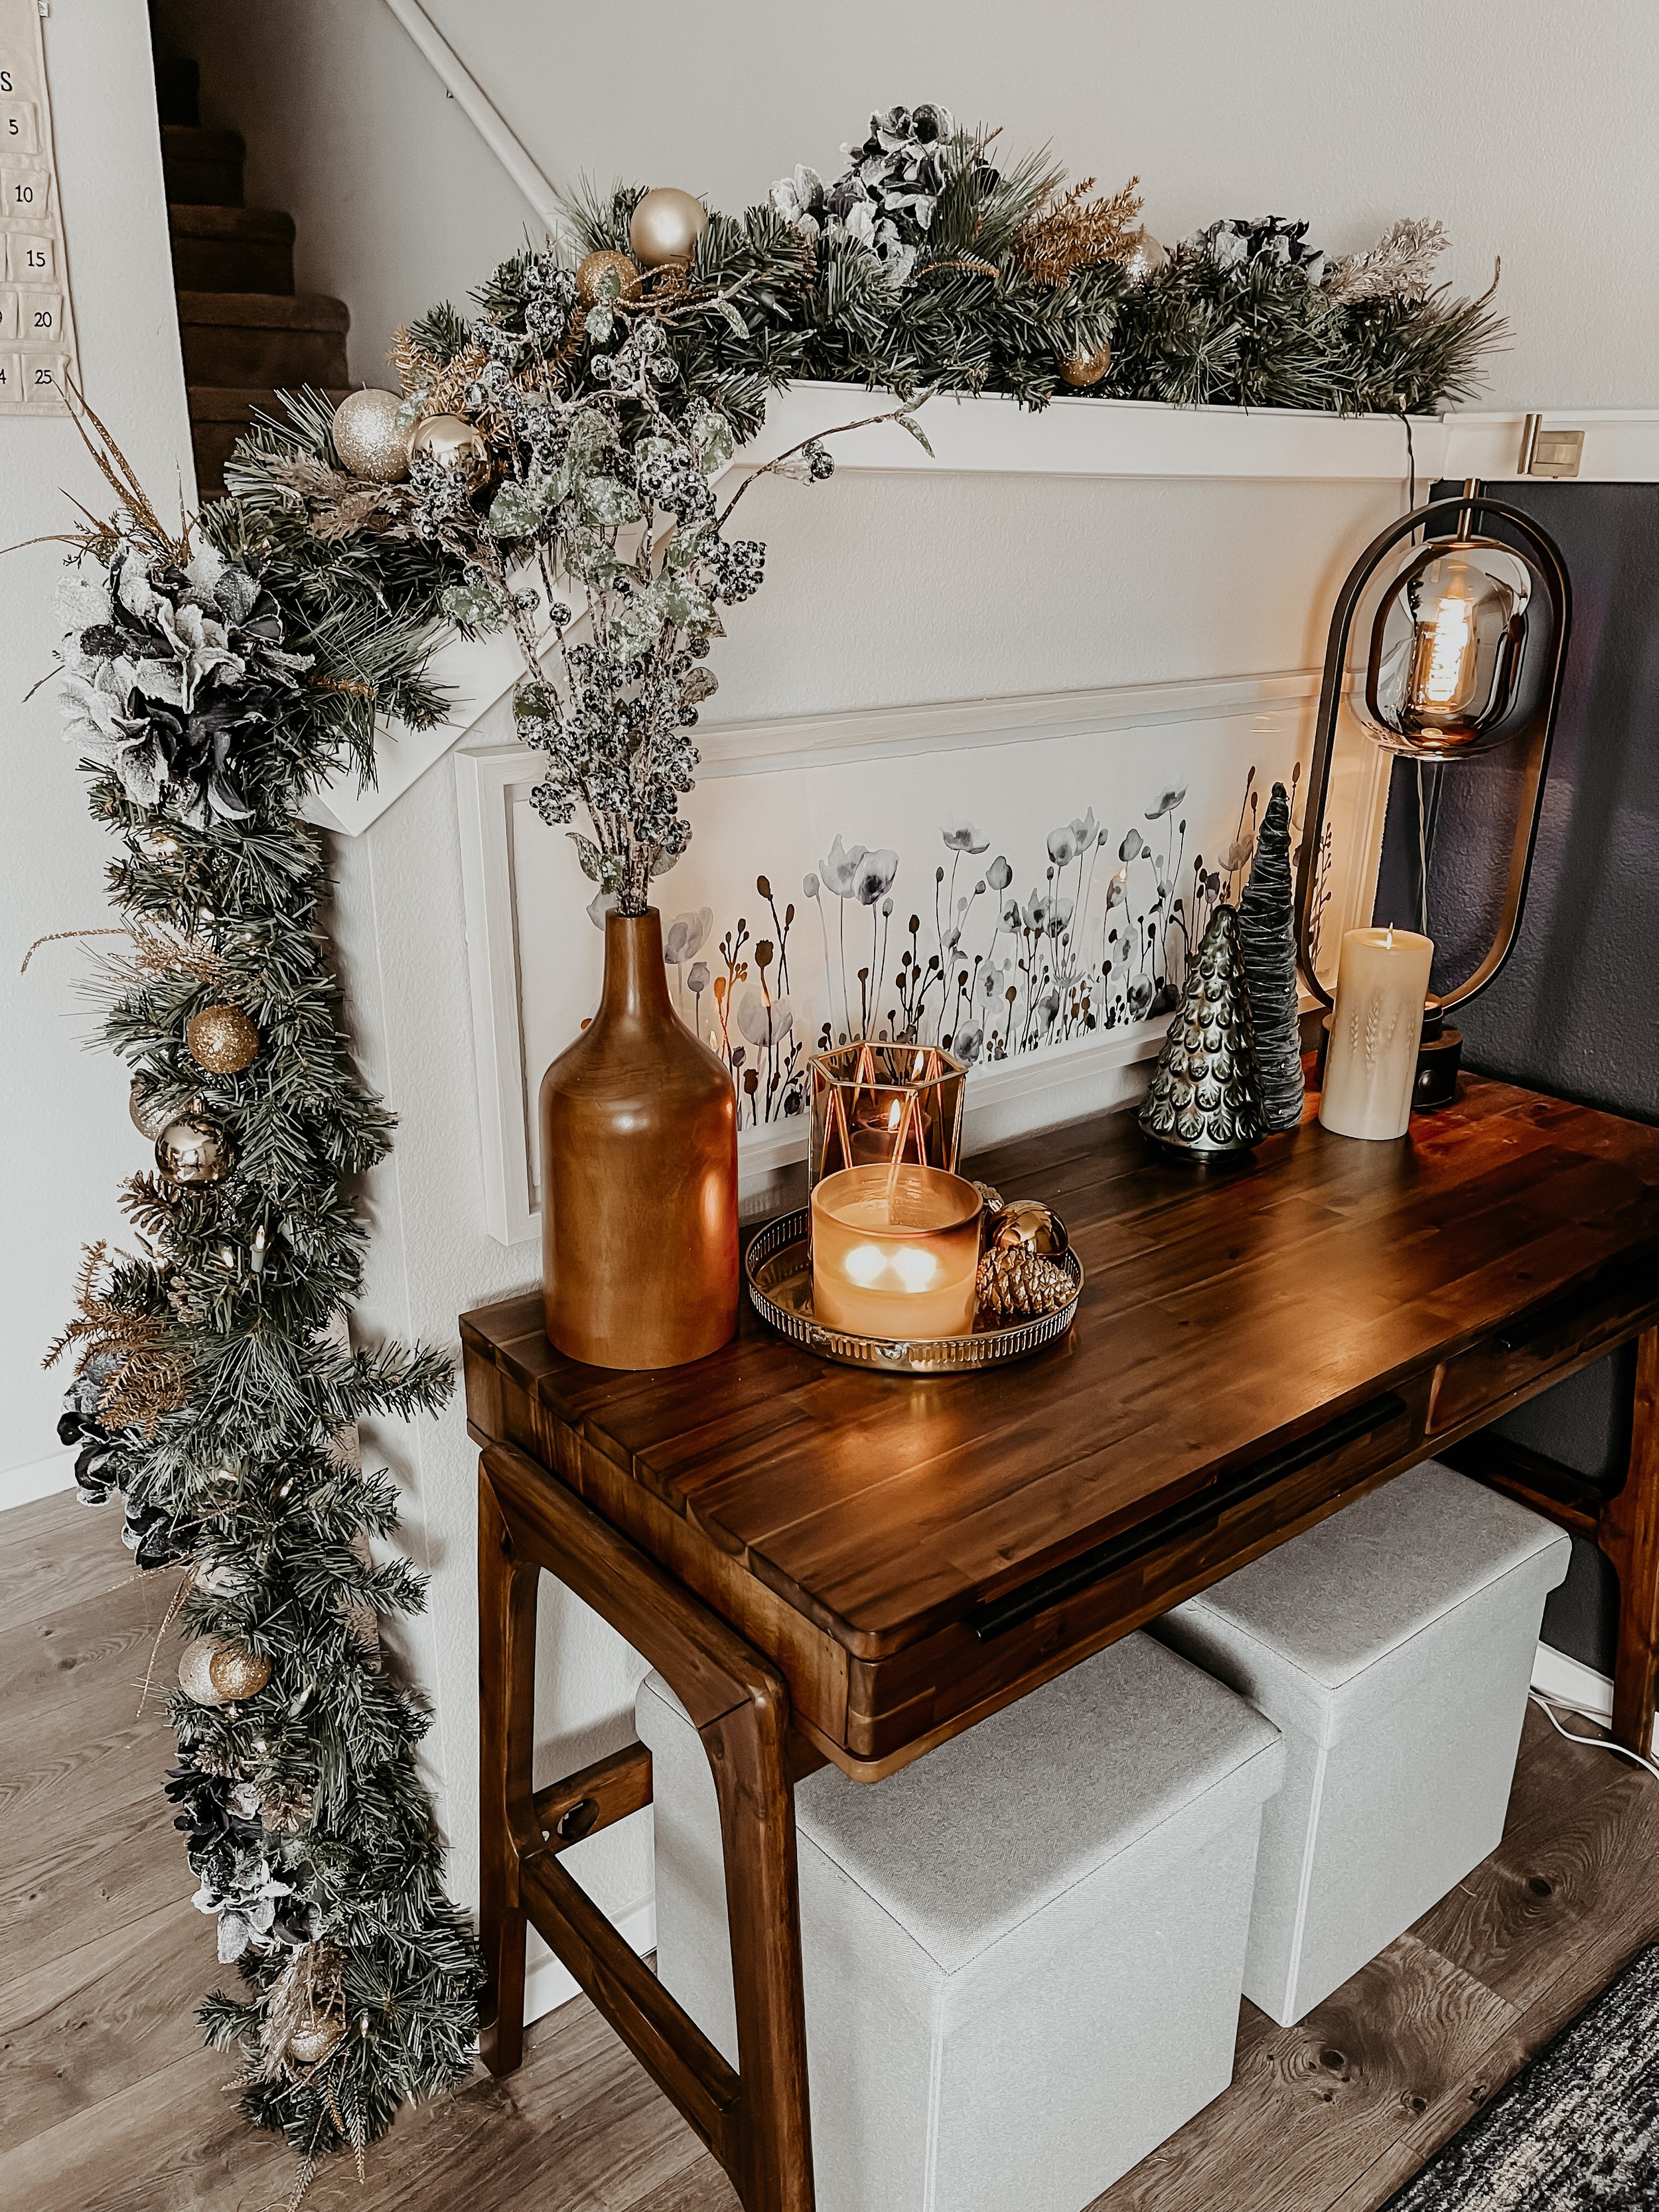
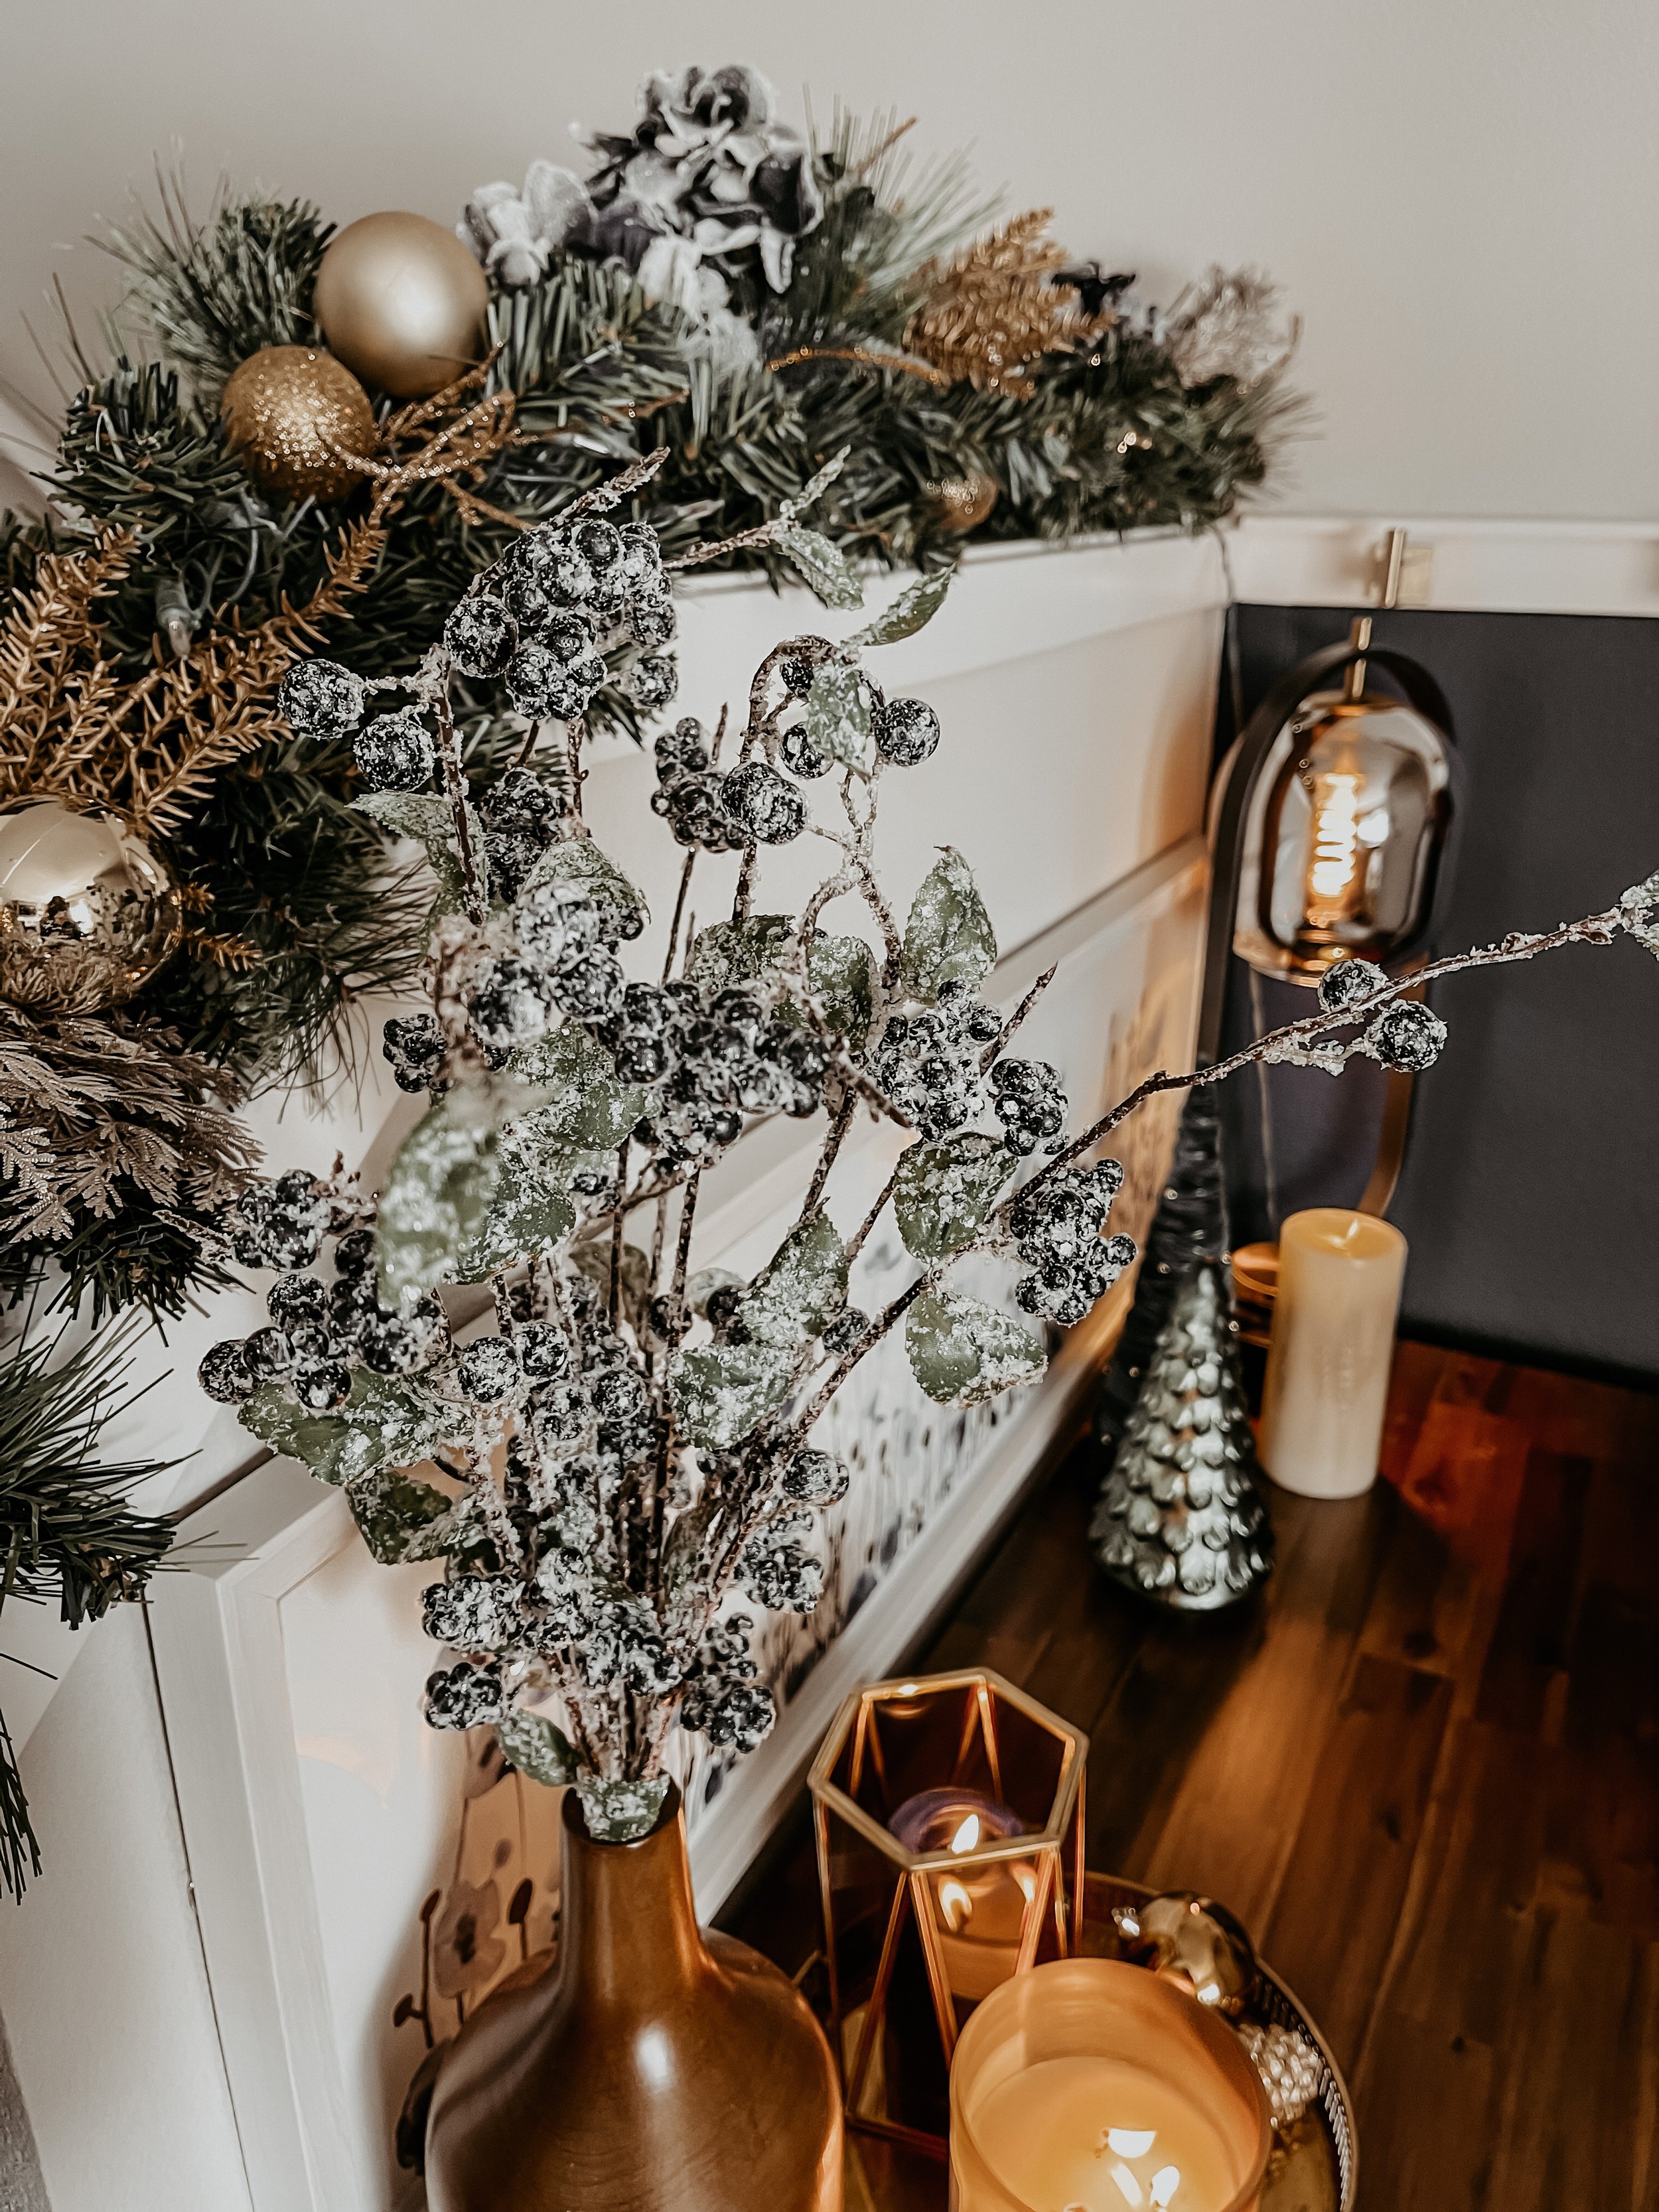
So, off to Home Goods, Target, and JoAnn’s I went and came back with a GIANT haul of new Christmas decor. I decided to go with beautiful dark emerald greens, deep blues, and golds to complement our new downstairs color scheme.

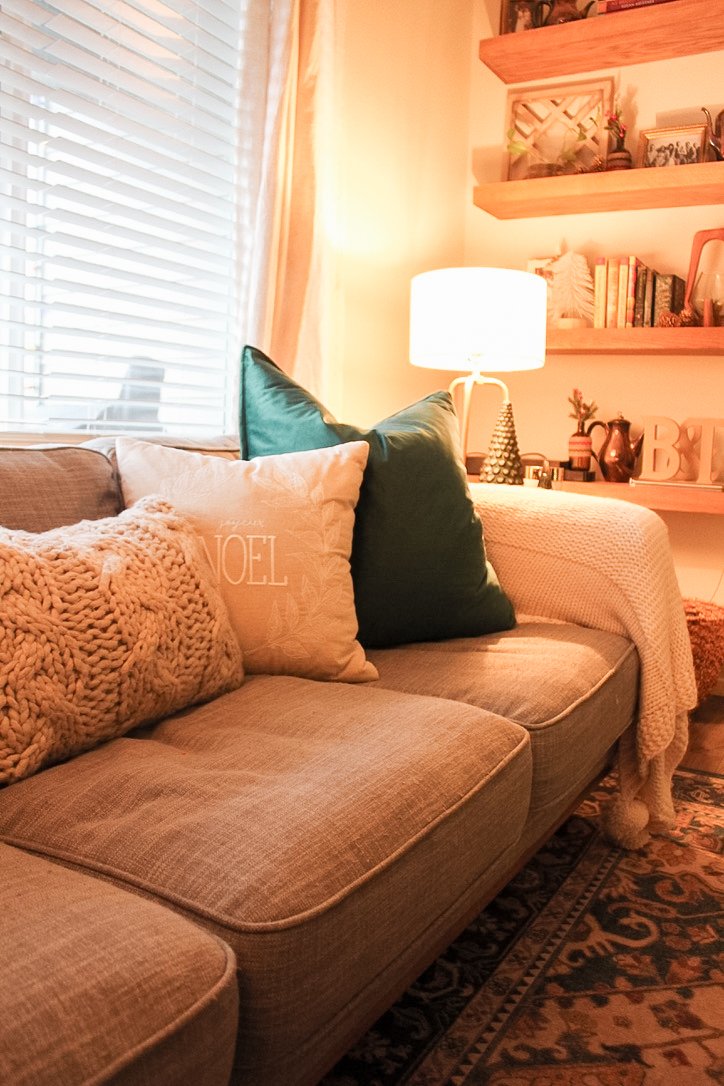
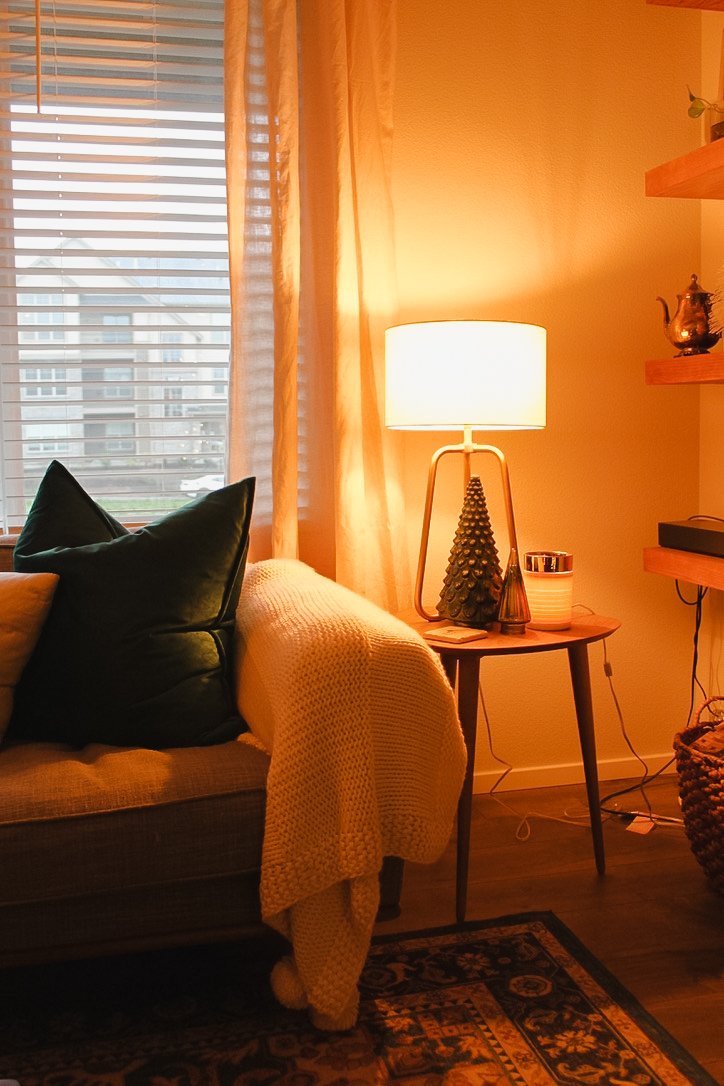
I love changing up our home as much as I can each season, including swapping out pillows in the family room, customizing my dough bowl centerpiece in the dining room, and sprinkling seasonal pieces throughout our home.

I don’t know if you feel the same way at the end of the Christmas season, but everything feels so plain and ‘blah’ to me after all my Christmas decor gets stored for the year. I do find joy in getting everything back to its ‘normal’ state, but the winter season and all the lights, glitz, and glam that come with it just makes my decorator heart so happy 🤩

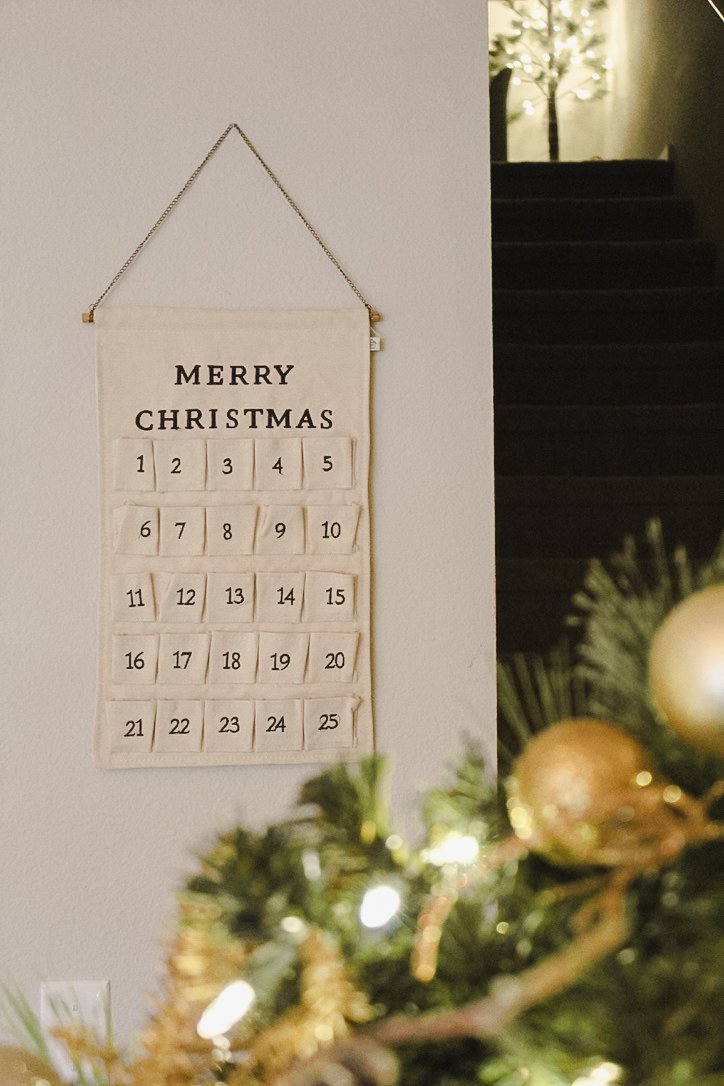
Between Home Goods, Target, and JoAnn’s, I purchased so many cute little knick-knacks to sprinkle around our home that increased the festive vibes tenfold. Not gonna lie, though… I wanted to get more and even told Tim when I got home that what I bought didn’t go very far 🙈🤣 I found as many links for you as I could below! I tried to find similar items if they were sold out or where I couldn’t find exact matches. Happy shopping!

DIY Repurposed Christmas Garland

There’s nothing like finding the perfect Christmas garland… pre-lit, perfect length and fullness, not tacky. I found ours at Costco a few years ago and as our aesthetic has shifted and grown, I knew I needed to give it a little makeover. It had red poinsettias and red accents all over the place, which normally would be perfect for the Christmas season, but now with our blue walls downstairs, it made Christmas feel more like the Fourth of July.

So a few weekends ago it looked like Christmas had exploded in our home as I was sifting through all of our decor to get rid of any hint of red (except a few of our more elegant red accents). I was complaining to my brother-in-law about how much I loved my garland but that unfortunately, she had to bite the dust because of all the red. And then he suggested I DIY the dang thing… why didn’t I think of that?! Such a good idea, plus a great way to save money.

Off to JoAnn’s we went! And boy did I come back with quite the faux floral haul. You probably already know how much I love faux floral given a few recent blog posts (DIY Fall Floral Pumpkin, DIY Fall Vintage Dough Bowl Centerpiece, and DIY Seasonal Vintage Dough Bowl Centerpiece), but man I’m telling you I could create my own faux floral storefront at this point with how much I’ve accumulated 😂

Here’s just a sampling of what I found:

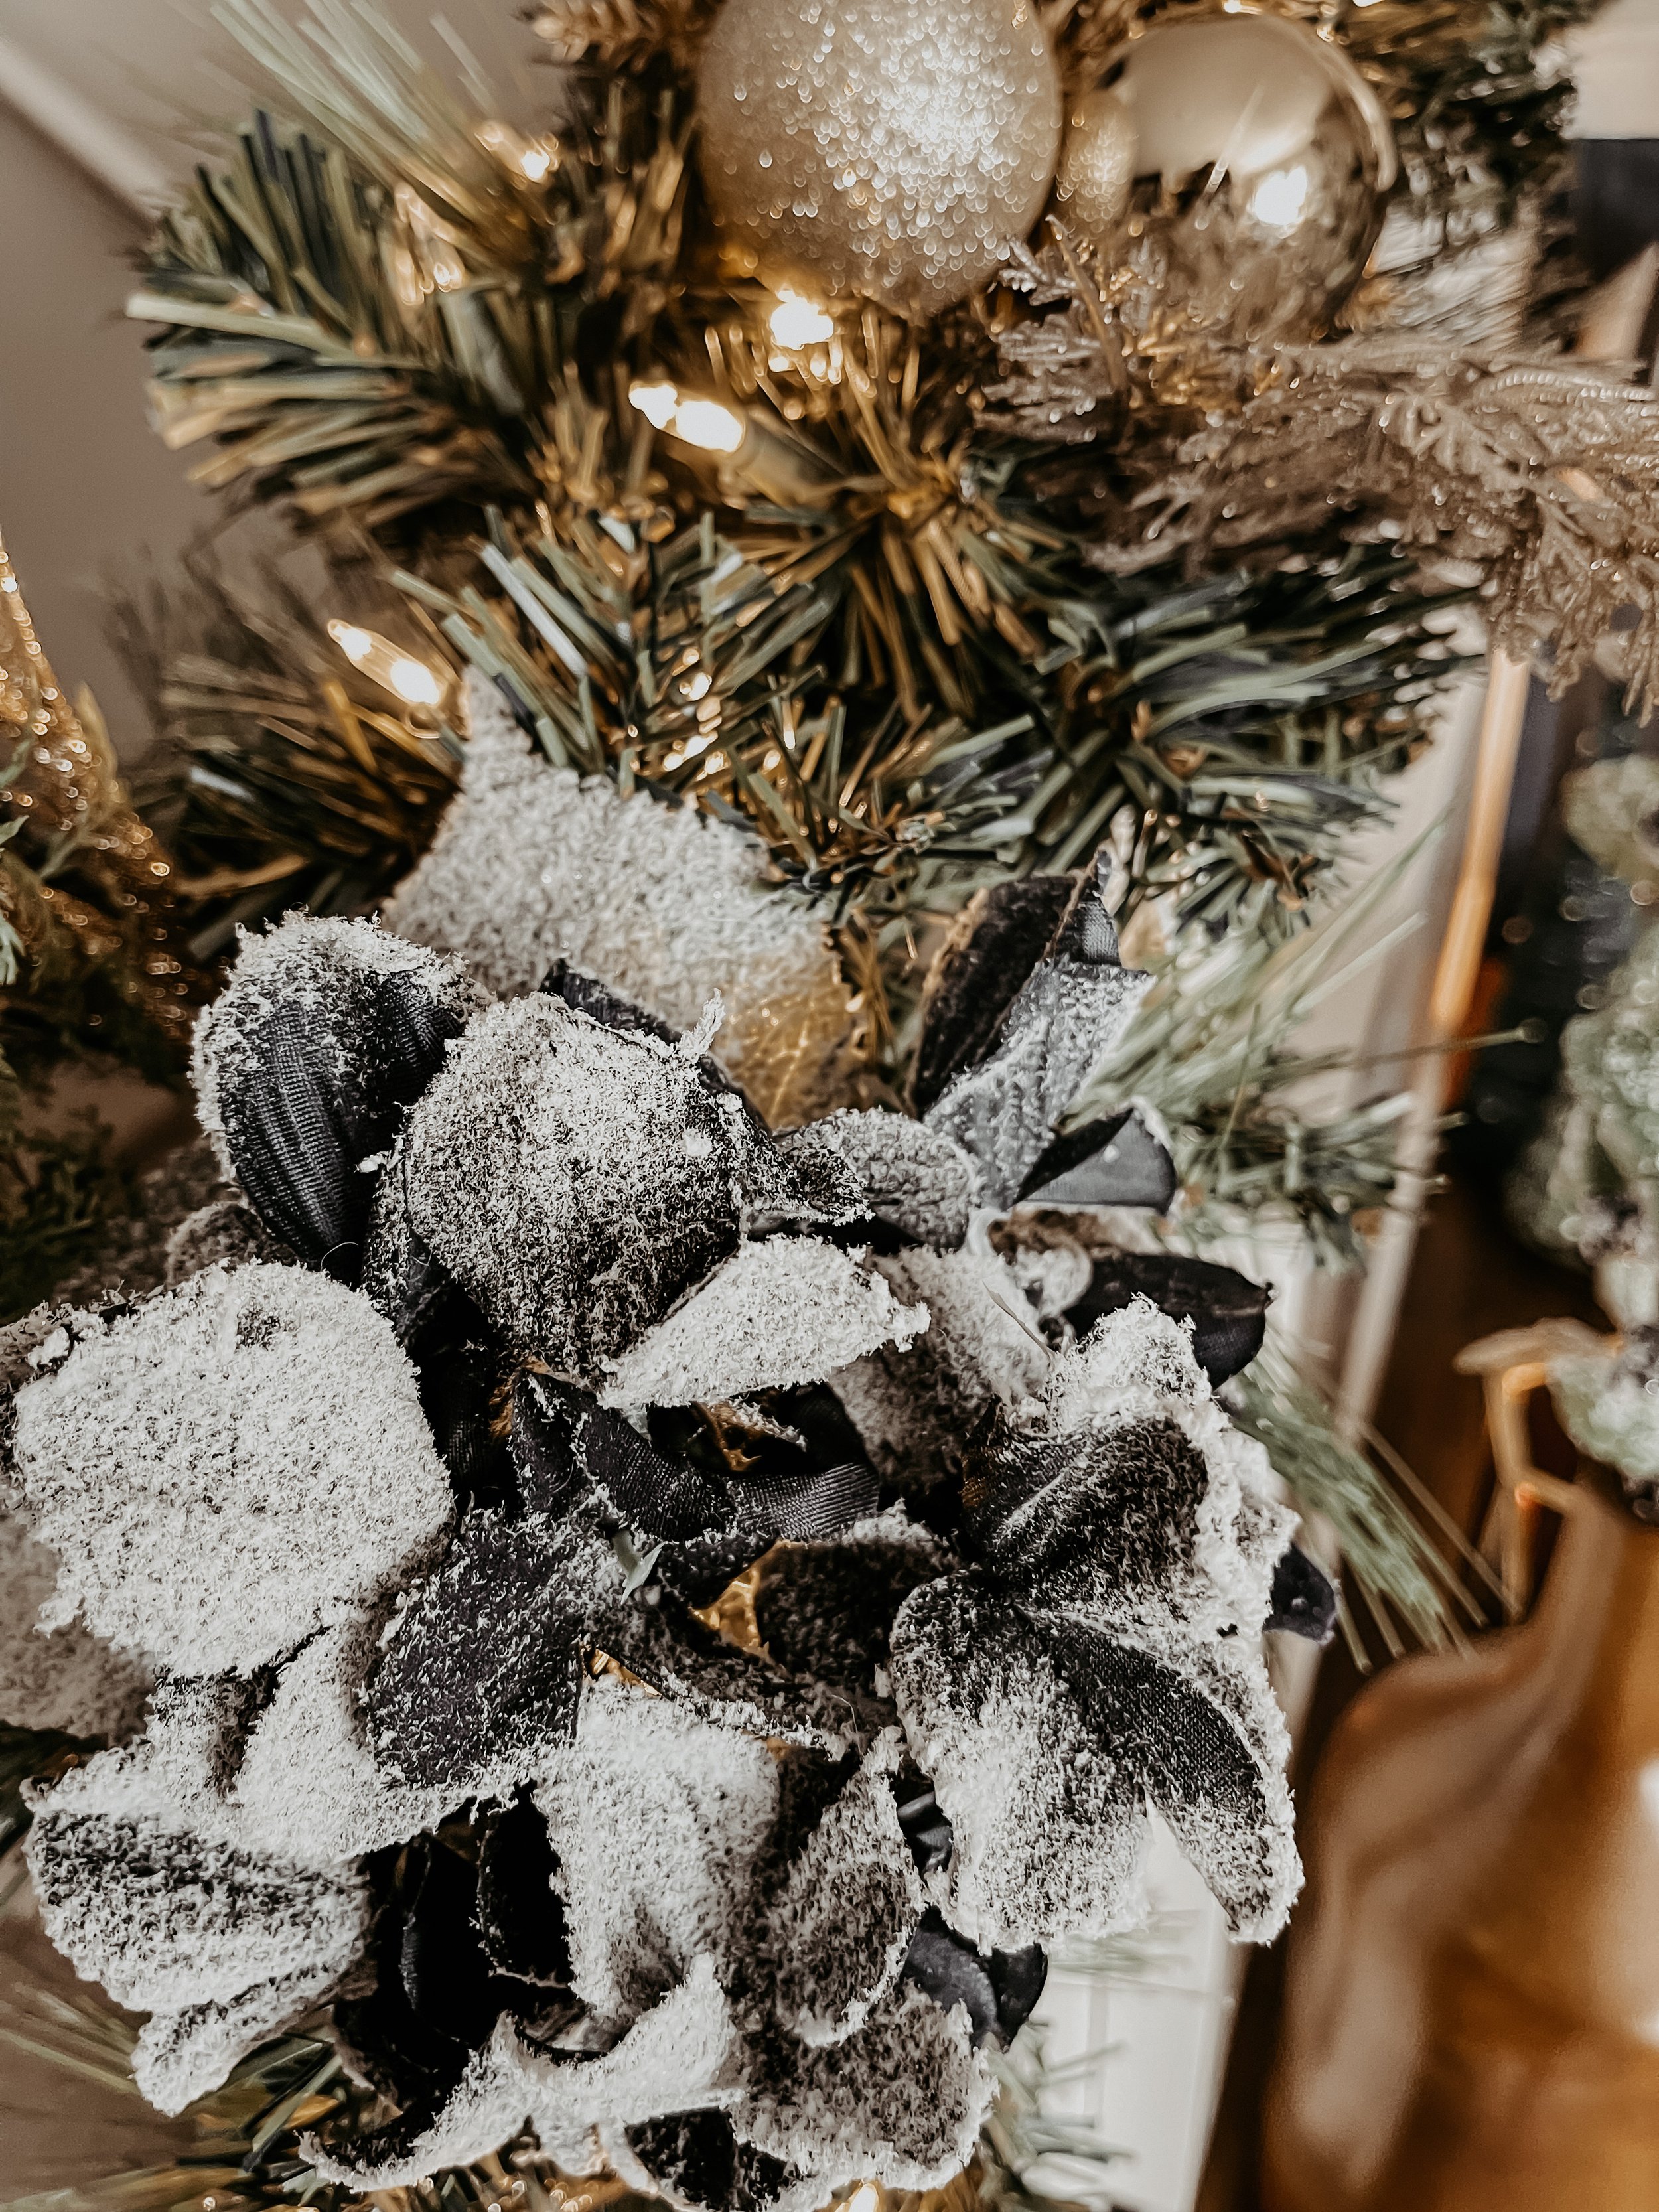
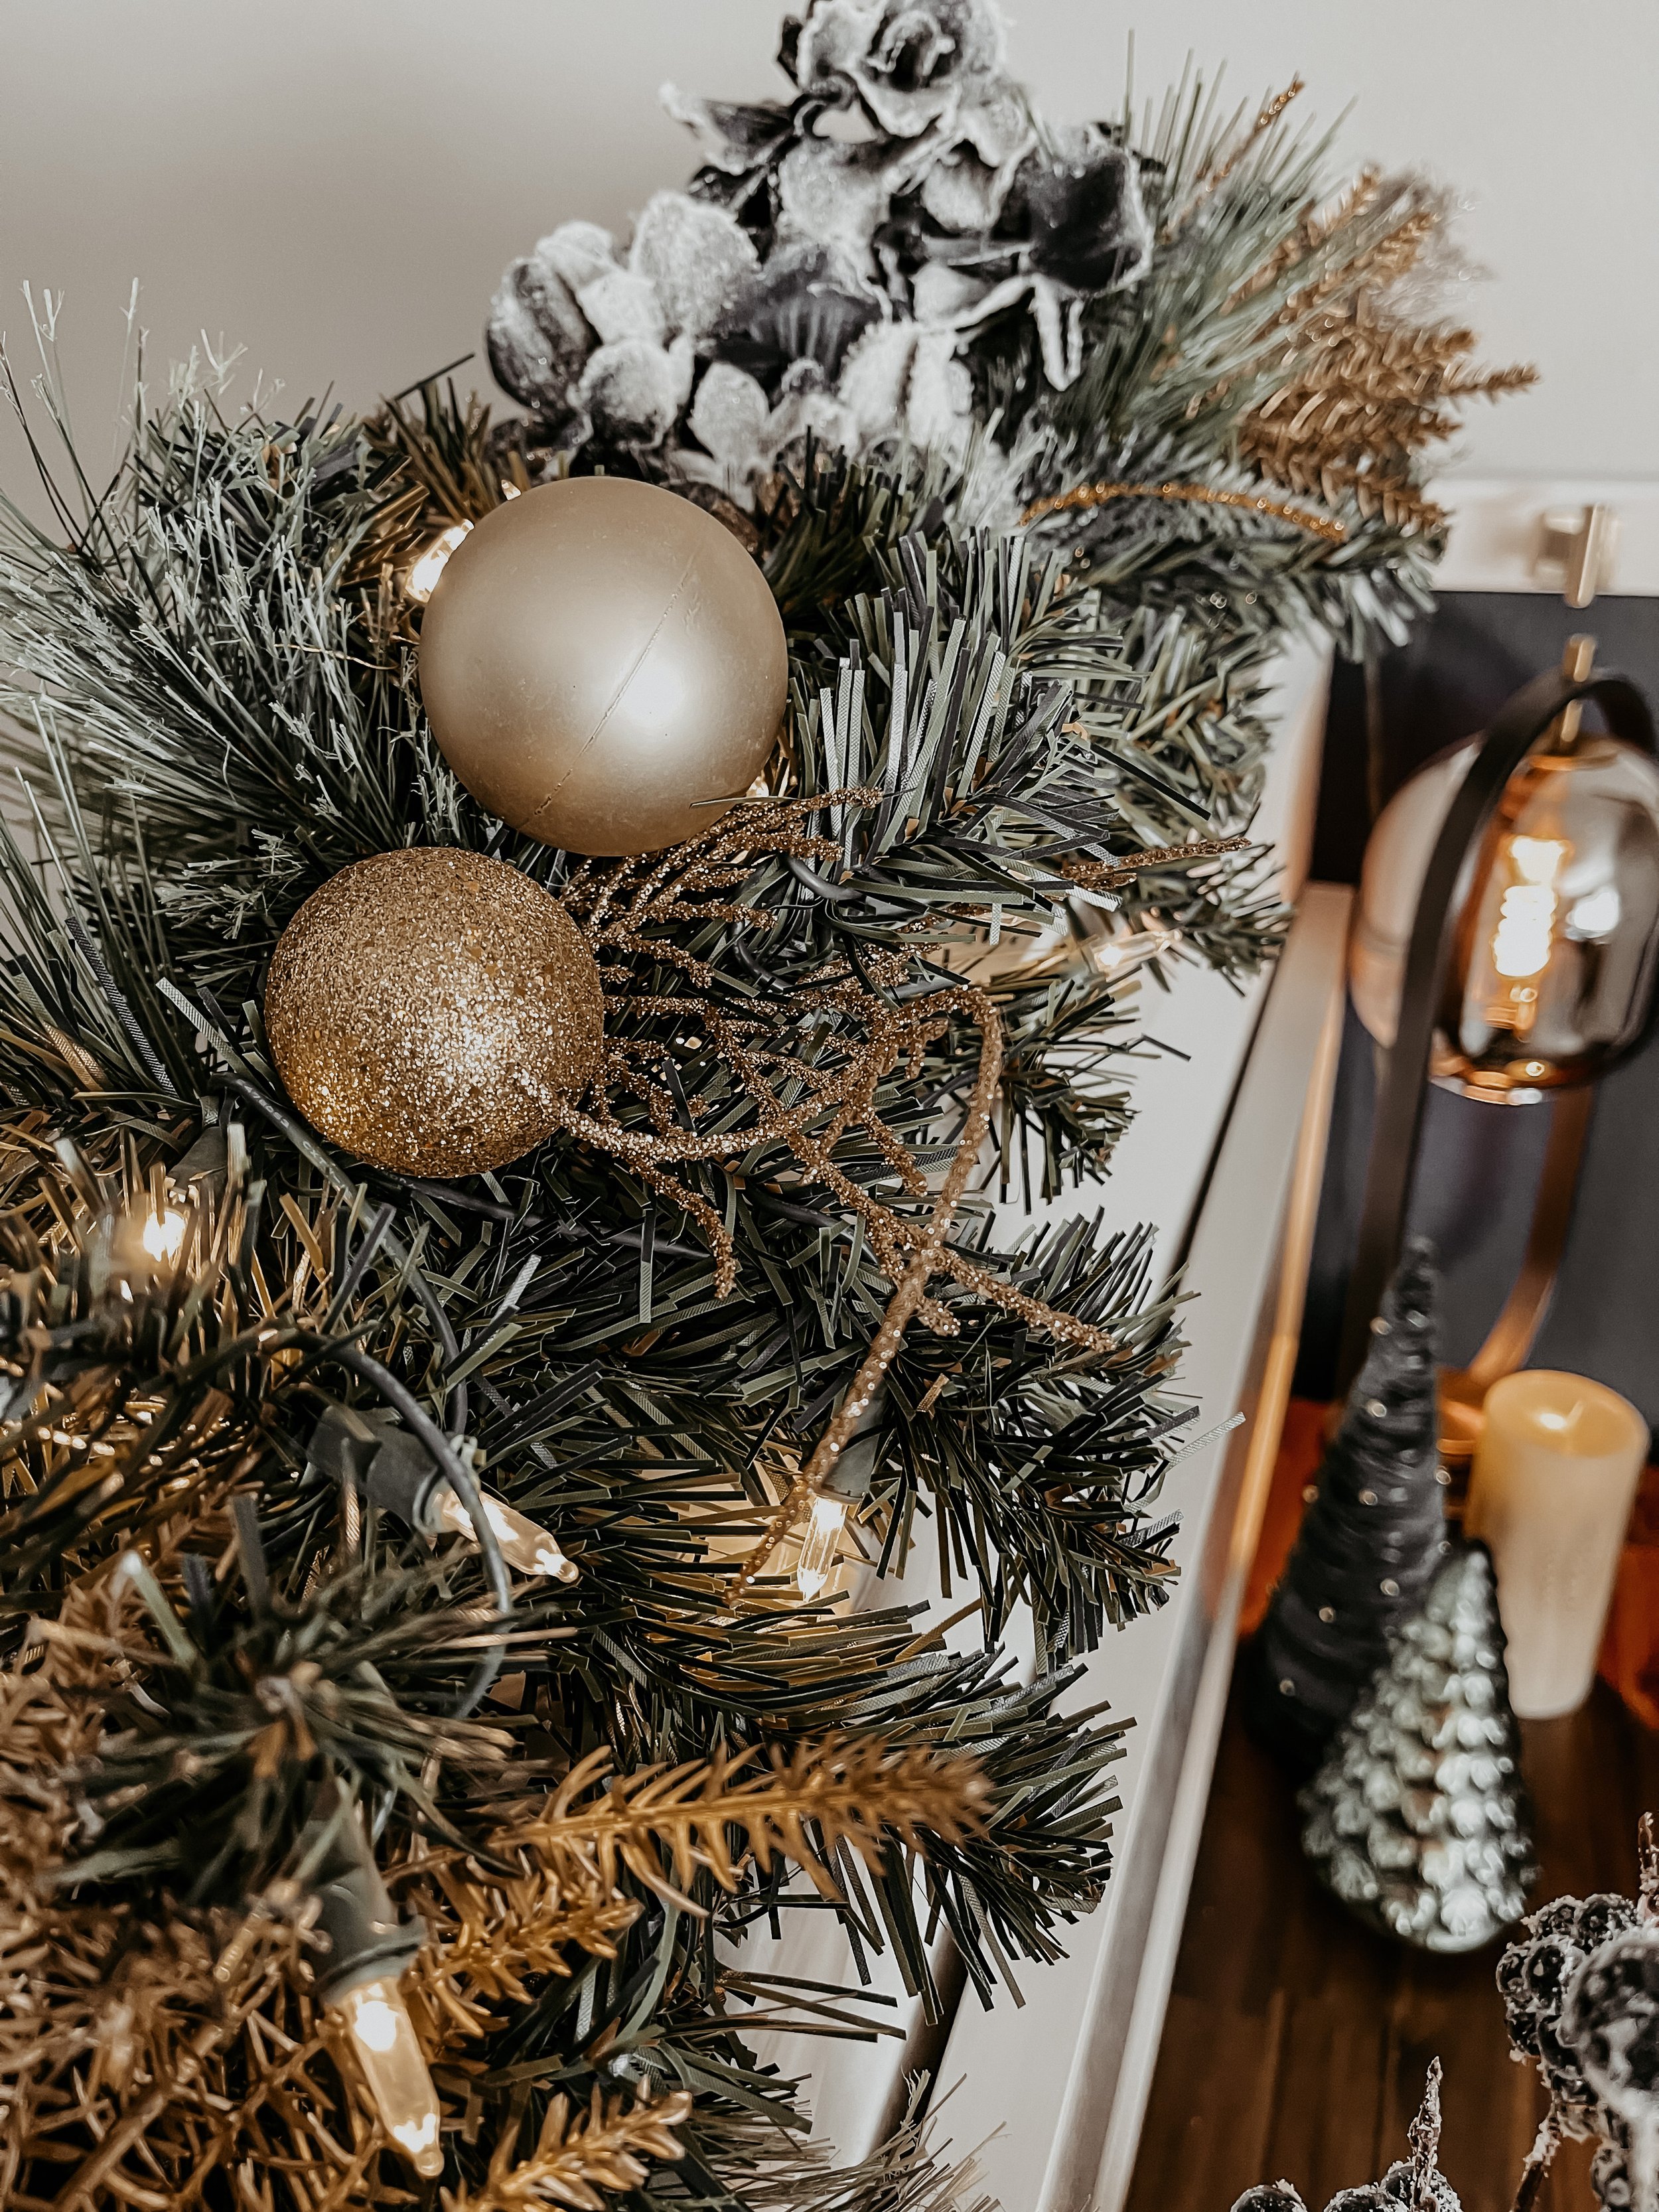
The evening I got home from my JoAnn’s extravaganza, Tim put on Dune and I went to work. I clipped off every last poinsettia and red accent I could find on the garland and started laying down the faux floral and gold ornaments in their place. It was getting late, so I went to bed and the next morning I tied the ornaments on and hot glued the floral. It honestly turned out so much cuter than I ever imagined! It feels much more elevated and elegant when compared to its original state (check out my Instagram to see the comparison!) and I love how it ties into our new Christmas decor theme (blues and greens).

What’s your favorite Christmas or holiday decor DIY? Shout out in the comments!

DIY Fall Floral Pumpkin

By now, you guys know I LOVE fall. 🍂🎃 And one of my other favorite things? Crafting. Put them together and you get some fun fall DIY content like this DIY fall vintage dough bowl centerpiece and today’s post: this adorable fall floral pumpkin!

Let me tell you… the love for fall runs DEEP in my family. We don’t mess around with the fall vibes -- everything from home decor to DIY to crockpot soups. So it won’t surprise you that my mom is the one who inspired this project! She sent me a cute inspiration photo (below) with a real pumpkin decorated with faux succulents. My immediate reaction was 1) this would look great on my porch with the lanterns I just purchased and 2) what a fun project to kick off fall! 

Based on past projects I’ve done, I knew I didn’t want to use a real pumpkin because I want to be able to display and love this beauty for years to come! So off to Michael’s I went to grab a sturdy faux pumpkin. They had several more standard round options, but I wanted it to be a bit taller and more oval and ended up purchasing this 13” craft pumpkin by Ashland. It was perfect!

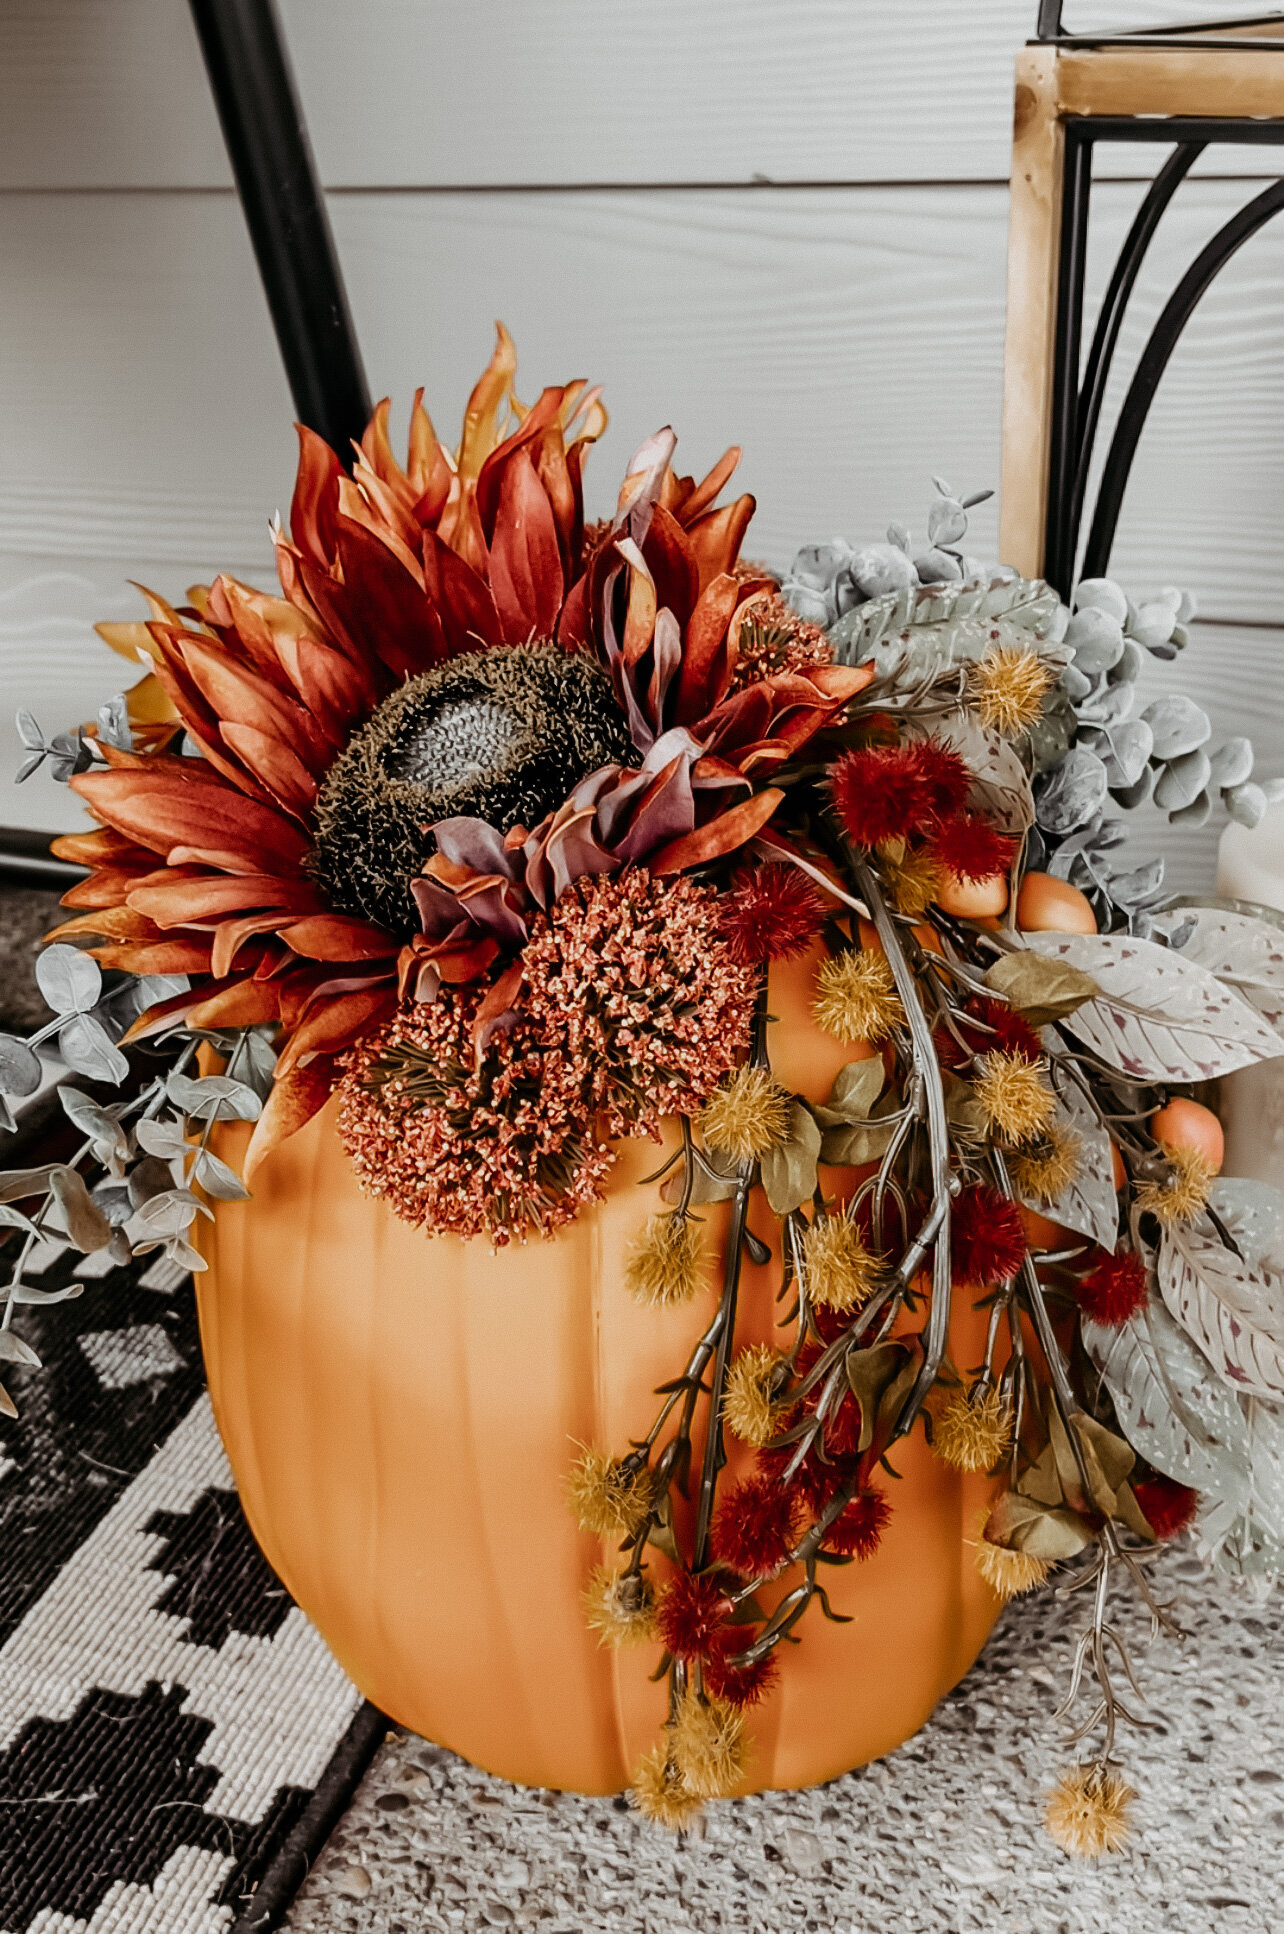
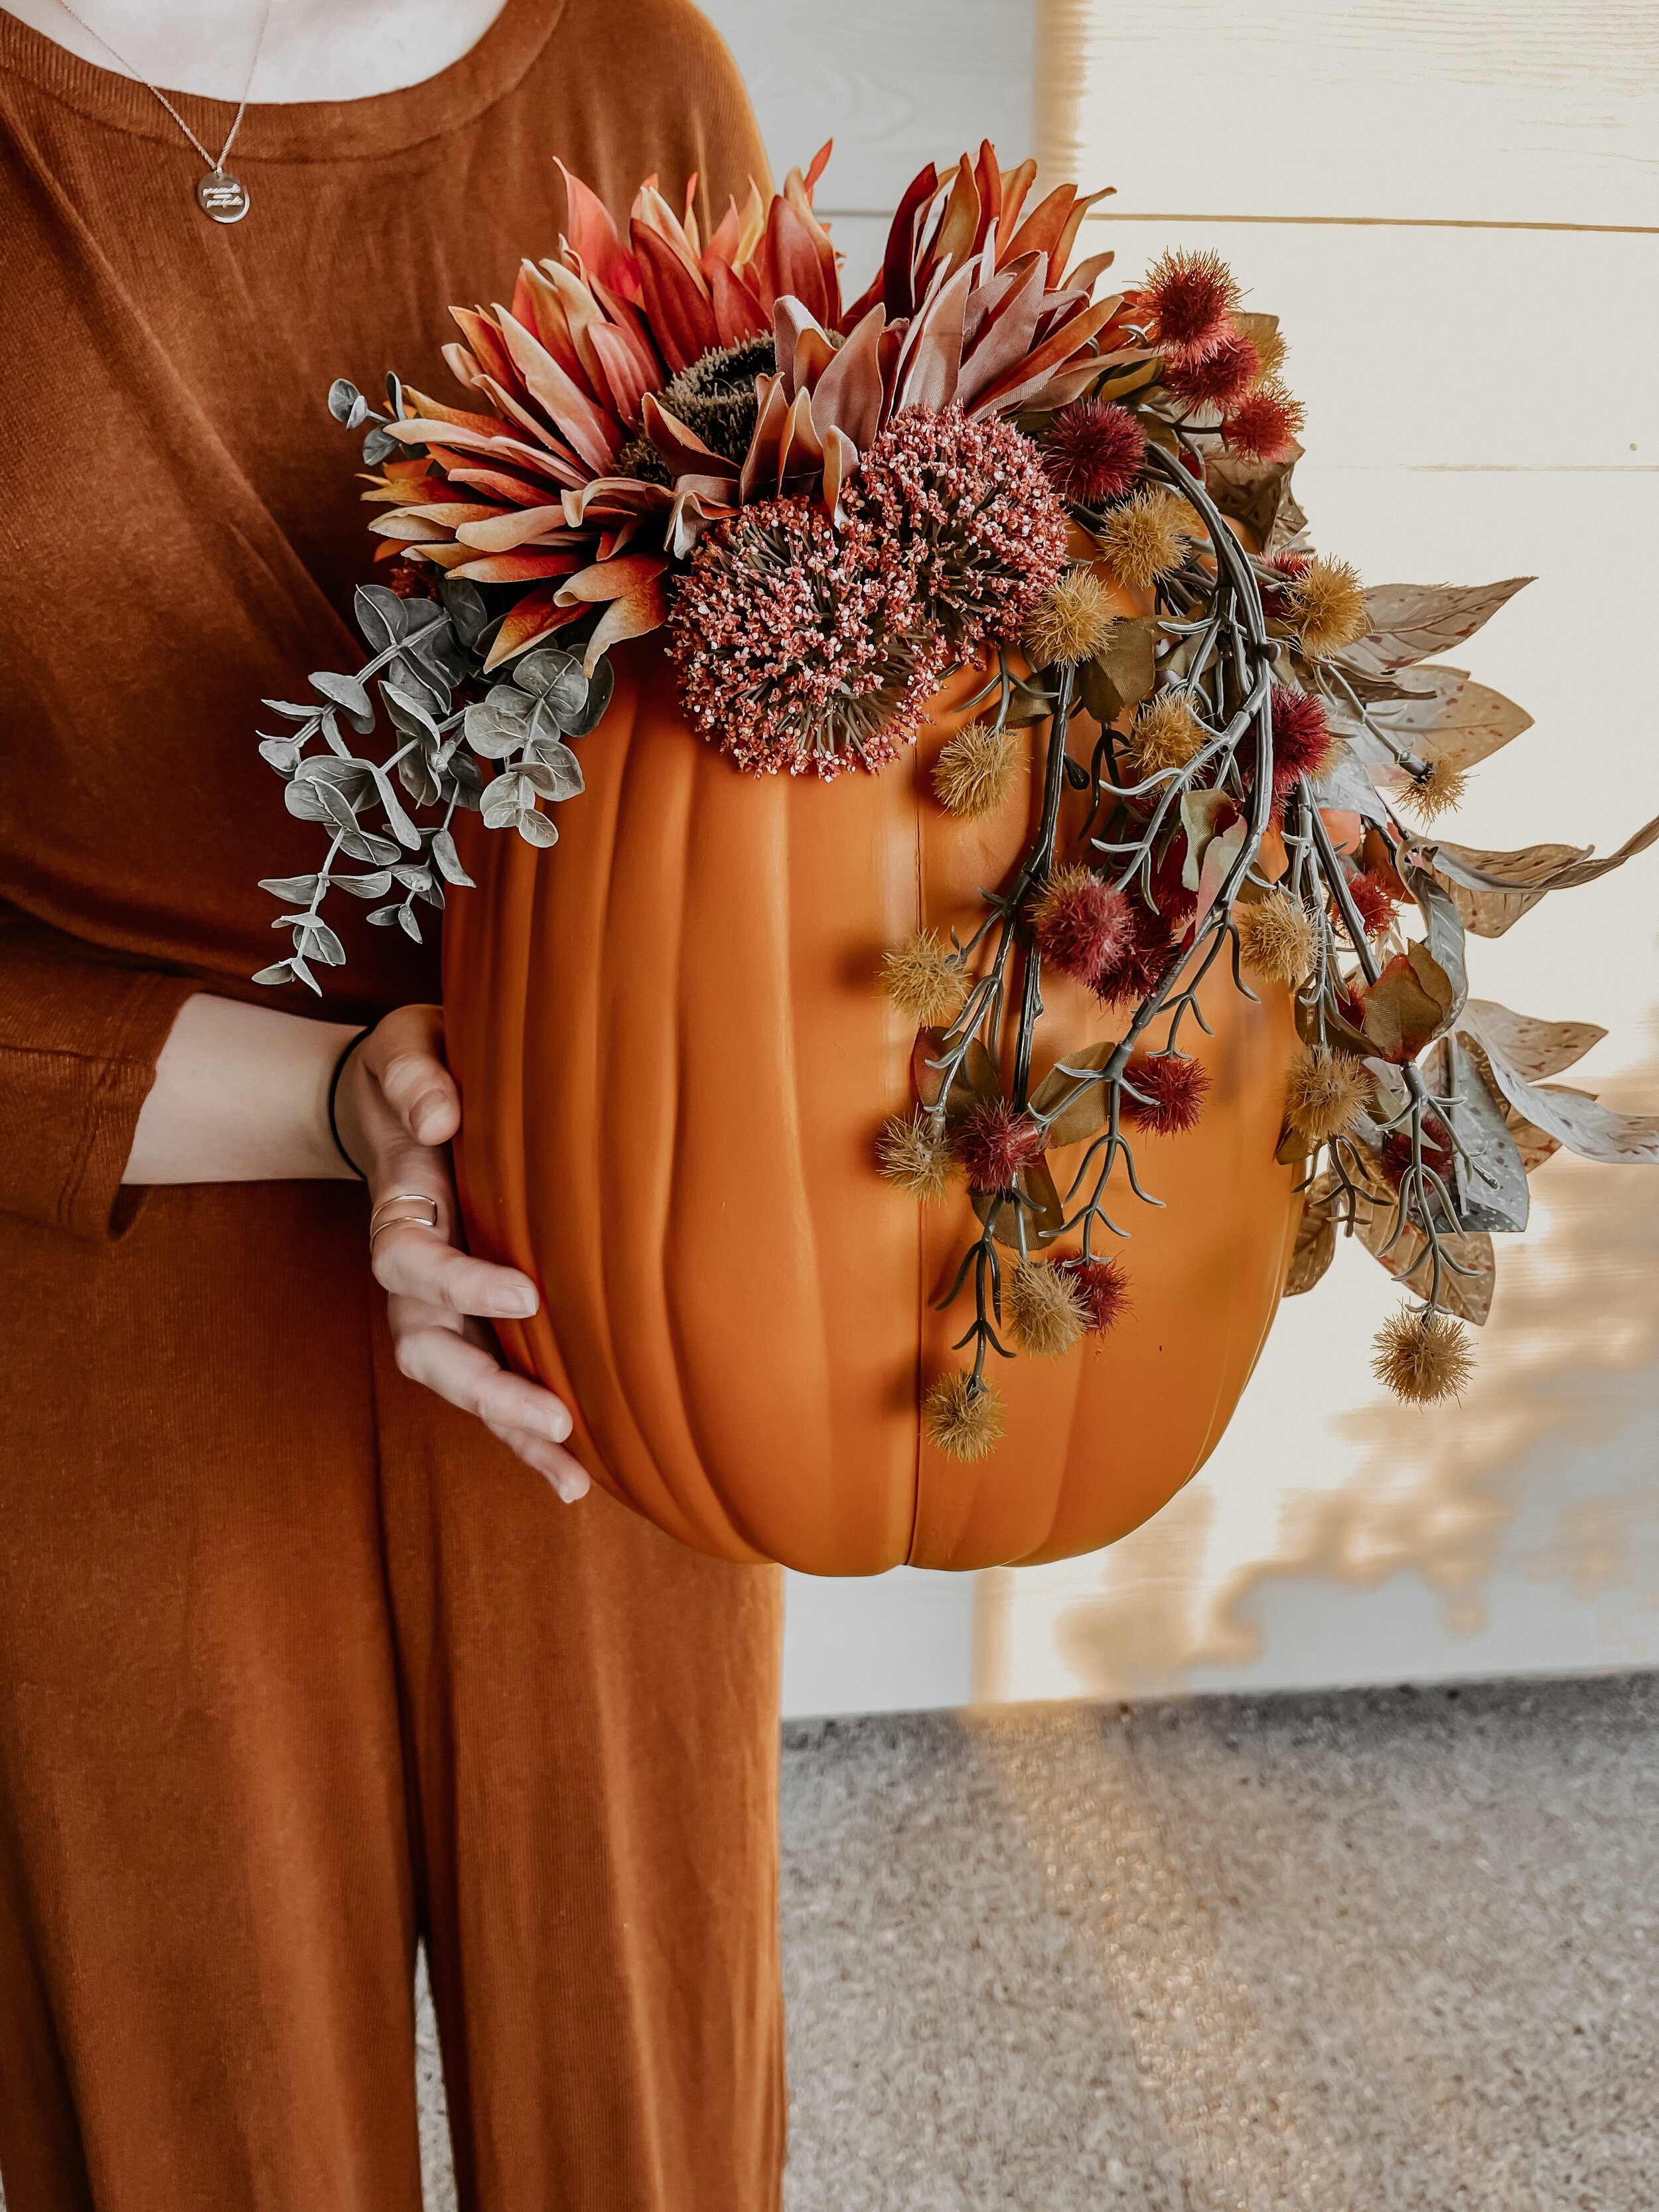
I grabbed the leftover faux floral from my haul for the dough bowl centerpiece and got to work trimming. I knew I wanted varying lengths, textures, and colors that popped against the orange of the pumpkin, but still stayed true to fall. I decided to go with a mix of stems and large and small flowerheads. 

DIY Fall Floral Pumpkin

After figuring out the right mix of faux floral, my next challenge was deciding the best way to secure them to the smooth-surfaced pumpkin. I was heating up a glue gun but knew it was going to be hard to get the tiny floral stems to stay attached. My husband is theeee best brainstorm partner when it comes to these types of questions. He at first suggested I sand down the surface a bit, but then recommended I try out a staple gun.

My first thought was 'staple gun?!’ I’m not going to lie… I was skeptical because I was nervous the pumpkin would split. But the material was strong and sturdy enough that it worked like a charm! It was smooth sailing from there -- the staple gun made it go SO fast! Of course, there were a few floral pieces that logistically I couldn’t staple, but with the pumpkin surface area covered with multiple layers toward the end, I could easily secure those last finishing touches with the glue gun.

I love how the asymmetrical look turned out! What do you think? Would you replicate this on a real or faux pumpkin?