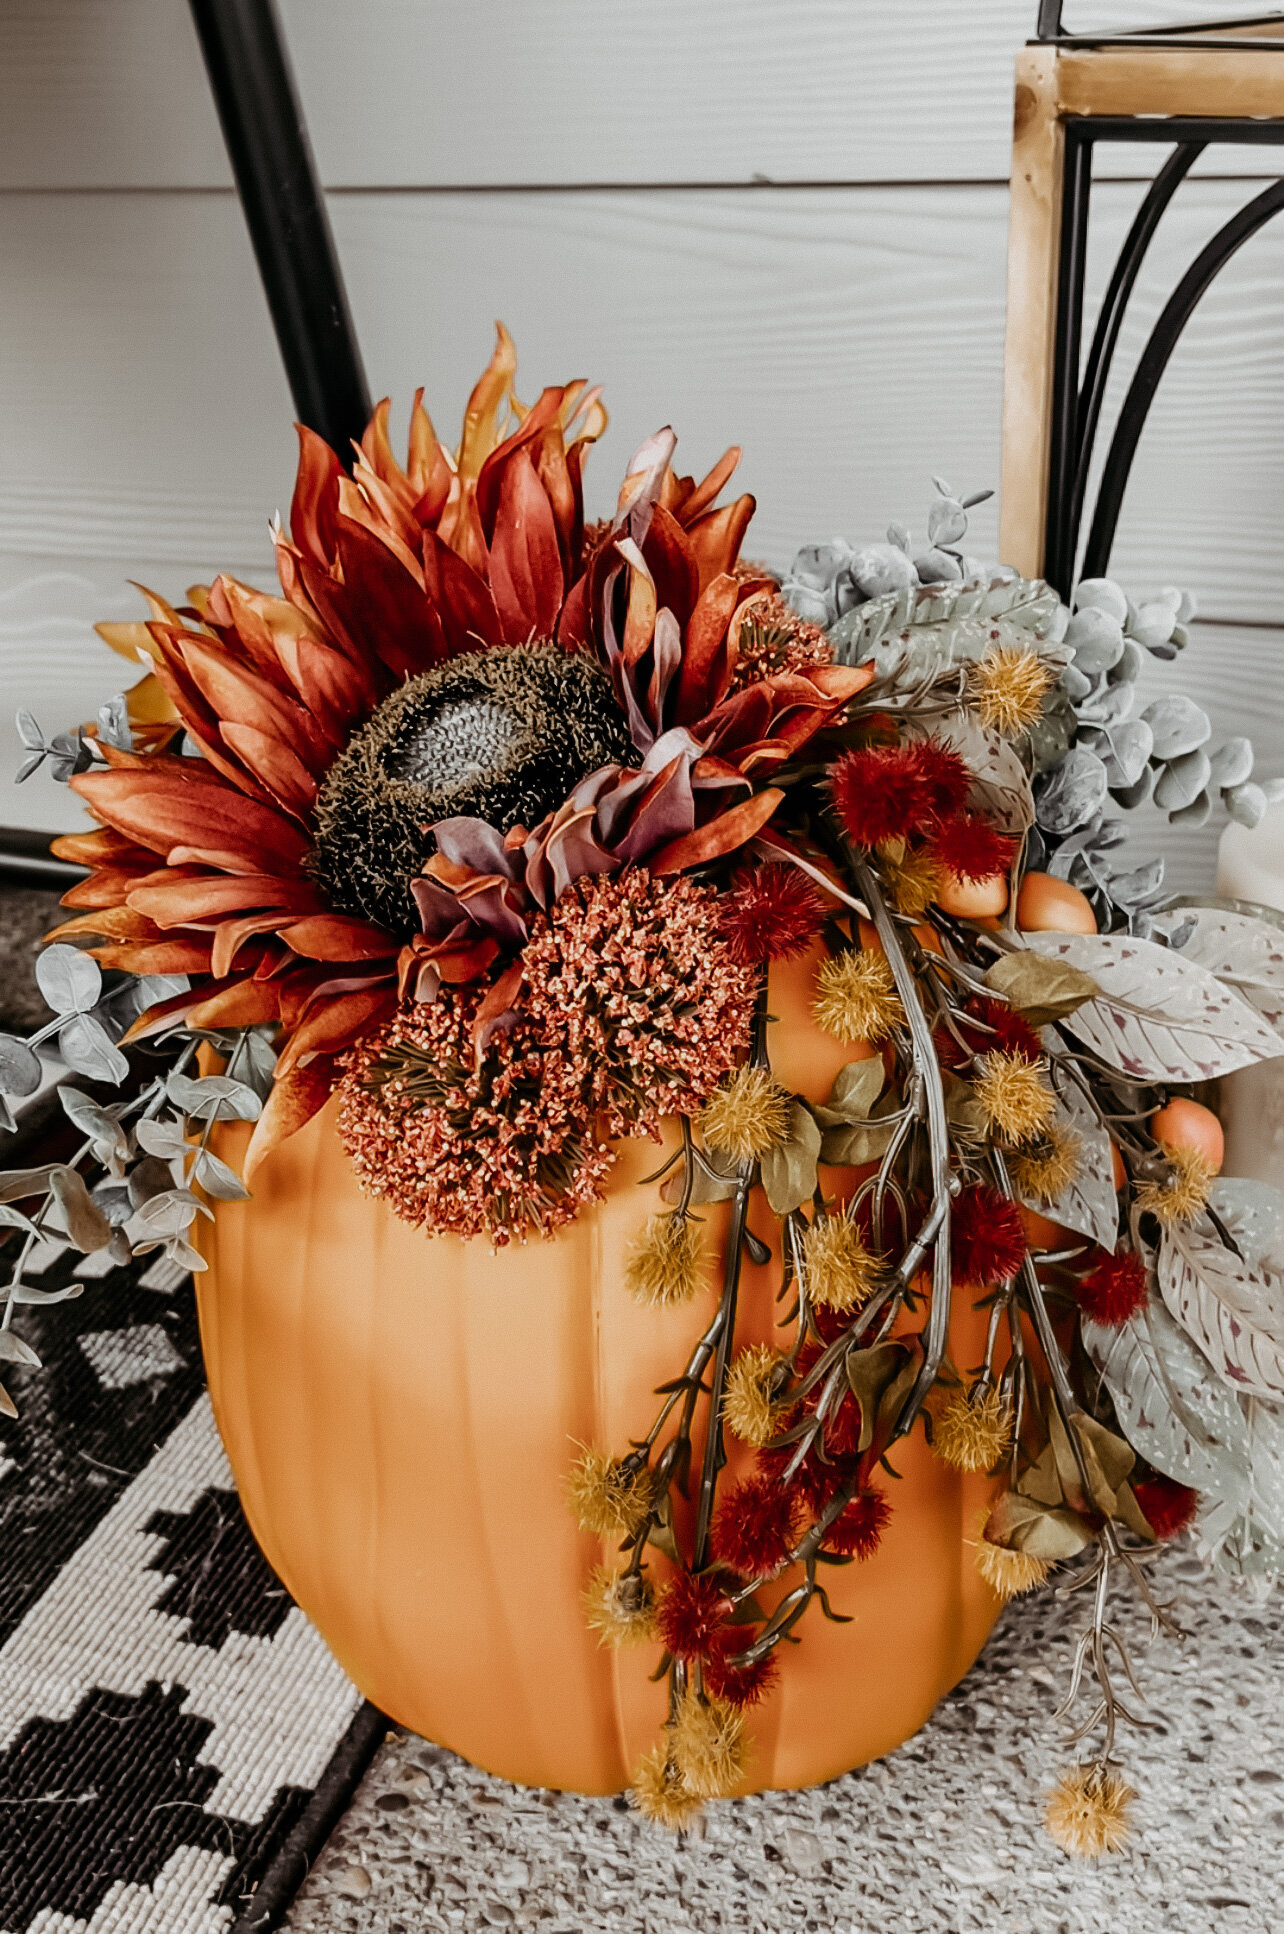
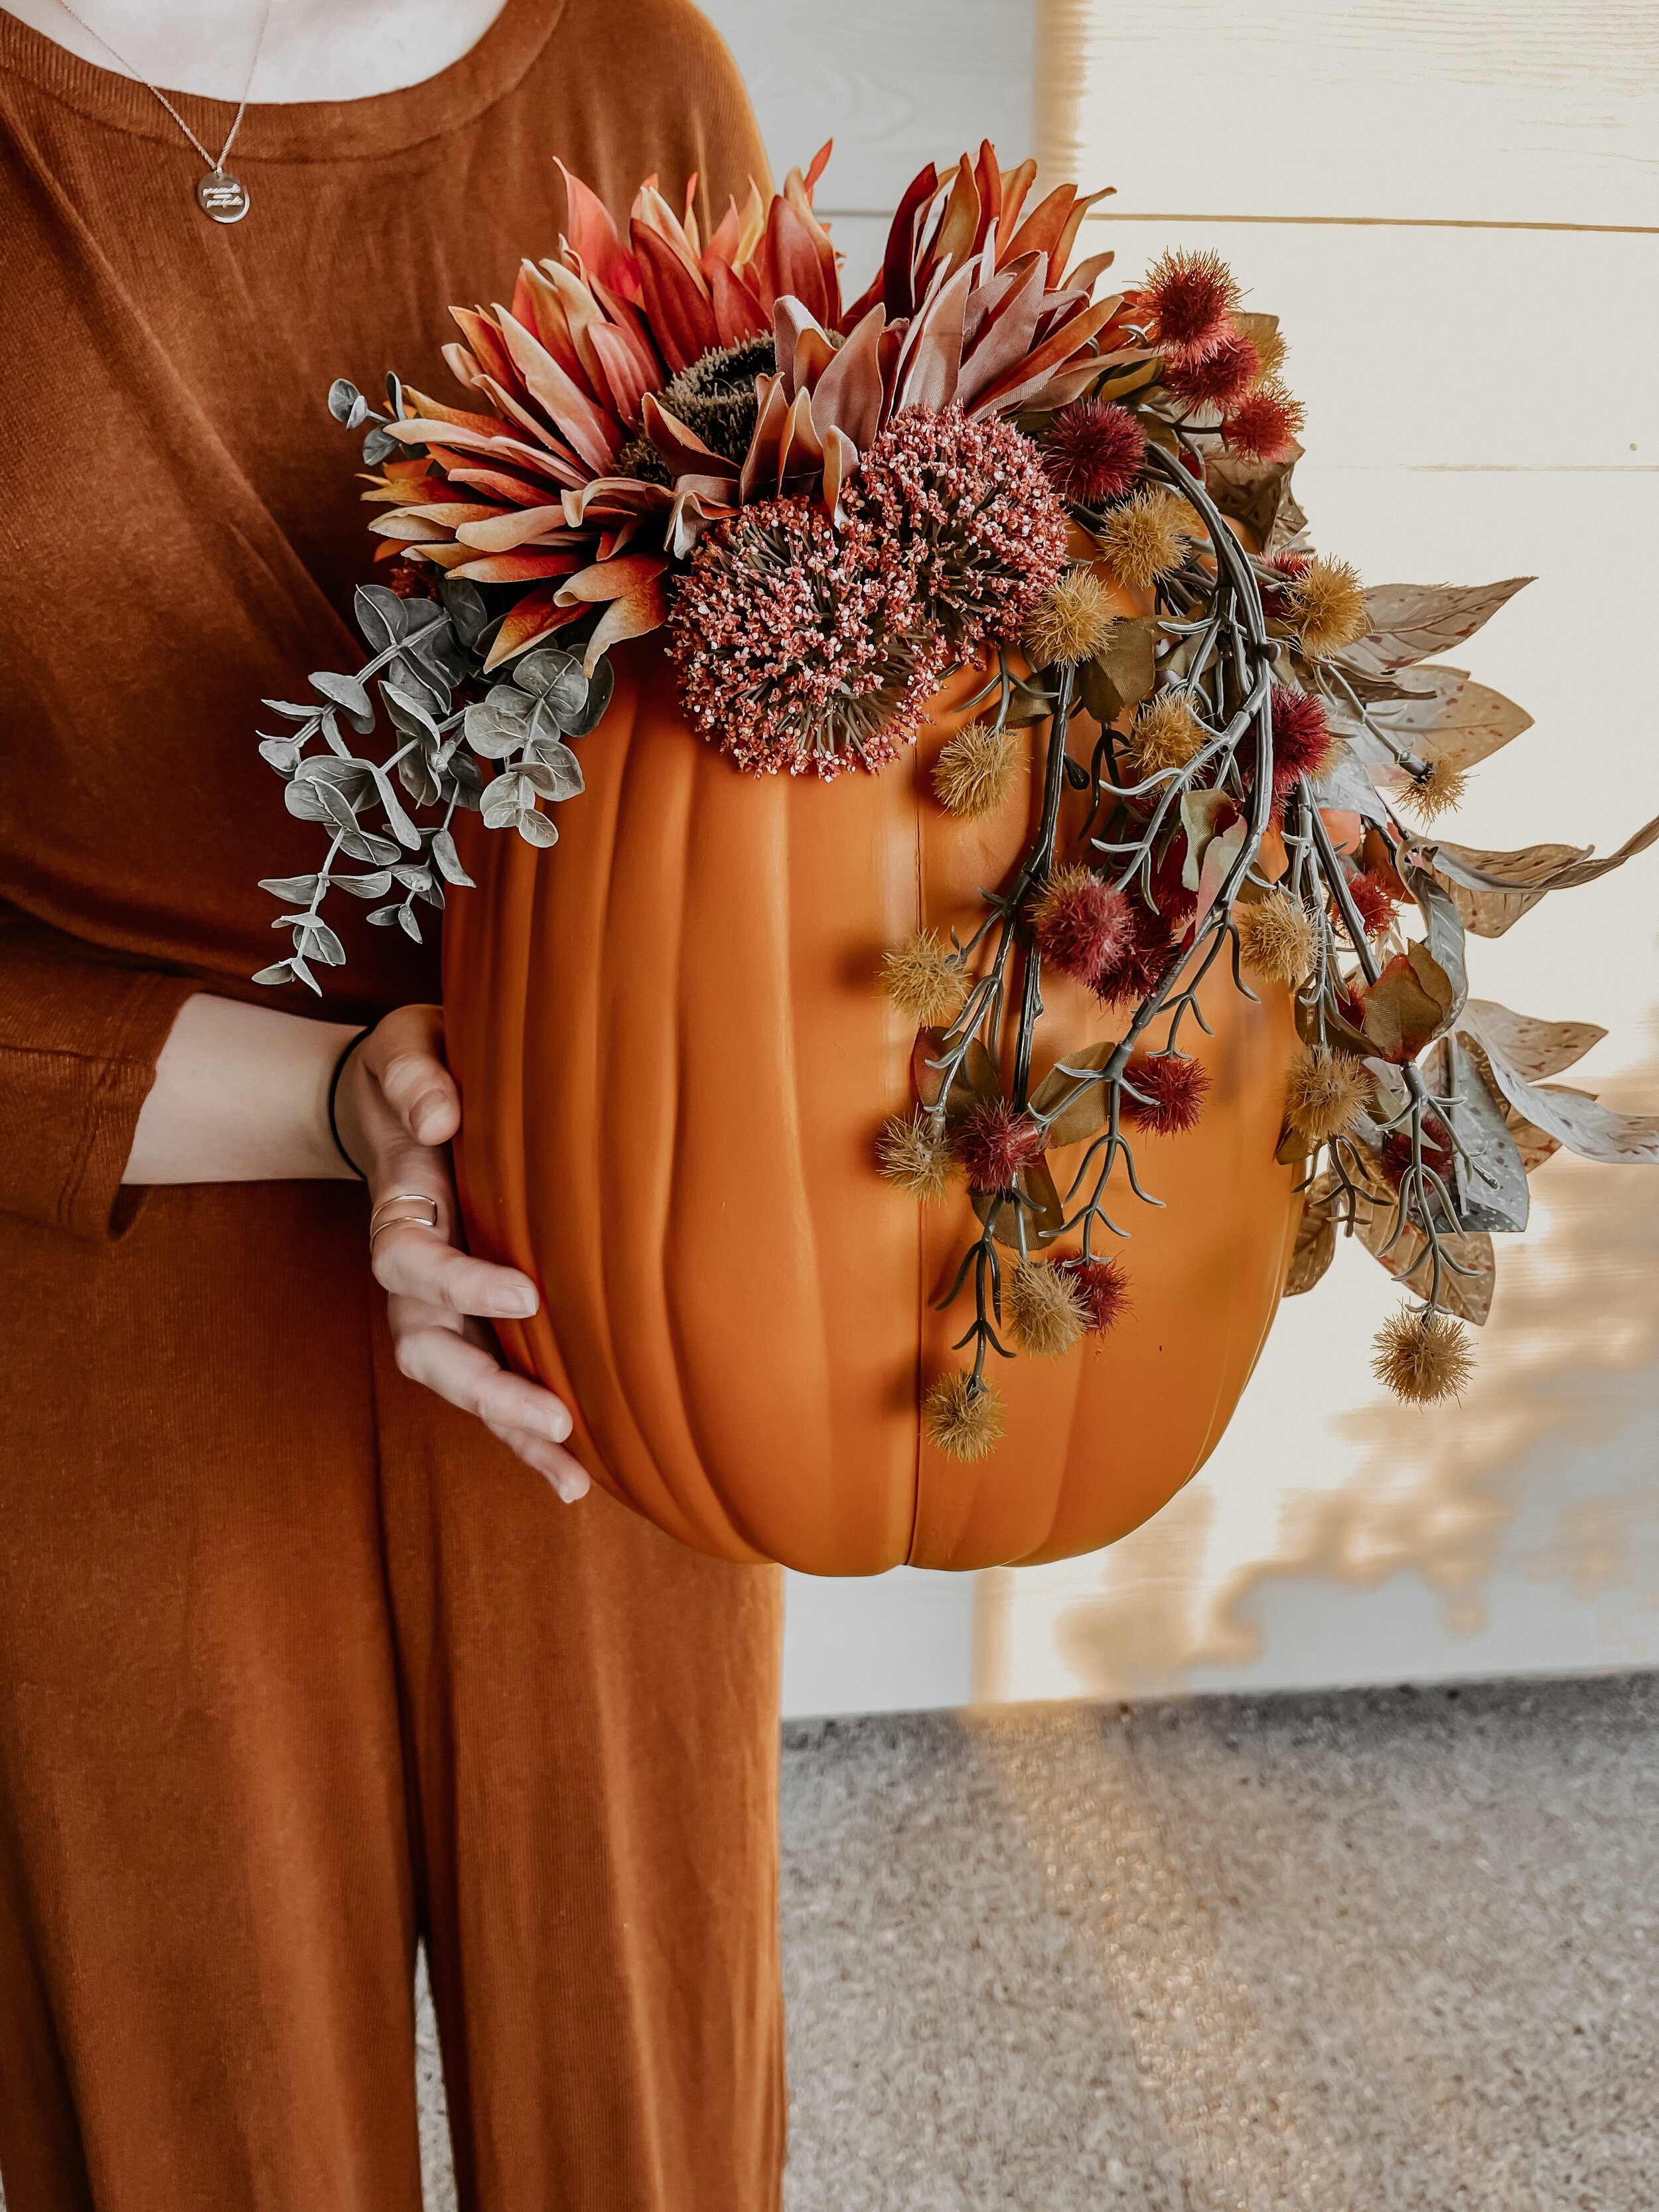
DIY Fall Floral Pumpkin
/By now, you guys know I LOVE fall. 🍂🎃 And one of my other favorite things? Crafting. Put them together and you get some fun fall DIY content like this DIY fall vintage dough bowl centerpiece and today’s post: this adorable fall floral pumpkin!
Let me tell you… the love for fall runs DEEP in my family. We don’t mess around with the fall vibes -- everything from home decor to DIY to crockpot soups. So it won’t surprise you that my mom is the one who inspired this project! She sent me a cute inspiration photo (below) with a real pumpkin decorated with faux succulents. My immediate reaction was 1) this would look great on my porch with the lanterns I just purchased and 2) what a fun project to kick off fall!
Based on past projects I’ve done, I knew I didn’t want to use a real pumpkin because I want to be able to display and love this beauty for years to come! So off to Michael’s I went to grab a sturdy faux pumpkin. They had several more standard round options, but I wanted it to be a bit taller and more oval and ended up purchasing this 13” craft pumpkin by Ashland. It was perfect!
I grabbed the leftover faux floral from my haul for the dough bowl centerpiece and got to work trimming. I knew I wanted varying lengths, textures, and colors that popped against the orange of the pumpkin, but still stayed true to fall. I decided to go with a mix of stems and large and small flowerheads.
After figuring out the right mix of faux floral, my next challenge was deciding the best way to secure them to the smooth-surfaced pumpkin. I was heating up a glue gun but knew it was going to be hard to get the tiny floral stems to stay attached. My husband is theeee best brainstorm partner when it comes to these types of questions. He at first suggested I sand down the surface a bit, but then recommended I try out a staple gun.
My first thought was 'staple gun?!’ I’m not going to lie… I was skeptical because I was nervous the pumpkin would split. But the material was strong and sturdy enough that it worked like a charm! It was smooth sailing from there -- the staple gun made it go SO fast! Of course, there were a few floral pieces that logistically I couldn’t staple, but with the pumpkin surface area covered with multiple layers toward the end, I could easily secure those last finishing touches with the glue gun.
I love how the asymmetrical look turned out! What do you think? Would you replicate this on a real or faux pumpkin?

