Essential Oil Rollerball Blend for Energy

Essential Oil Rollerball Recipe for Energy

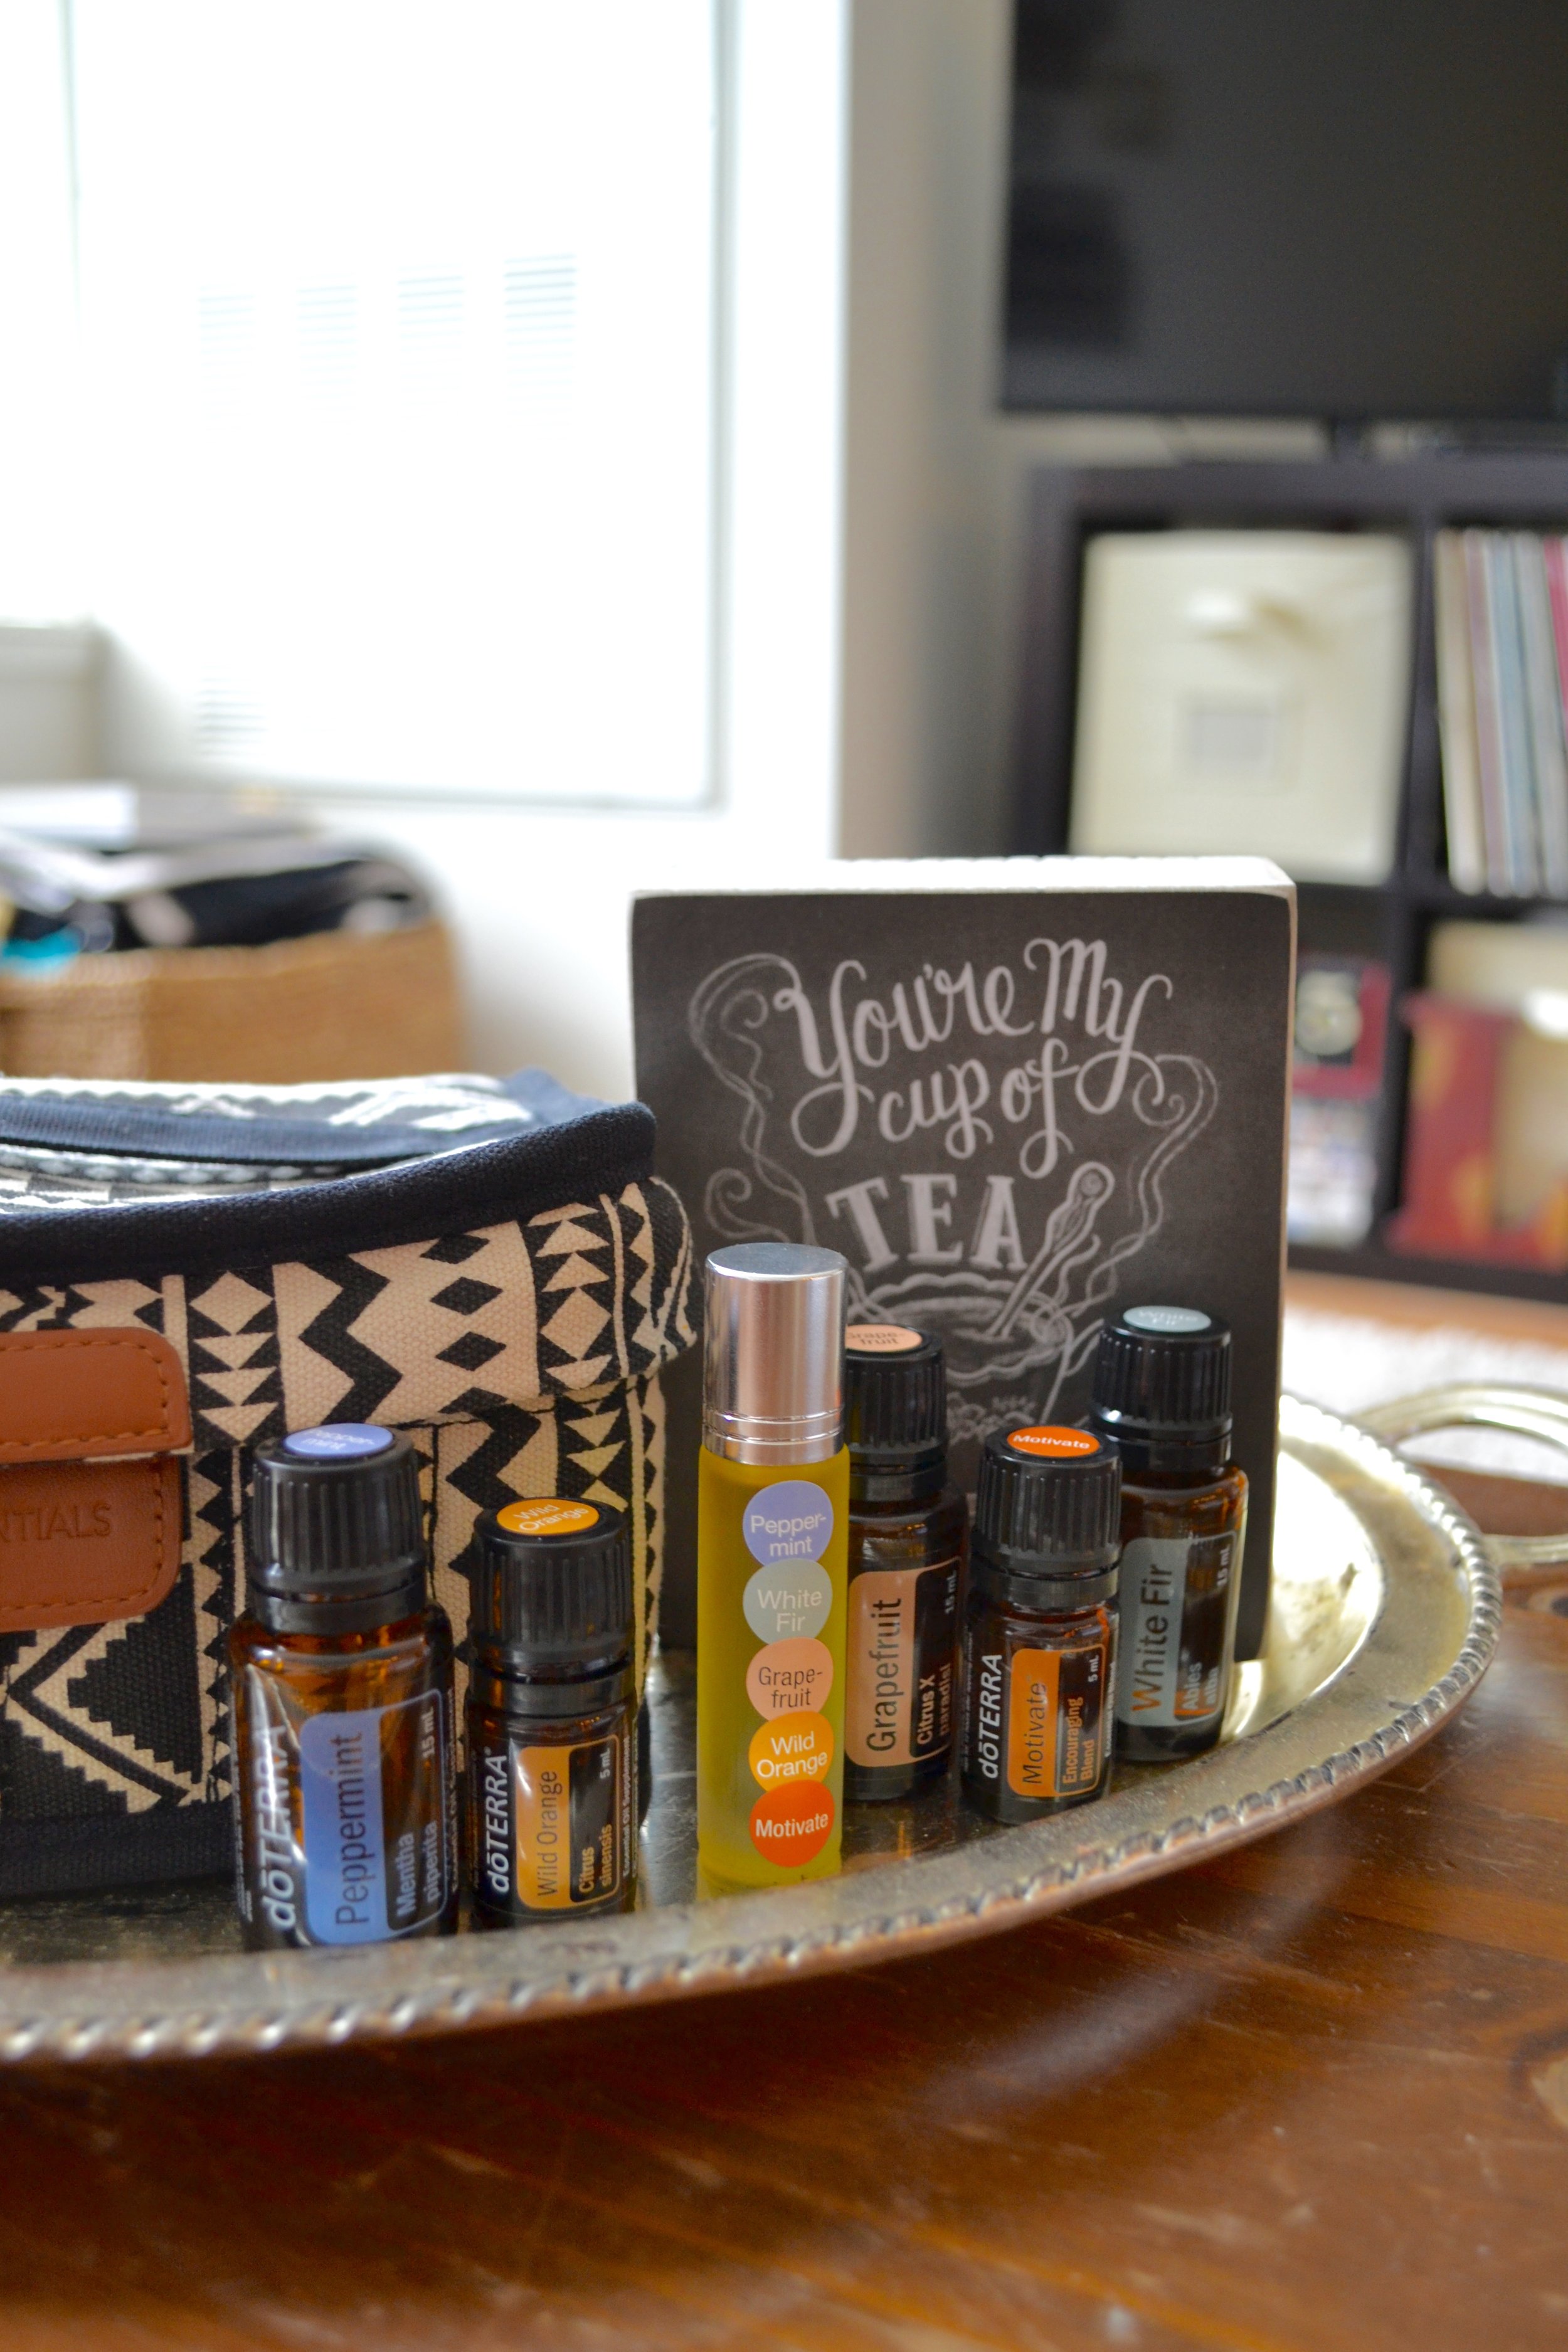
I don't know about you guys but I have been TIRED lately. I just cannot seem to wake up in the mornings. While there are definitely habits I should kick (like immediately looking at social media right when I wake up instead of just getting out of bed), I'll take any help I can get in the energy department. That's why I'm oh so excited to share this essential oil energy roller bottle blend I created over the weekend. 

And it's my first time diving into a how-to YouTube video! I'm so excited to launch my YouTube account at This Dainty Life. Check it out and subscribe if you want to stay updated on all things TDL, from DIY fun to essential oil goodness. I have a few upcoming videos I'm so excited to upload in the next couple of weeks.

How to Make an Essential Oil Rollerball Blend for Energy

  1. Supplies needed: glass roller bottle (mine was gifted to me by my lovely friend Janelle! you can find it on Amazon), essential oils listed below, fractionated coconut oil
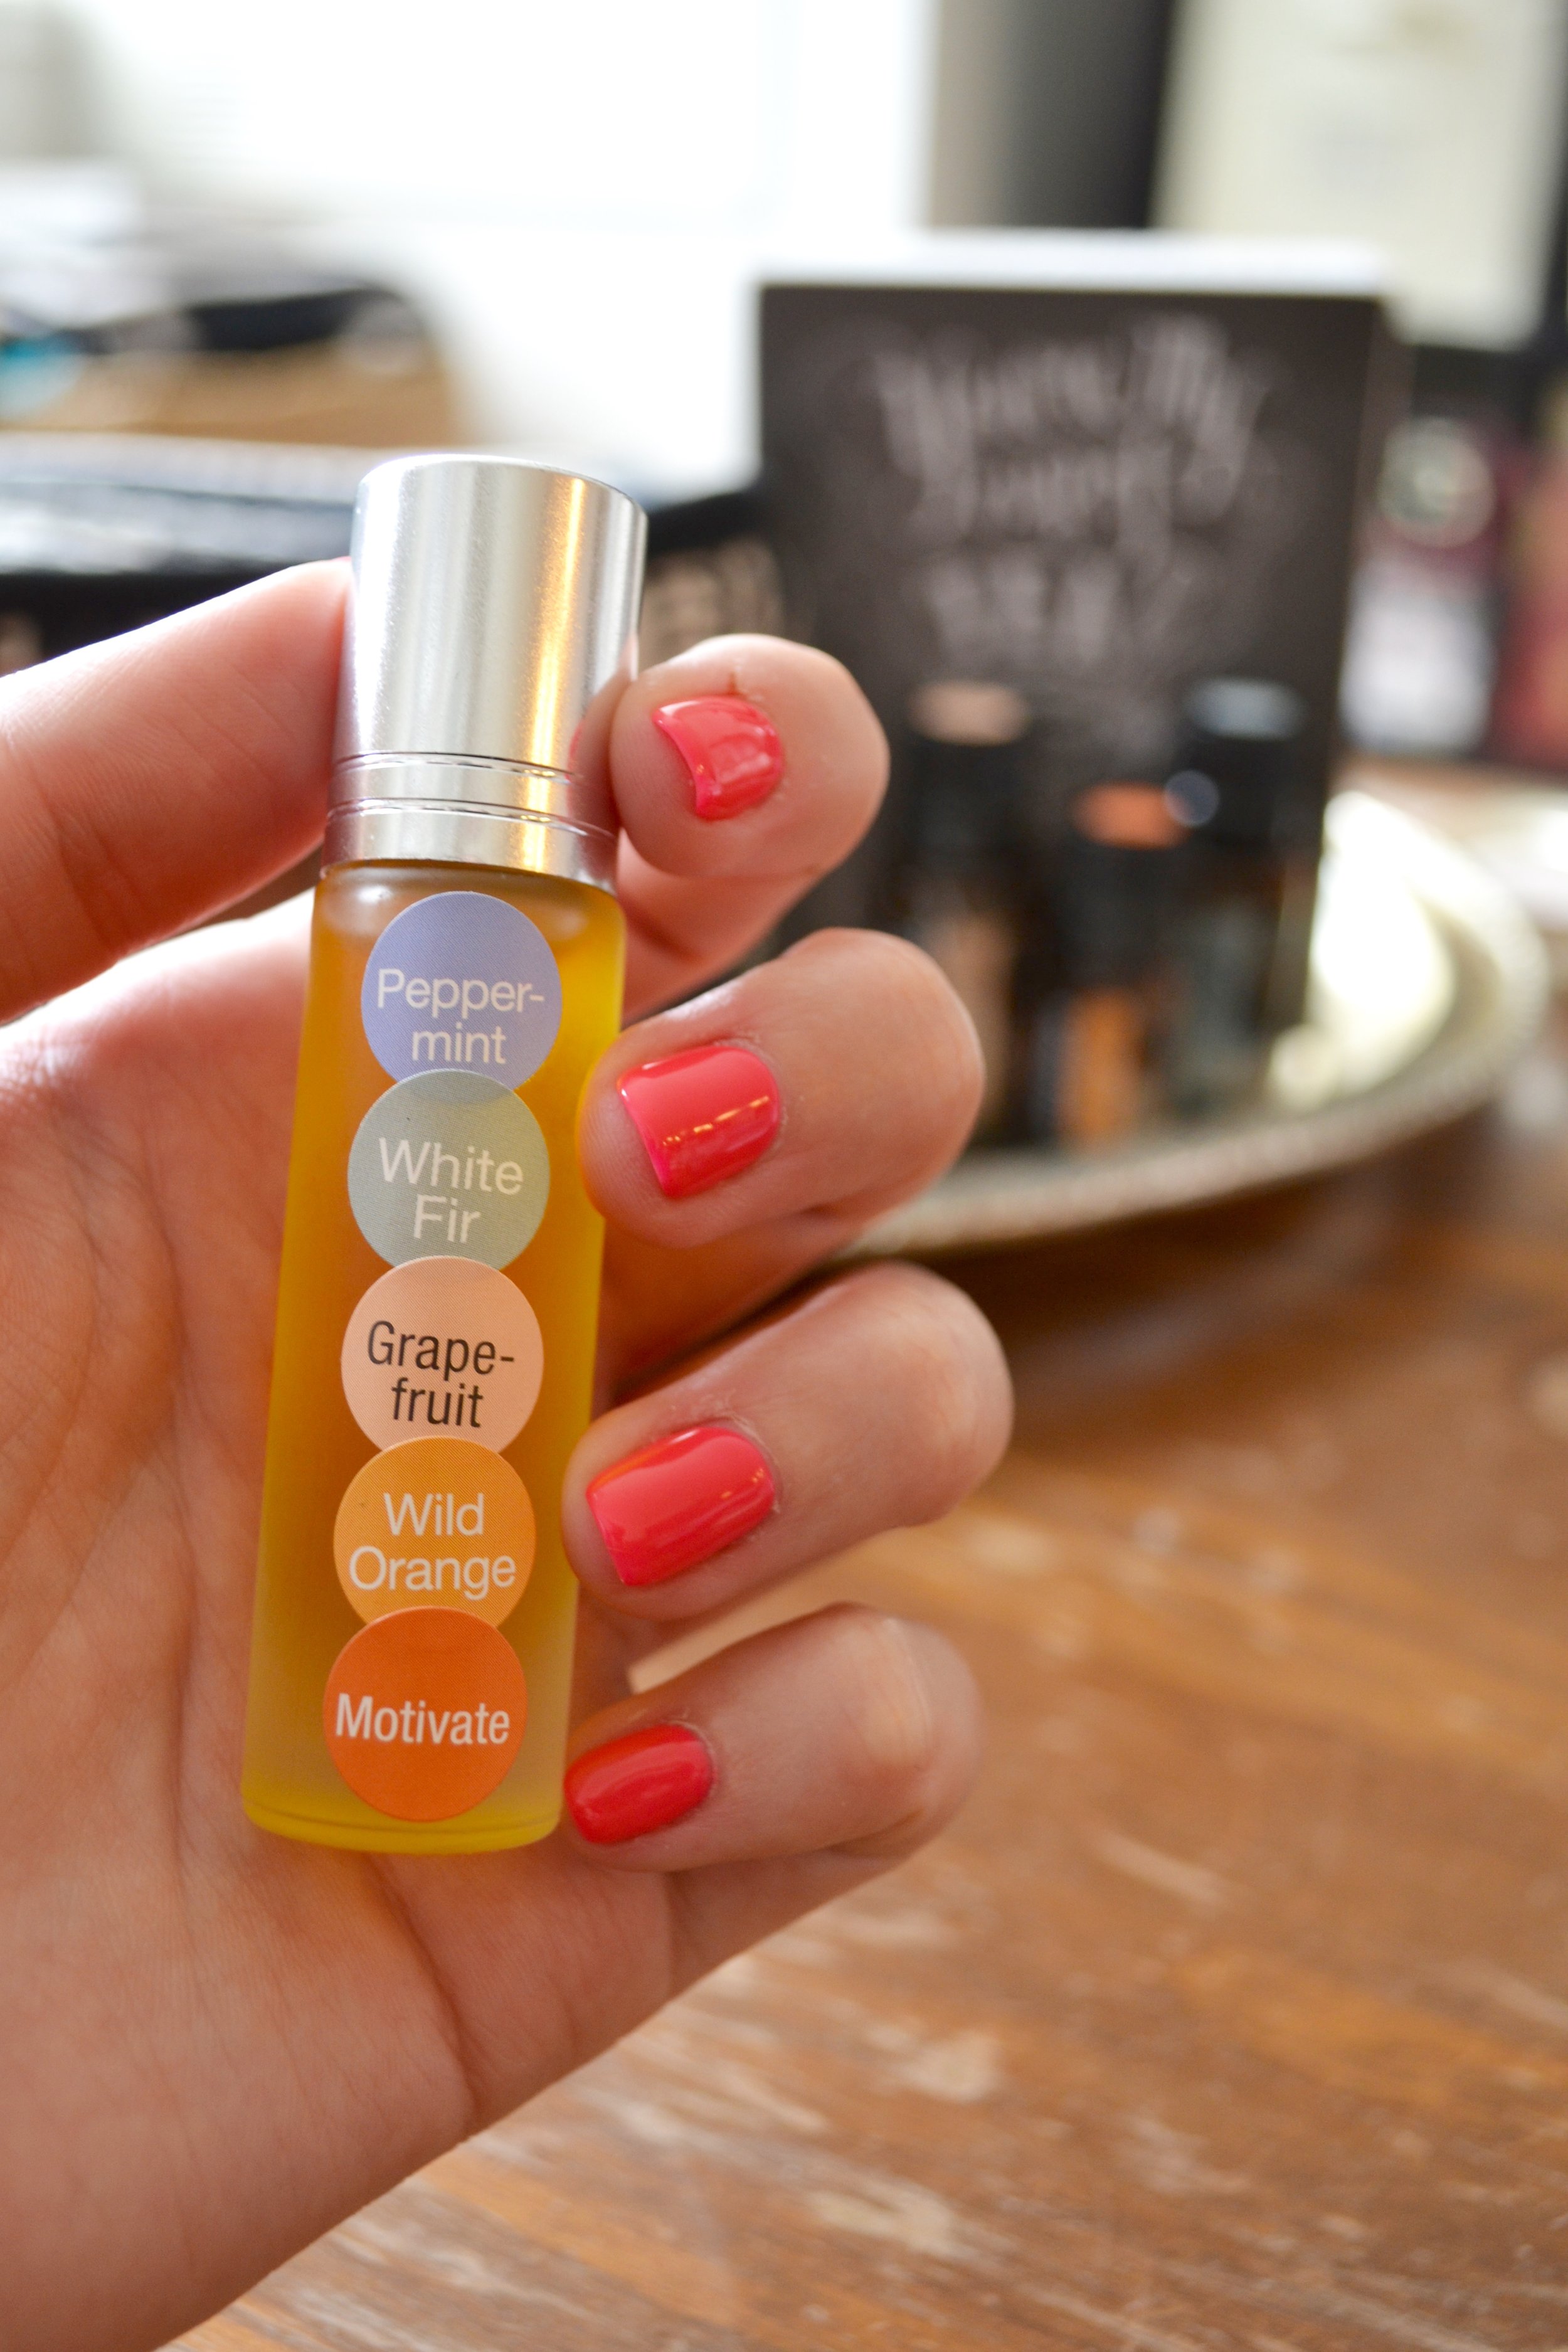
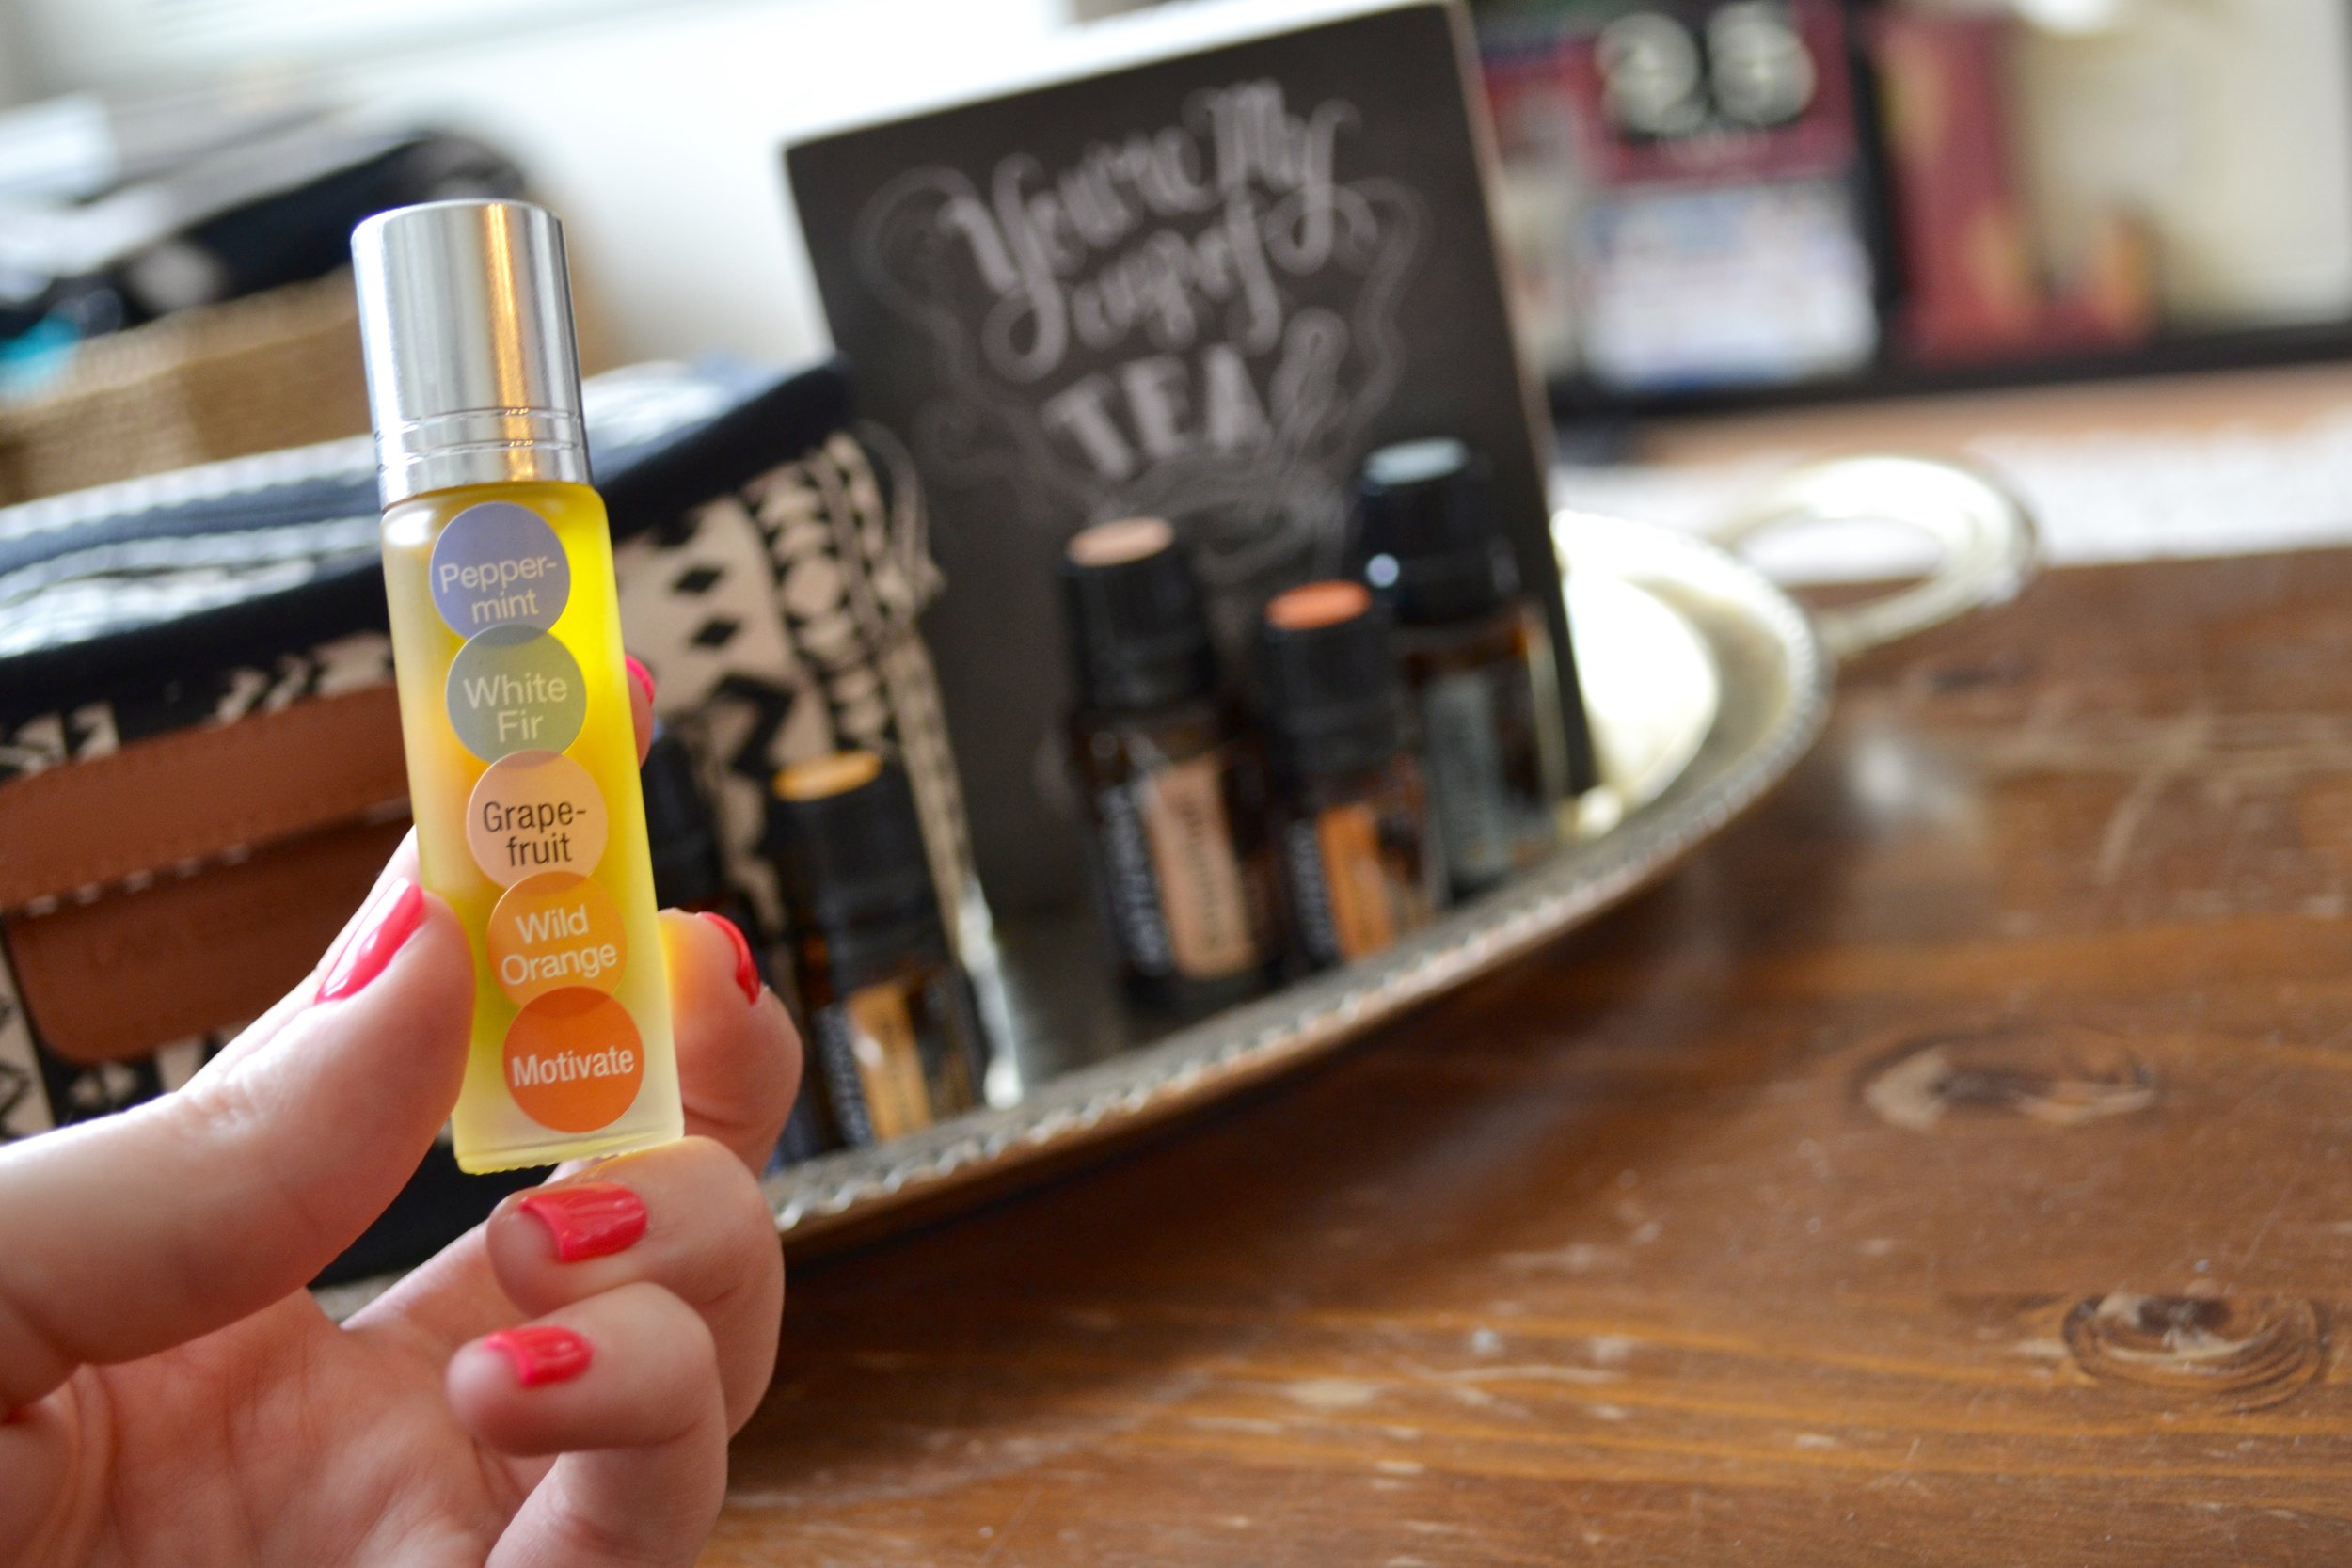
  2. Pour 20 drops of peppermint and white fir into your roller bottle
  3. Add 15 drops of grapefruit and wild orange
  4. Continue with 10 drops of Motivate®
  5. Once all of your oils are in the roller bottle, top off your blend with fractionated coconut oil
  6. Attach the rollerball, screw on the lid, and shake it to mix together the oils a bit - you're done!
Essential Oil Rollerball Blend for Energy

Benefits of These Energy-Blend Essential Oils

Peppermint

  • Boasts a refreshing, pick-me-up aroma

  • Promotes clear breathing and healthy respiratory function

  • Helps combat occasional stomach upset

  • Can be used in toothpaste for oral health

White Fir

  • Energizes the body and the mind

  • Elicits feelings of energy, stability, and empowerment

  • Aids the body in relaxation

  • Supports respiratory function and clear breathing

  • Gives soothing support to sore joints and muscles

Grapefruit

  • Helps reduce mental and physical fatigue

  • Aids healthy metabolism

  • Supports and soothes sore muscles and joints

  • Helps combat oily skin issues

  • Purifies and cleanses

Wild Orange

  • Uplifting to the mind and body

  • High in antioxidants

  • Acts as a powerful cleanser and purifying agent, while protecting against seasonal and environmental threats

Motivate

  • Promotes feelings of courage, confidence, and belief

  • Counteracts negative emotions of cynicism, doubt, and pessimism

Essential Oil Rollerball Blend for Energy

What rollerball blends have helped you increase your energy levels throughout the day? I'd love to hear about them; share in the comments below!


Farm Sweet Farm

Abbey Road Project | Carlton, OR Hops Farm

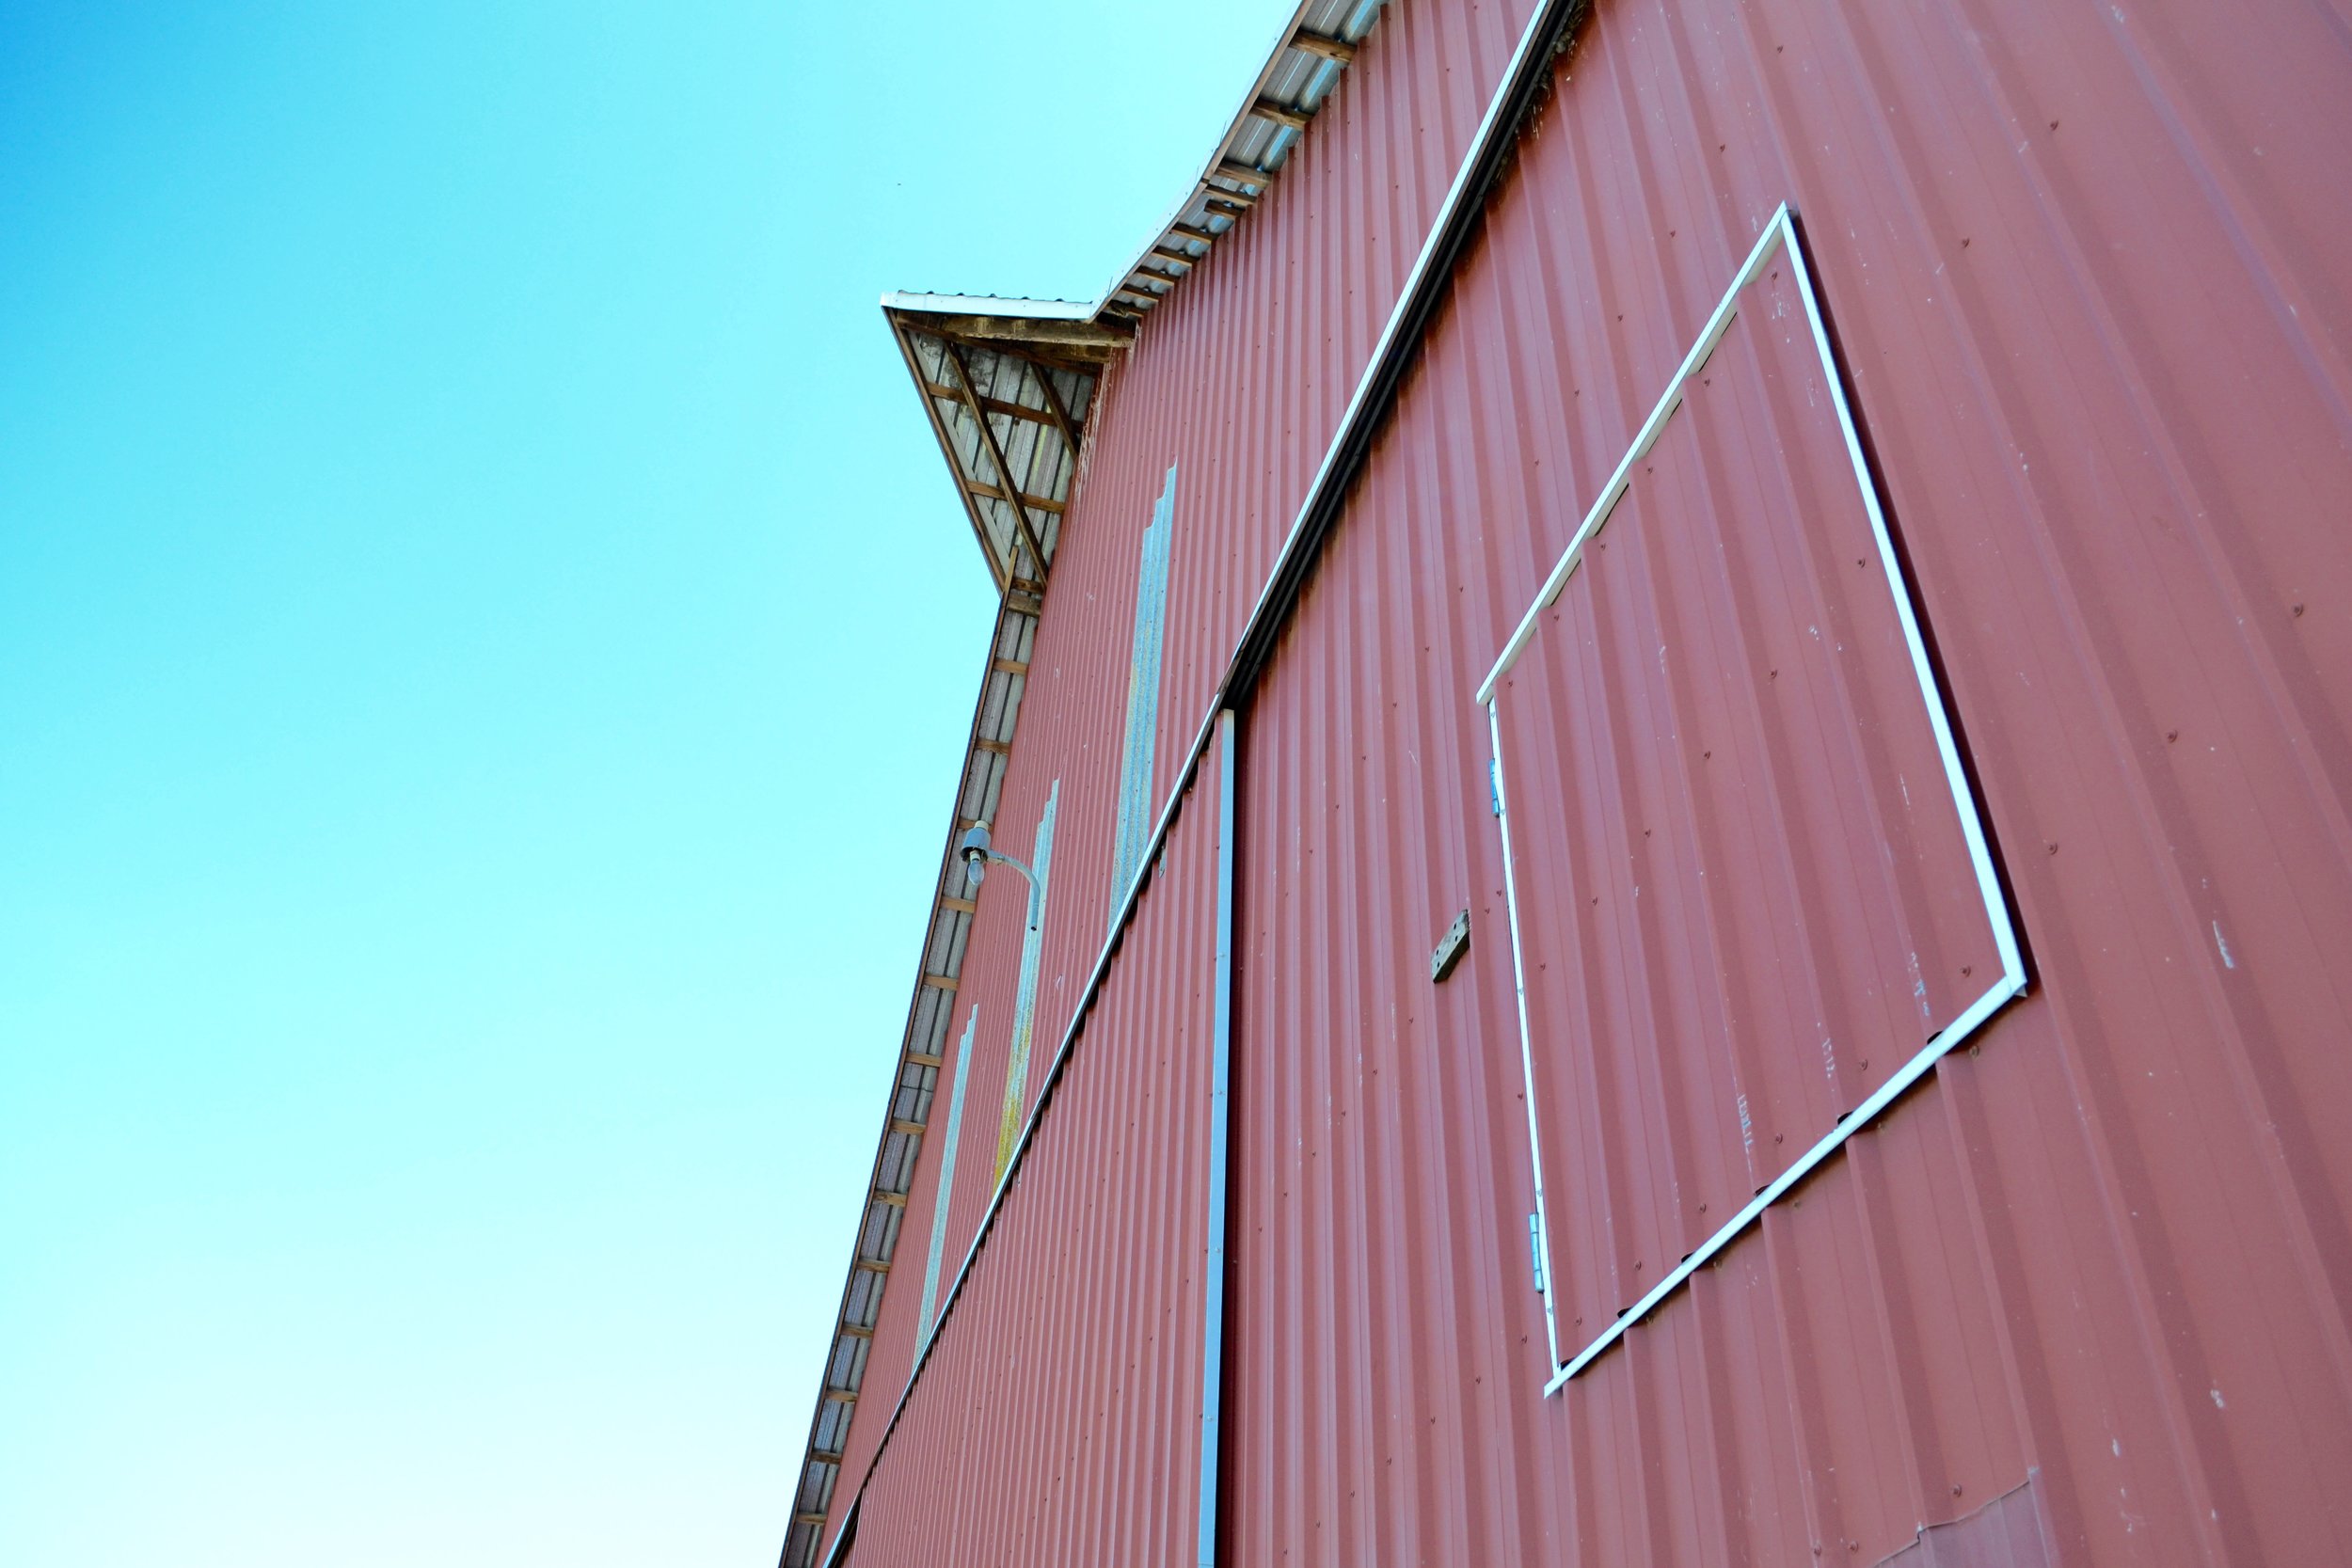
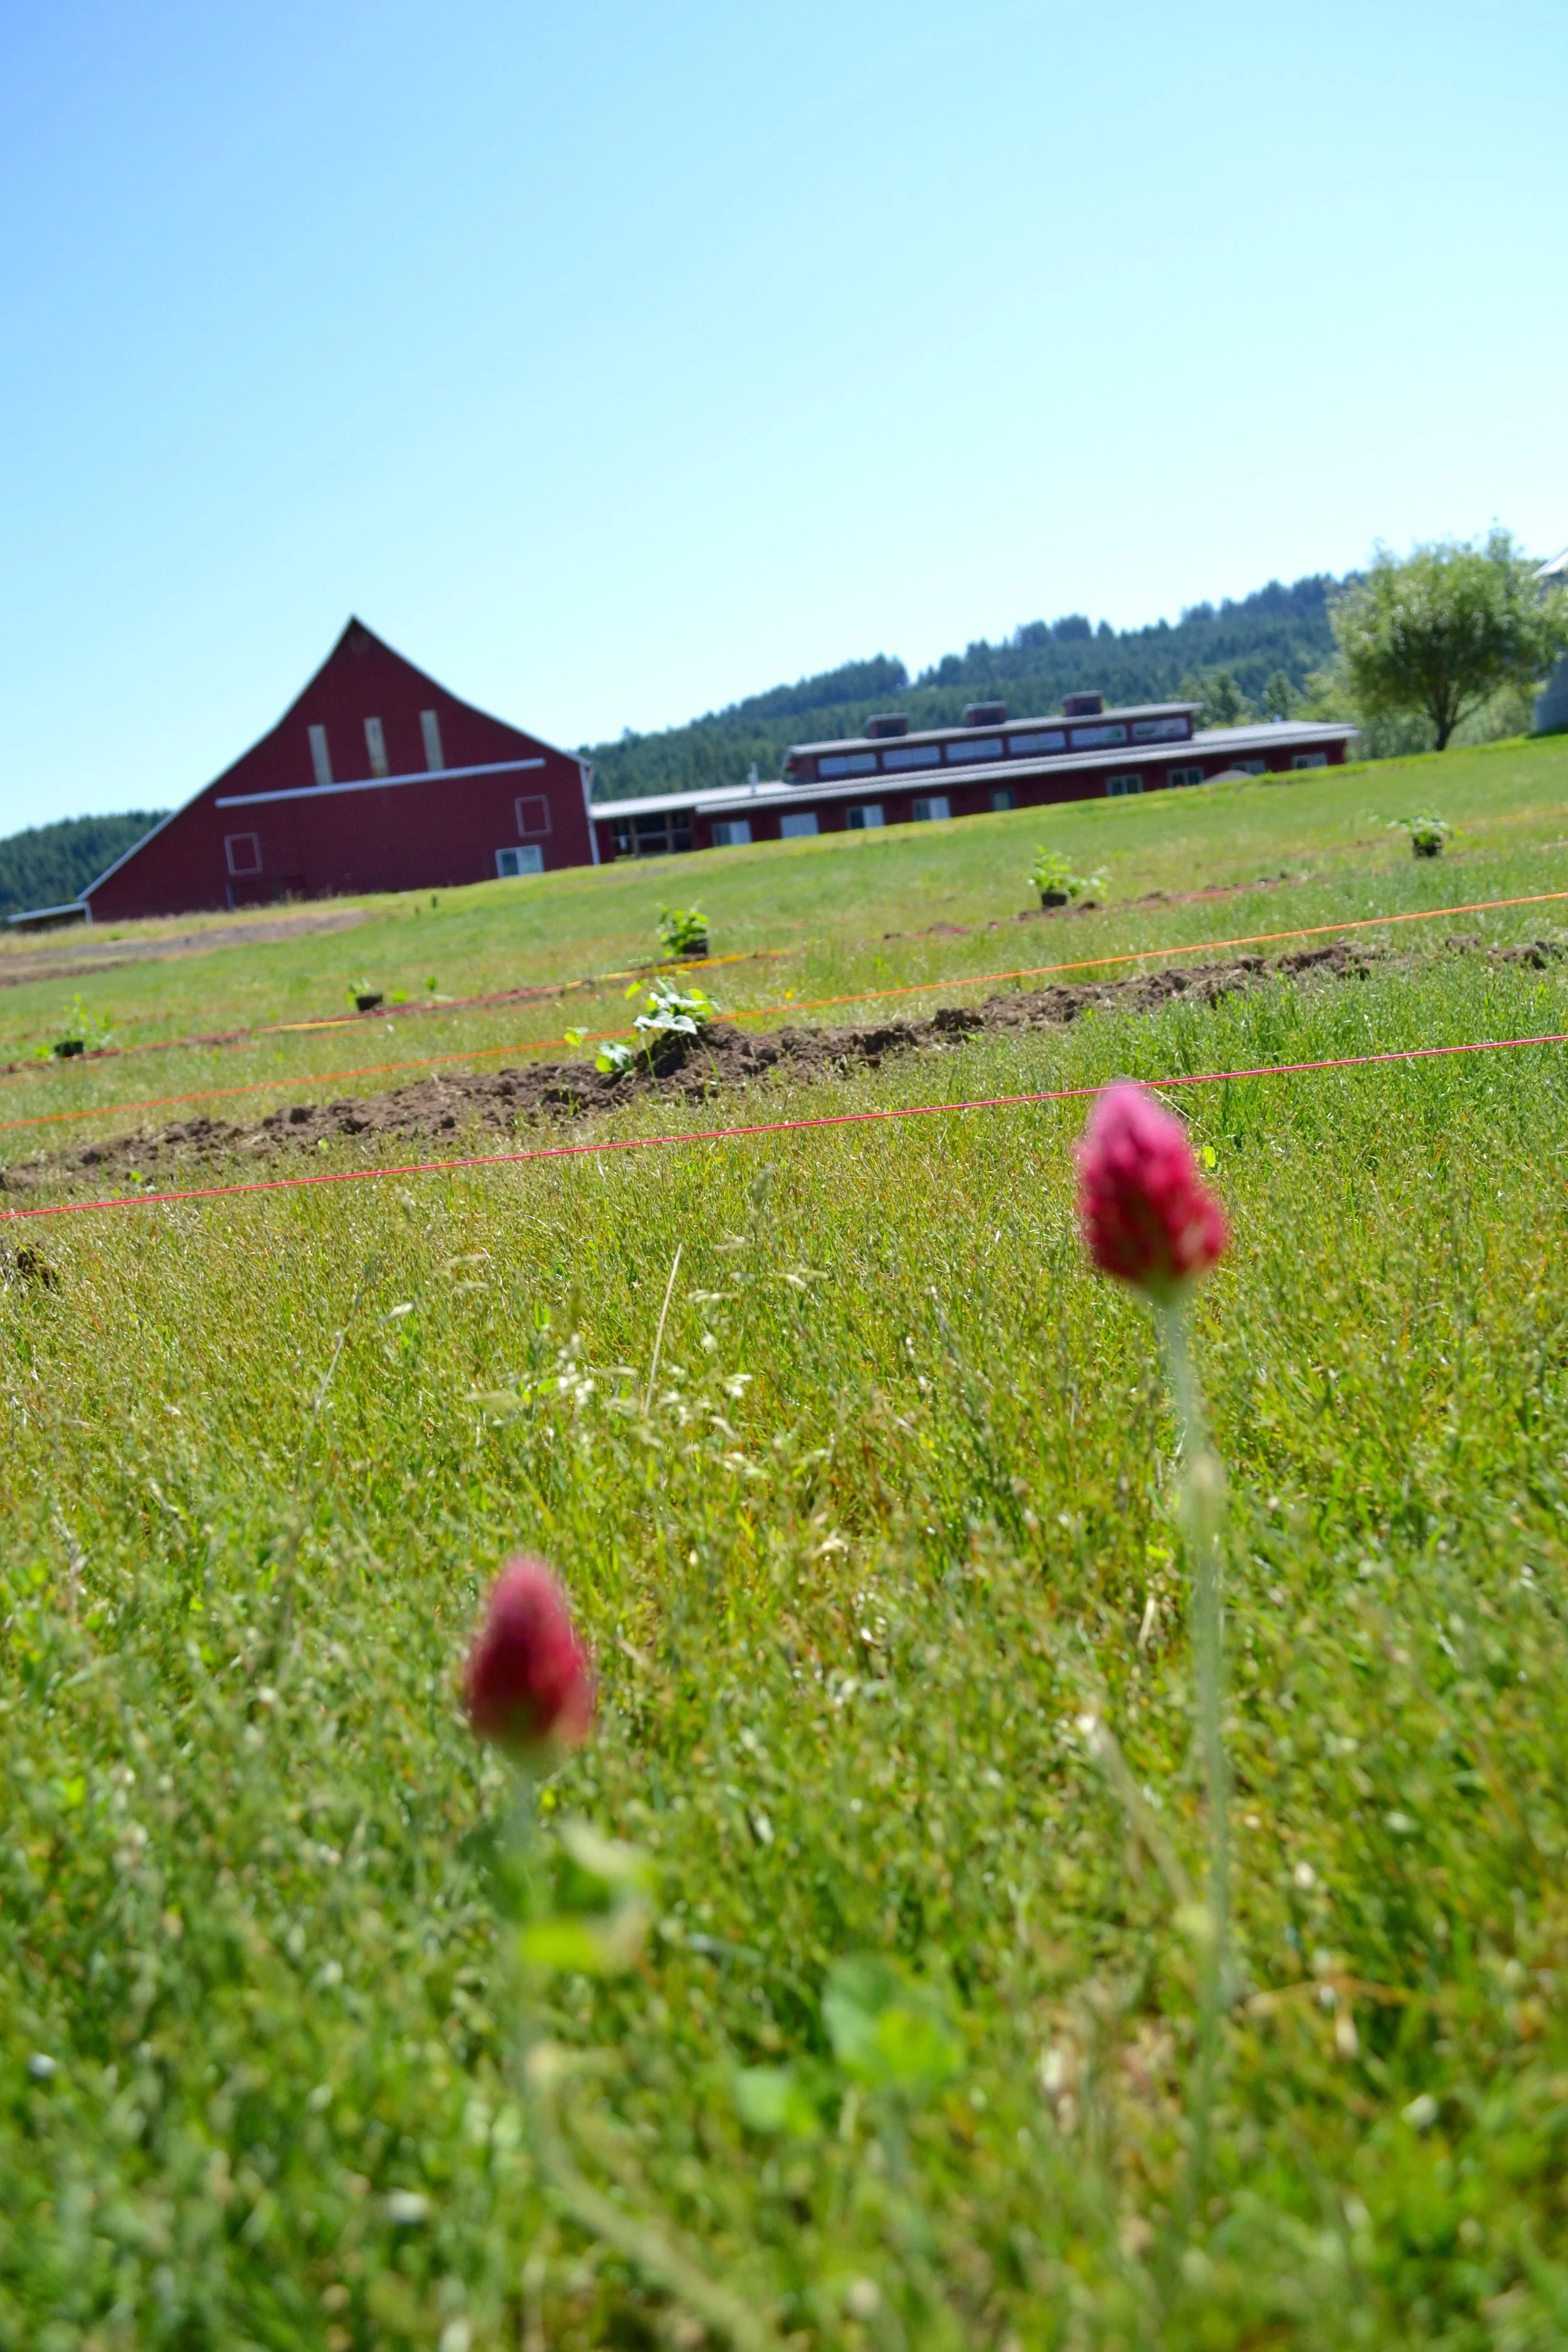
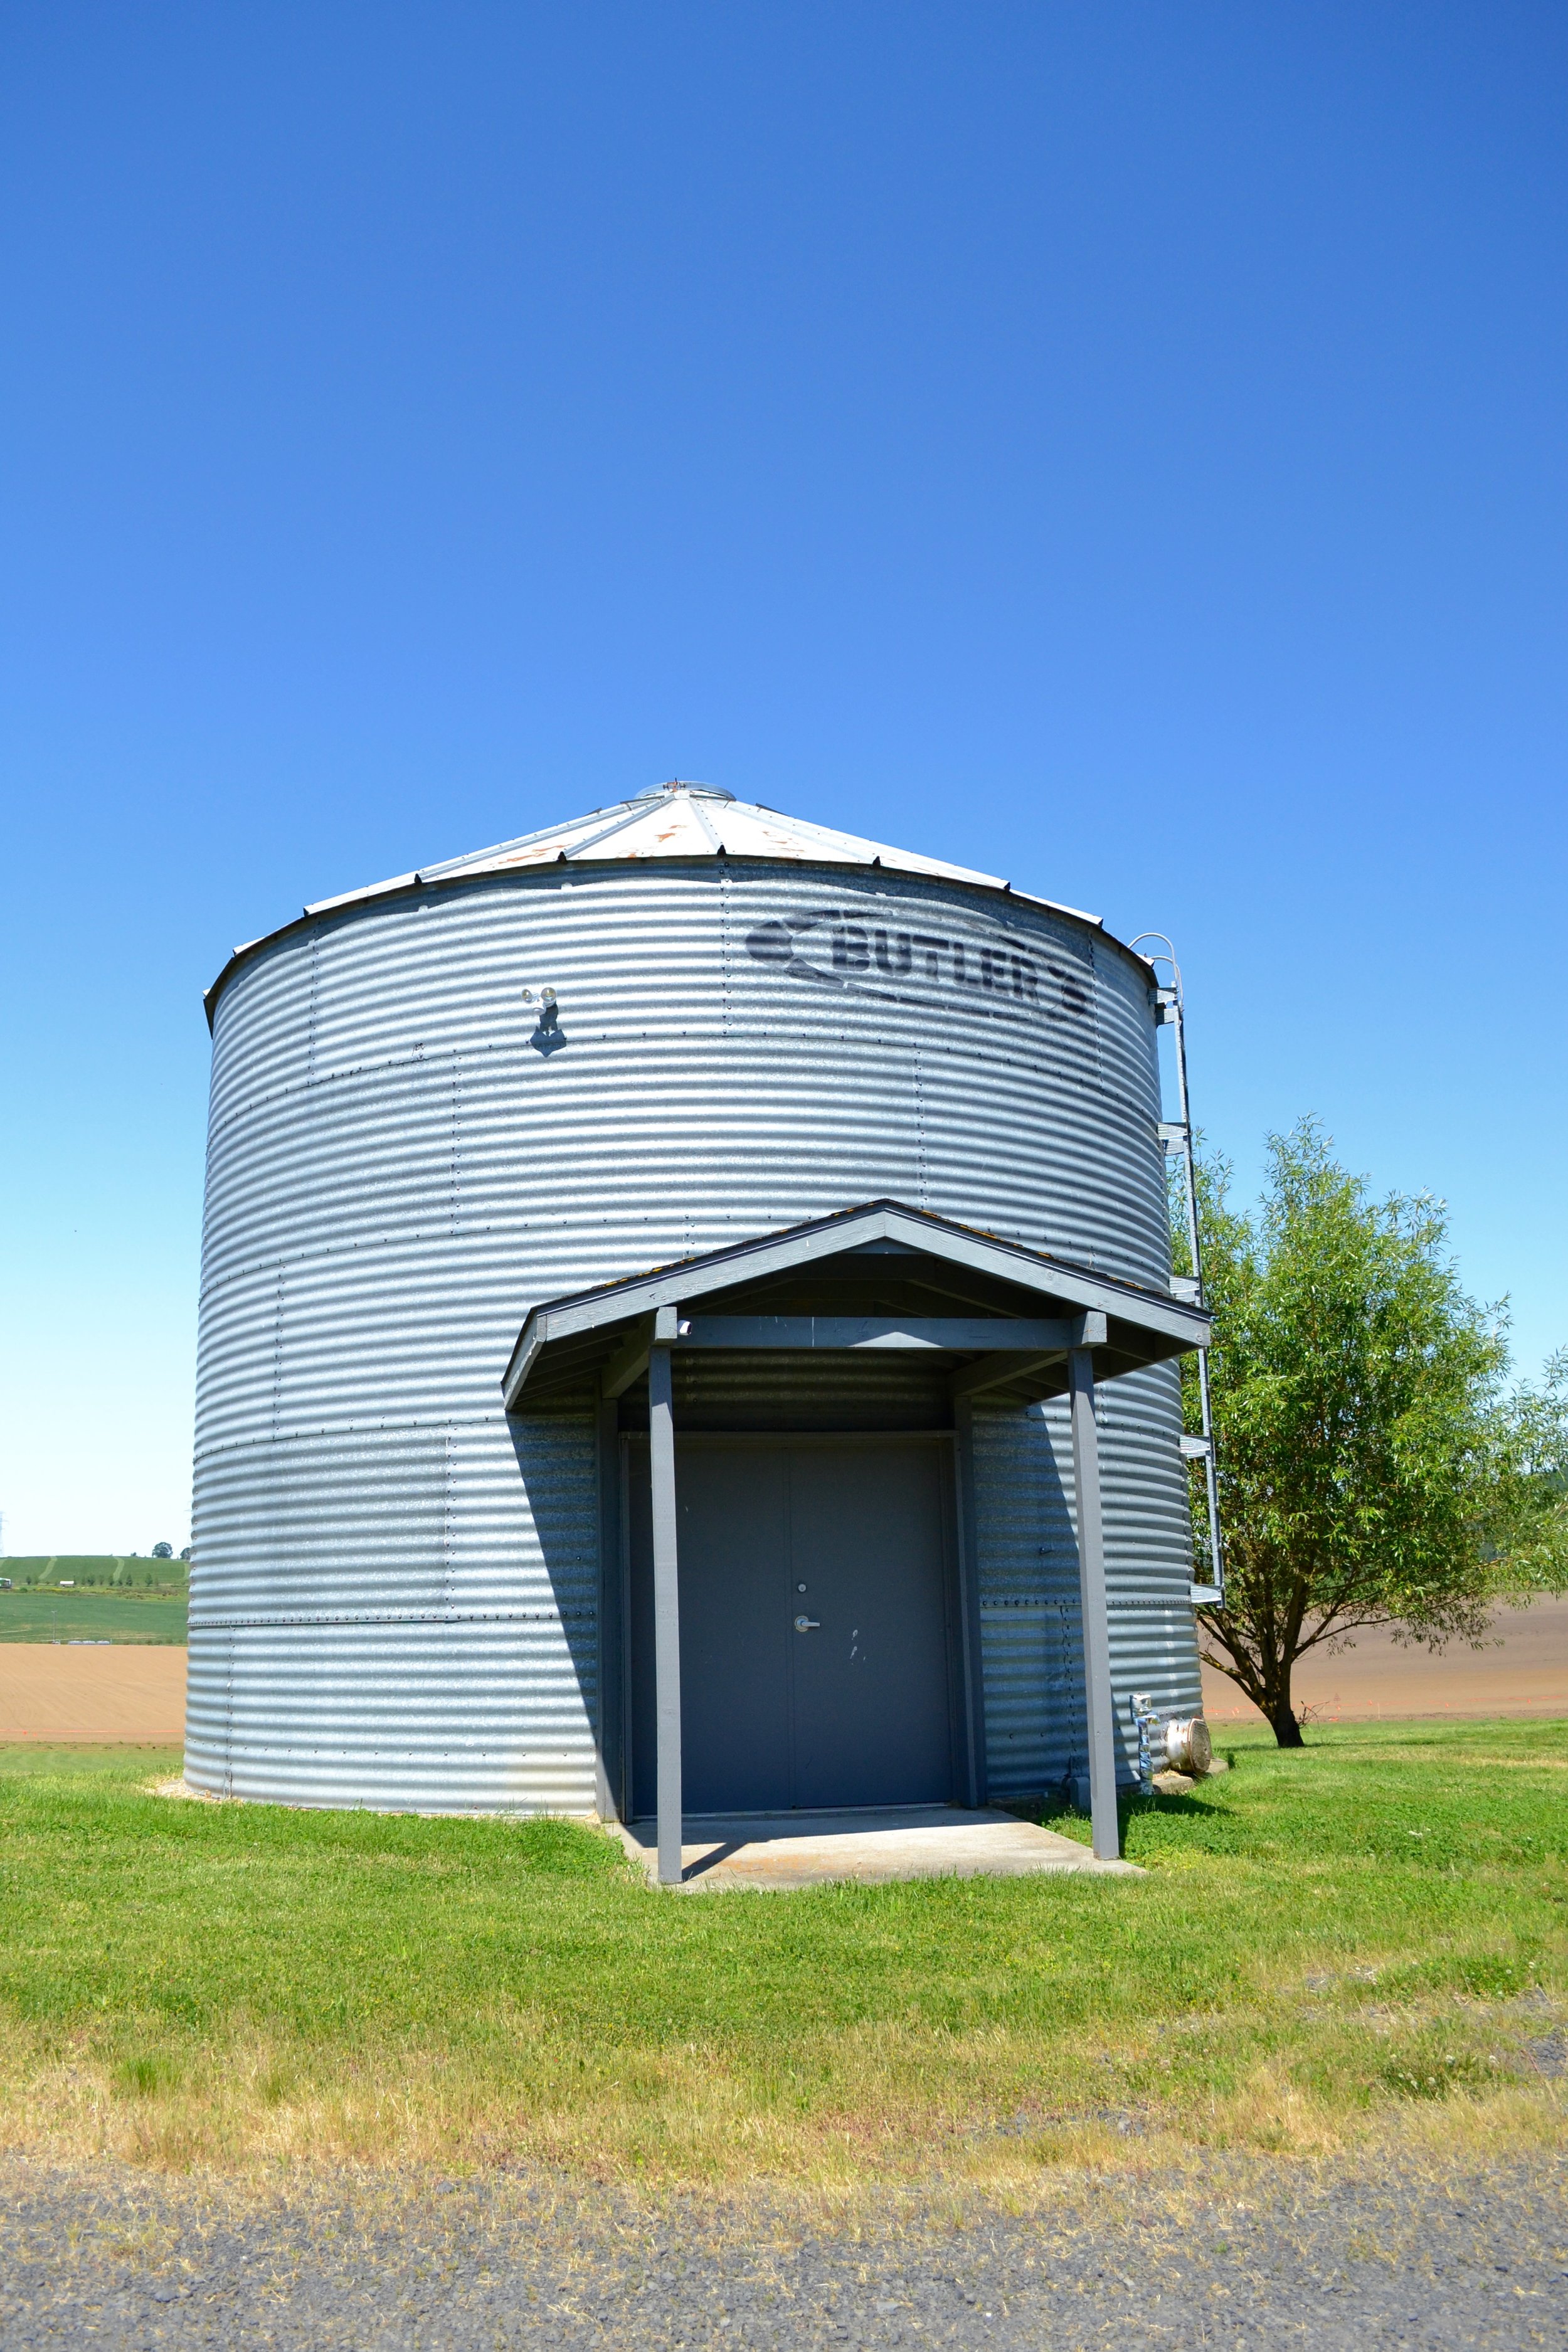
Over Memorial Day weekend, Tim and I stayed with his cousin's family on their 60-acre farm. The city has its pros, for sure, like walkable grocery stores, beautiful parks, and amazing restaurants. But even with all that, it's nice to get away to the country to breathe in the fresh air, relax, stargaze, and forget about the stresses of our day-to-day lives.

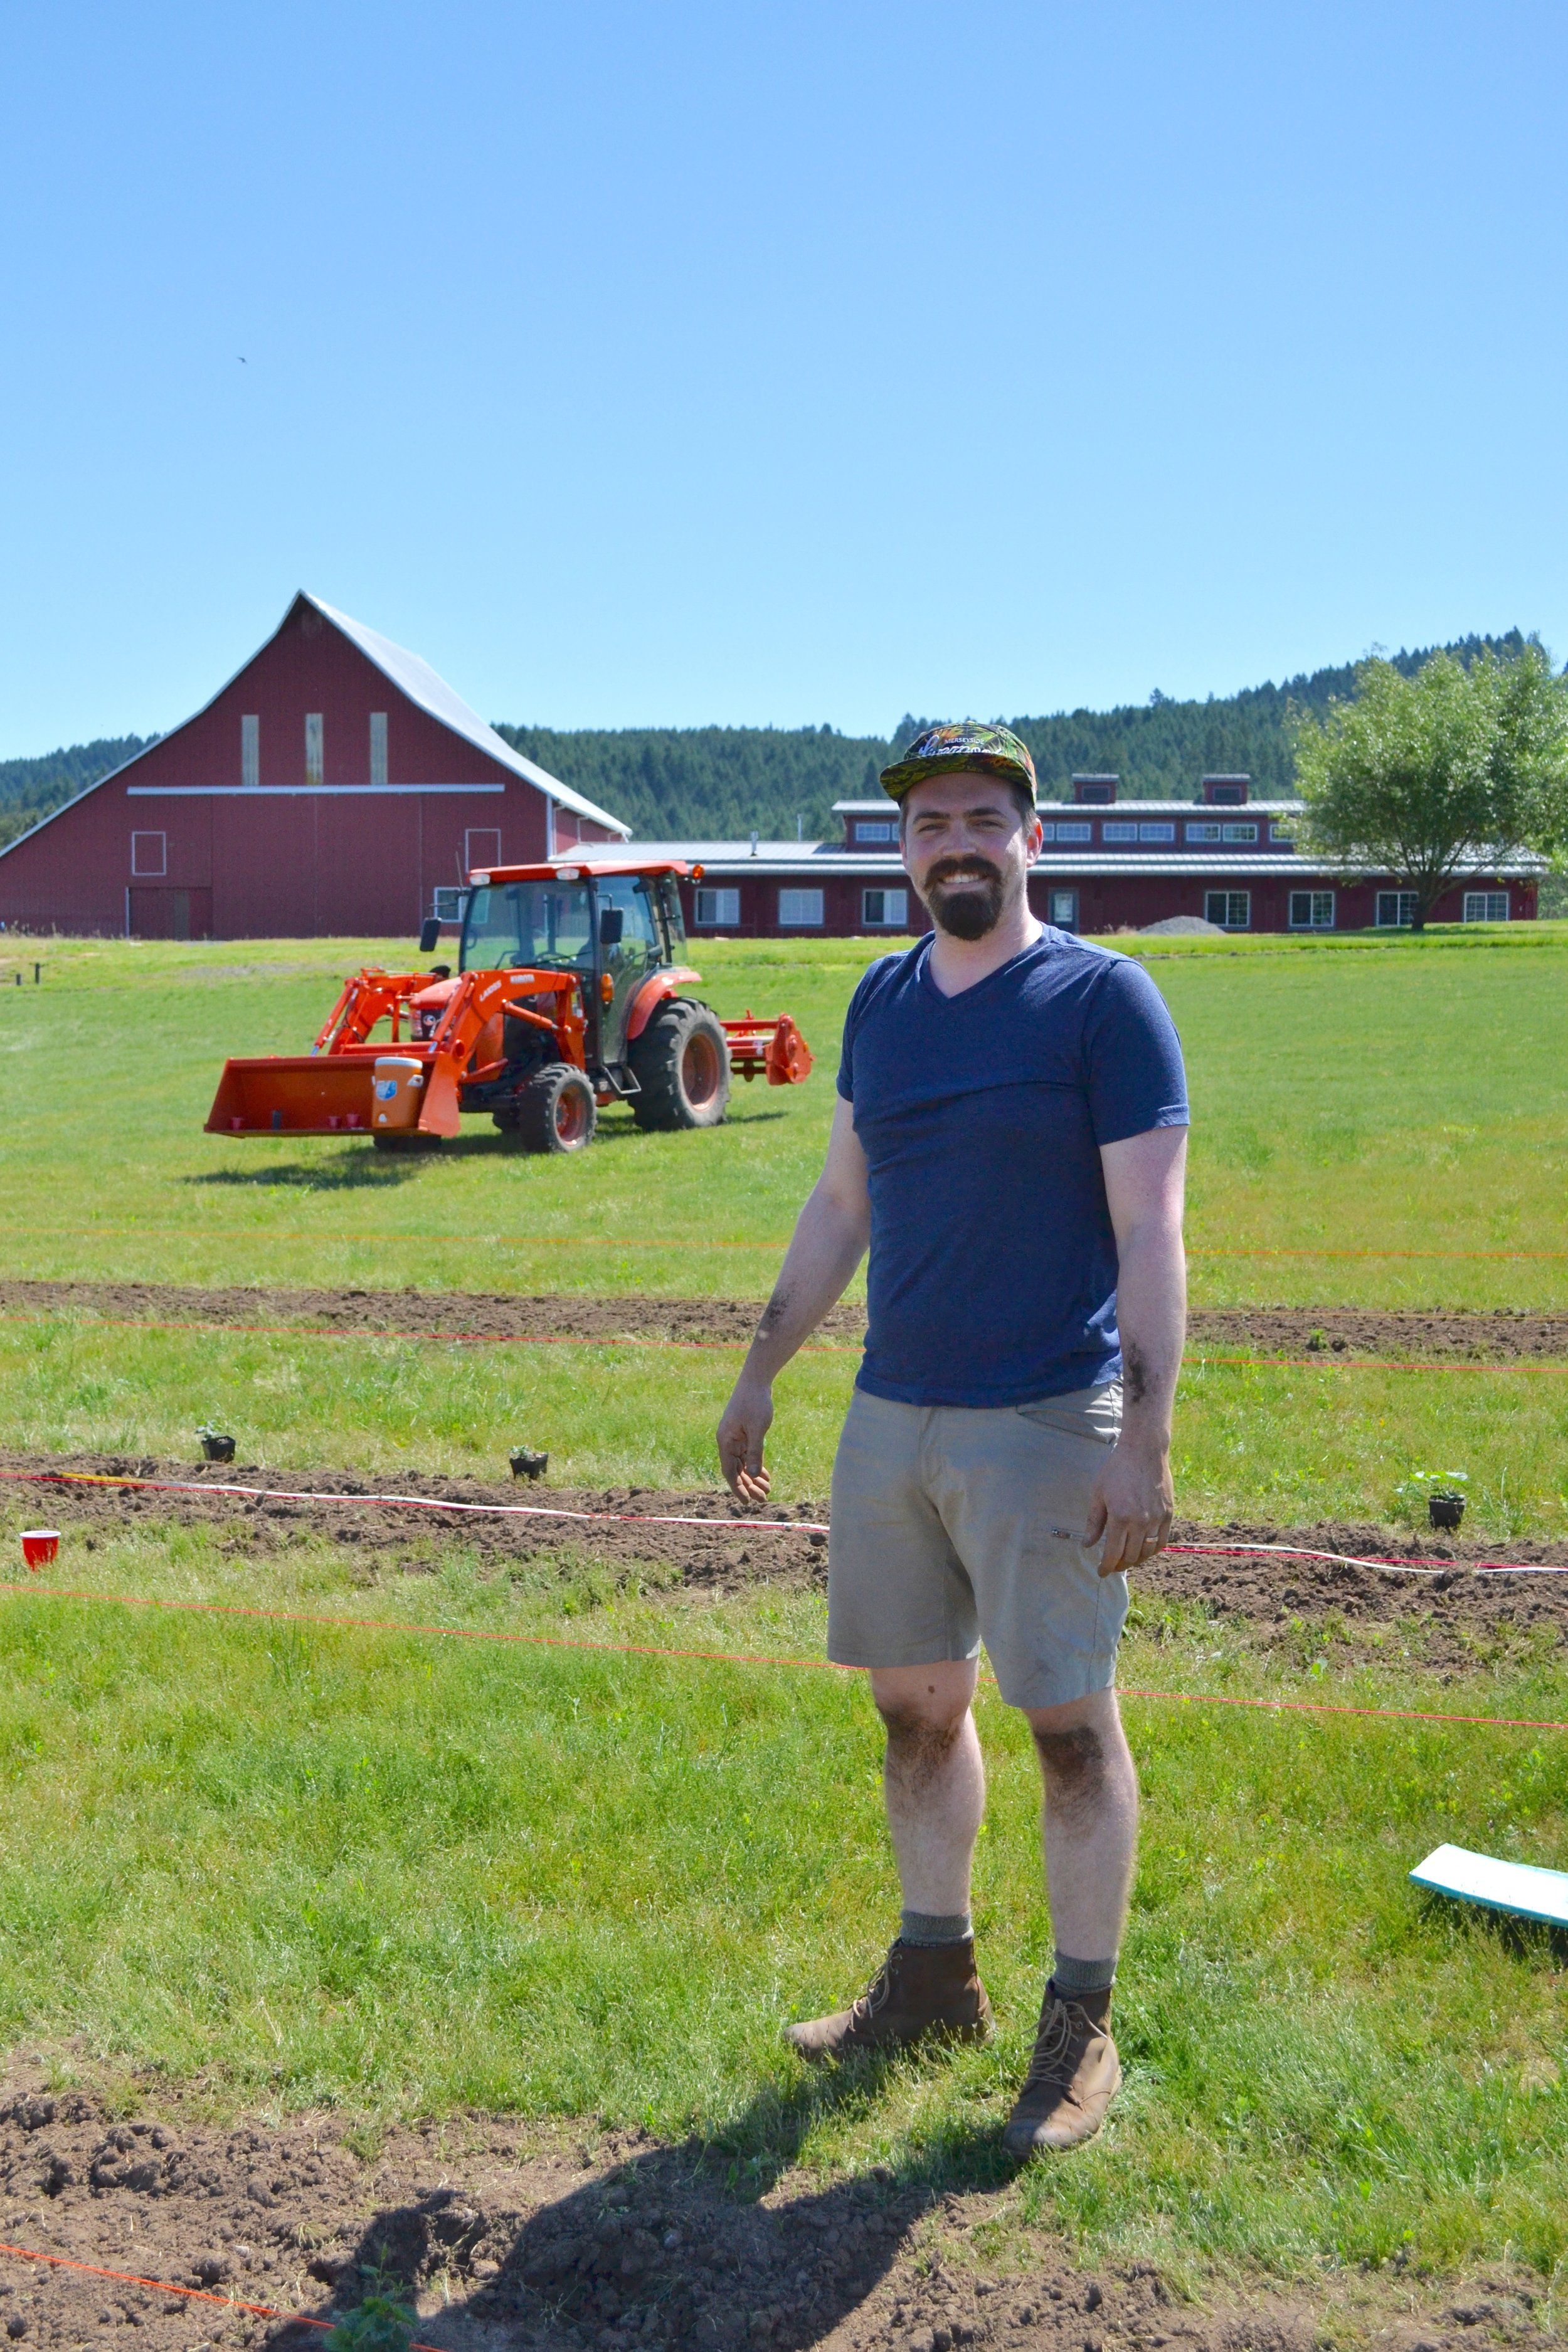
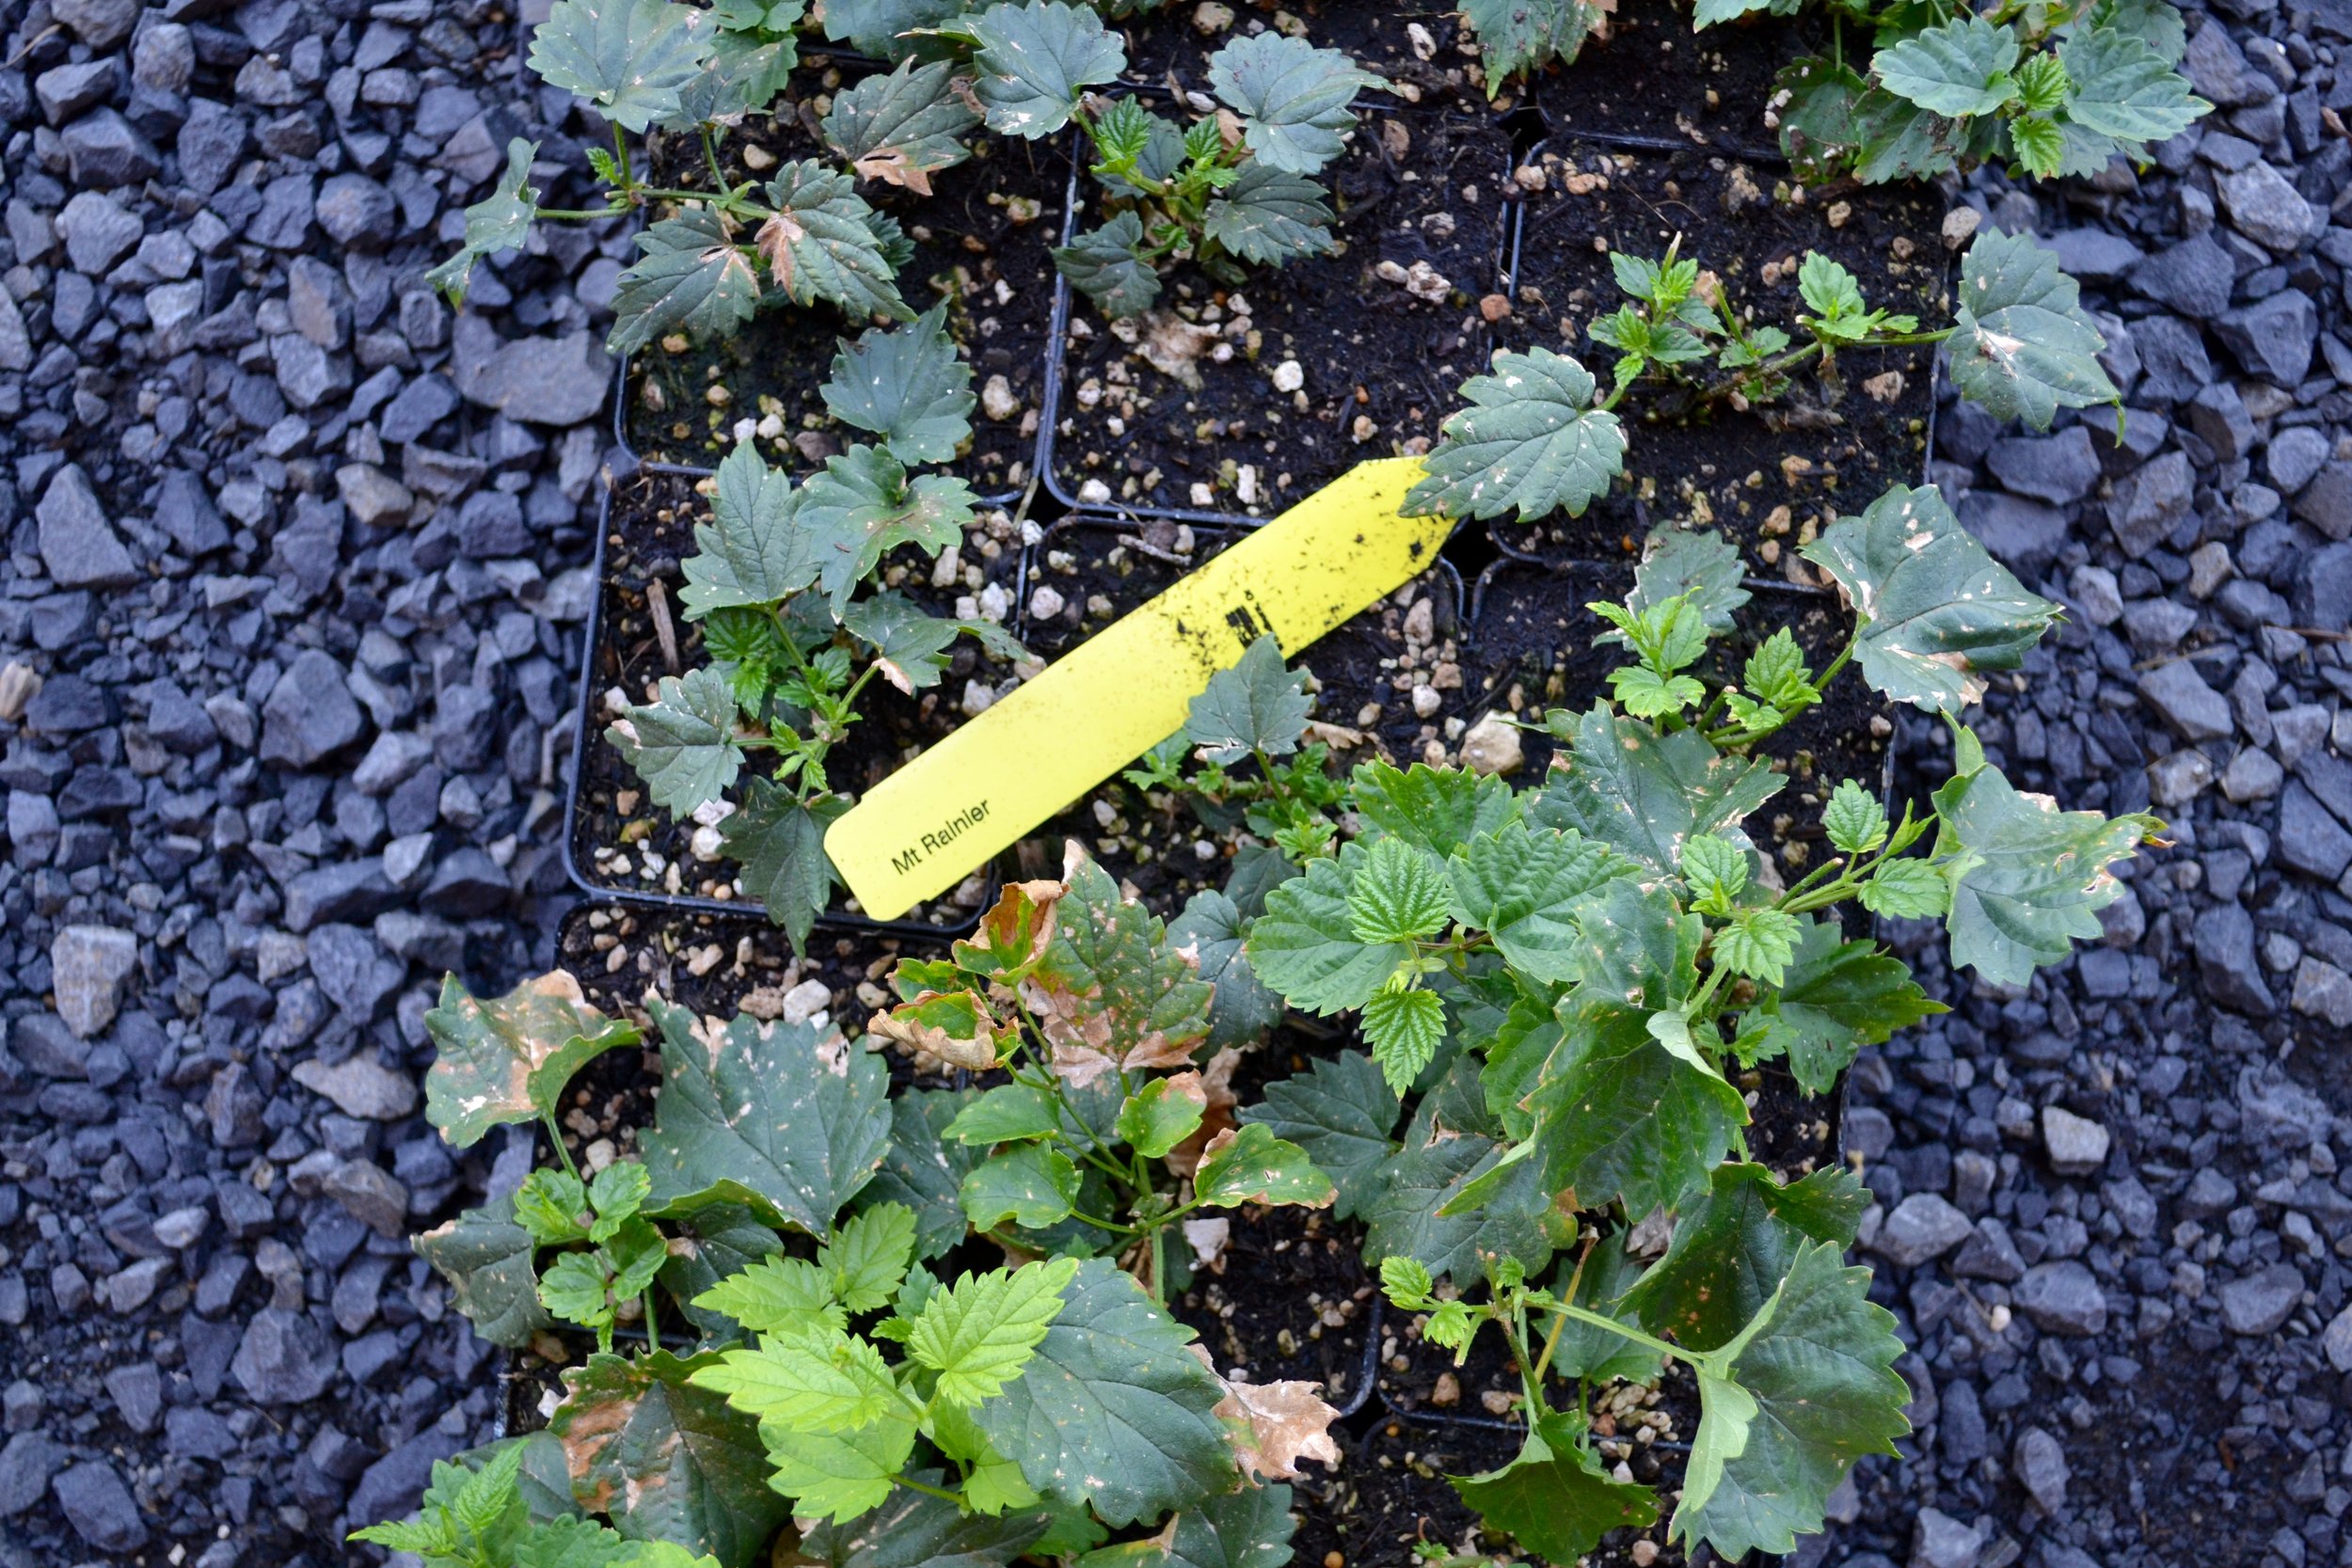
The farm is BEAUTIFUL and the plan for it is even better: growing hops! While we were there, Tim helped plant a few rows and was seriously on cloud nine. He loves it! And what a great area to invest in a hops farm, with PDX being such a beer capital.

Abbey Road Project | Hops Farm in Carlton, OR

While the guys were out planting, I spent time with his cousin's wife and their three sweet kiddos. We played, baked, chatted, and relaxed. One of the highlights for me was Michelle teaching me how to bake bread. Those who know me know I'm obsessed with bread! I can't tell you how excited I am to bake homemade bread all the time once we invest in a few supplies (blog post coming soon!).

Abbey Road Project Hops Farm
Abbey Road Hops Farm

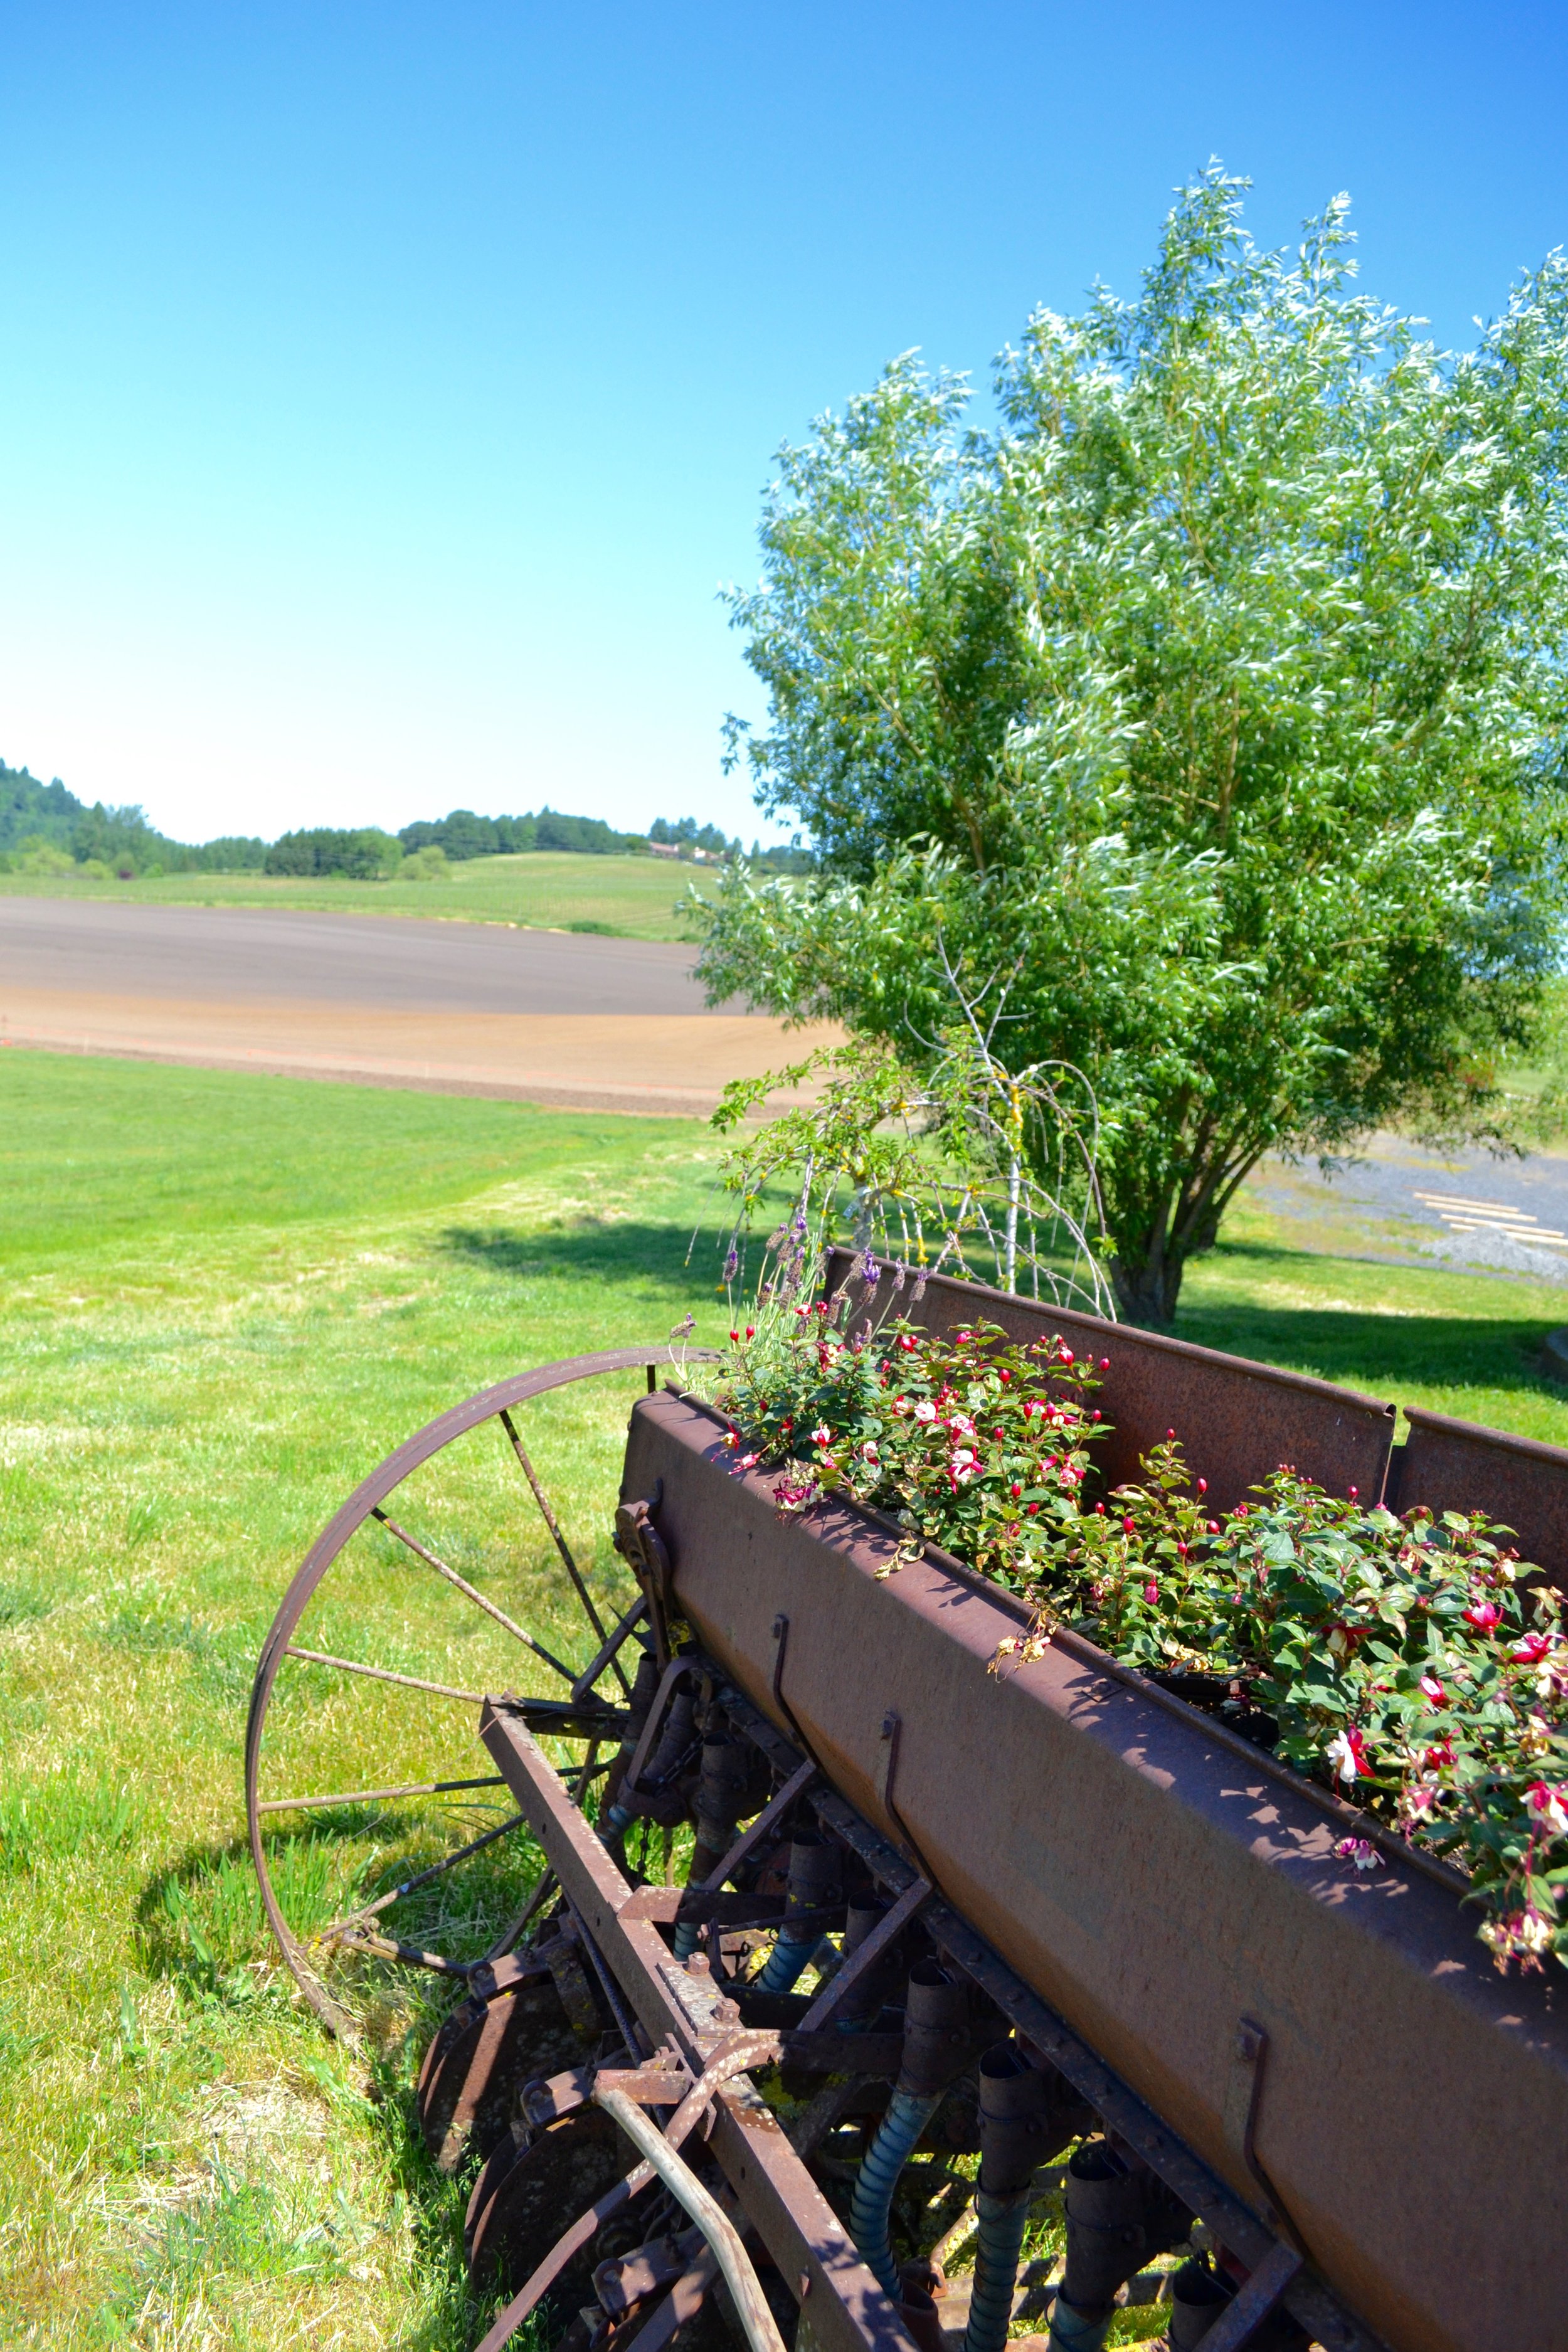
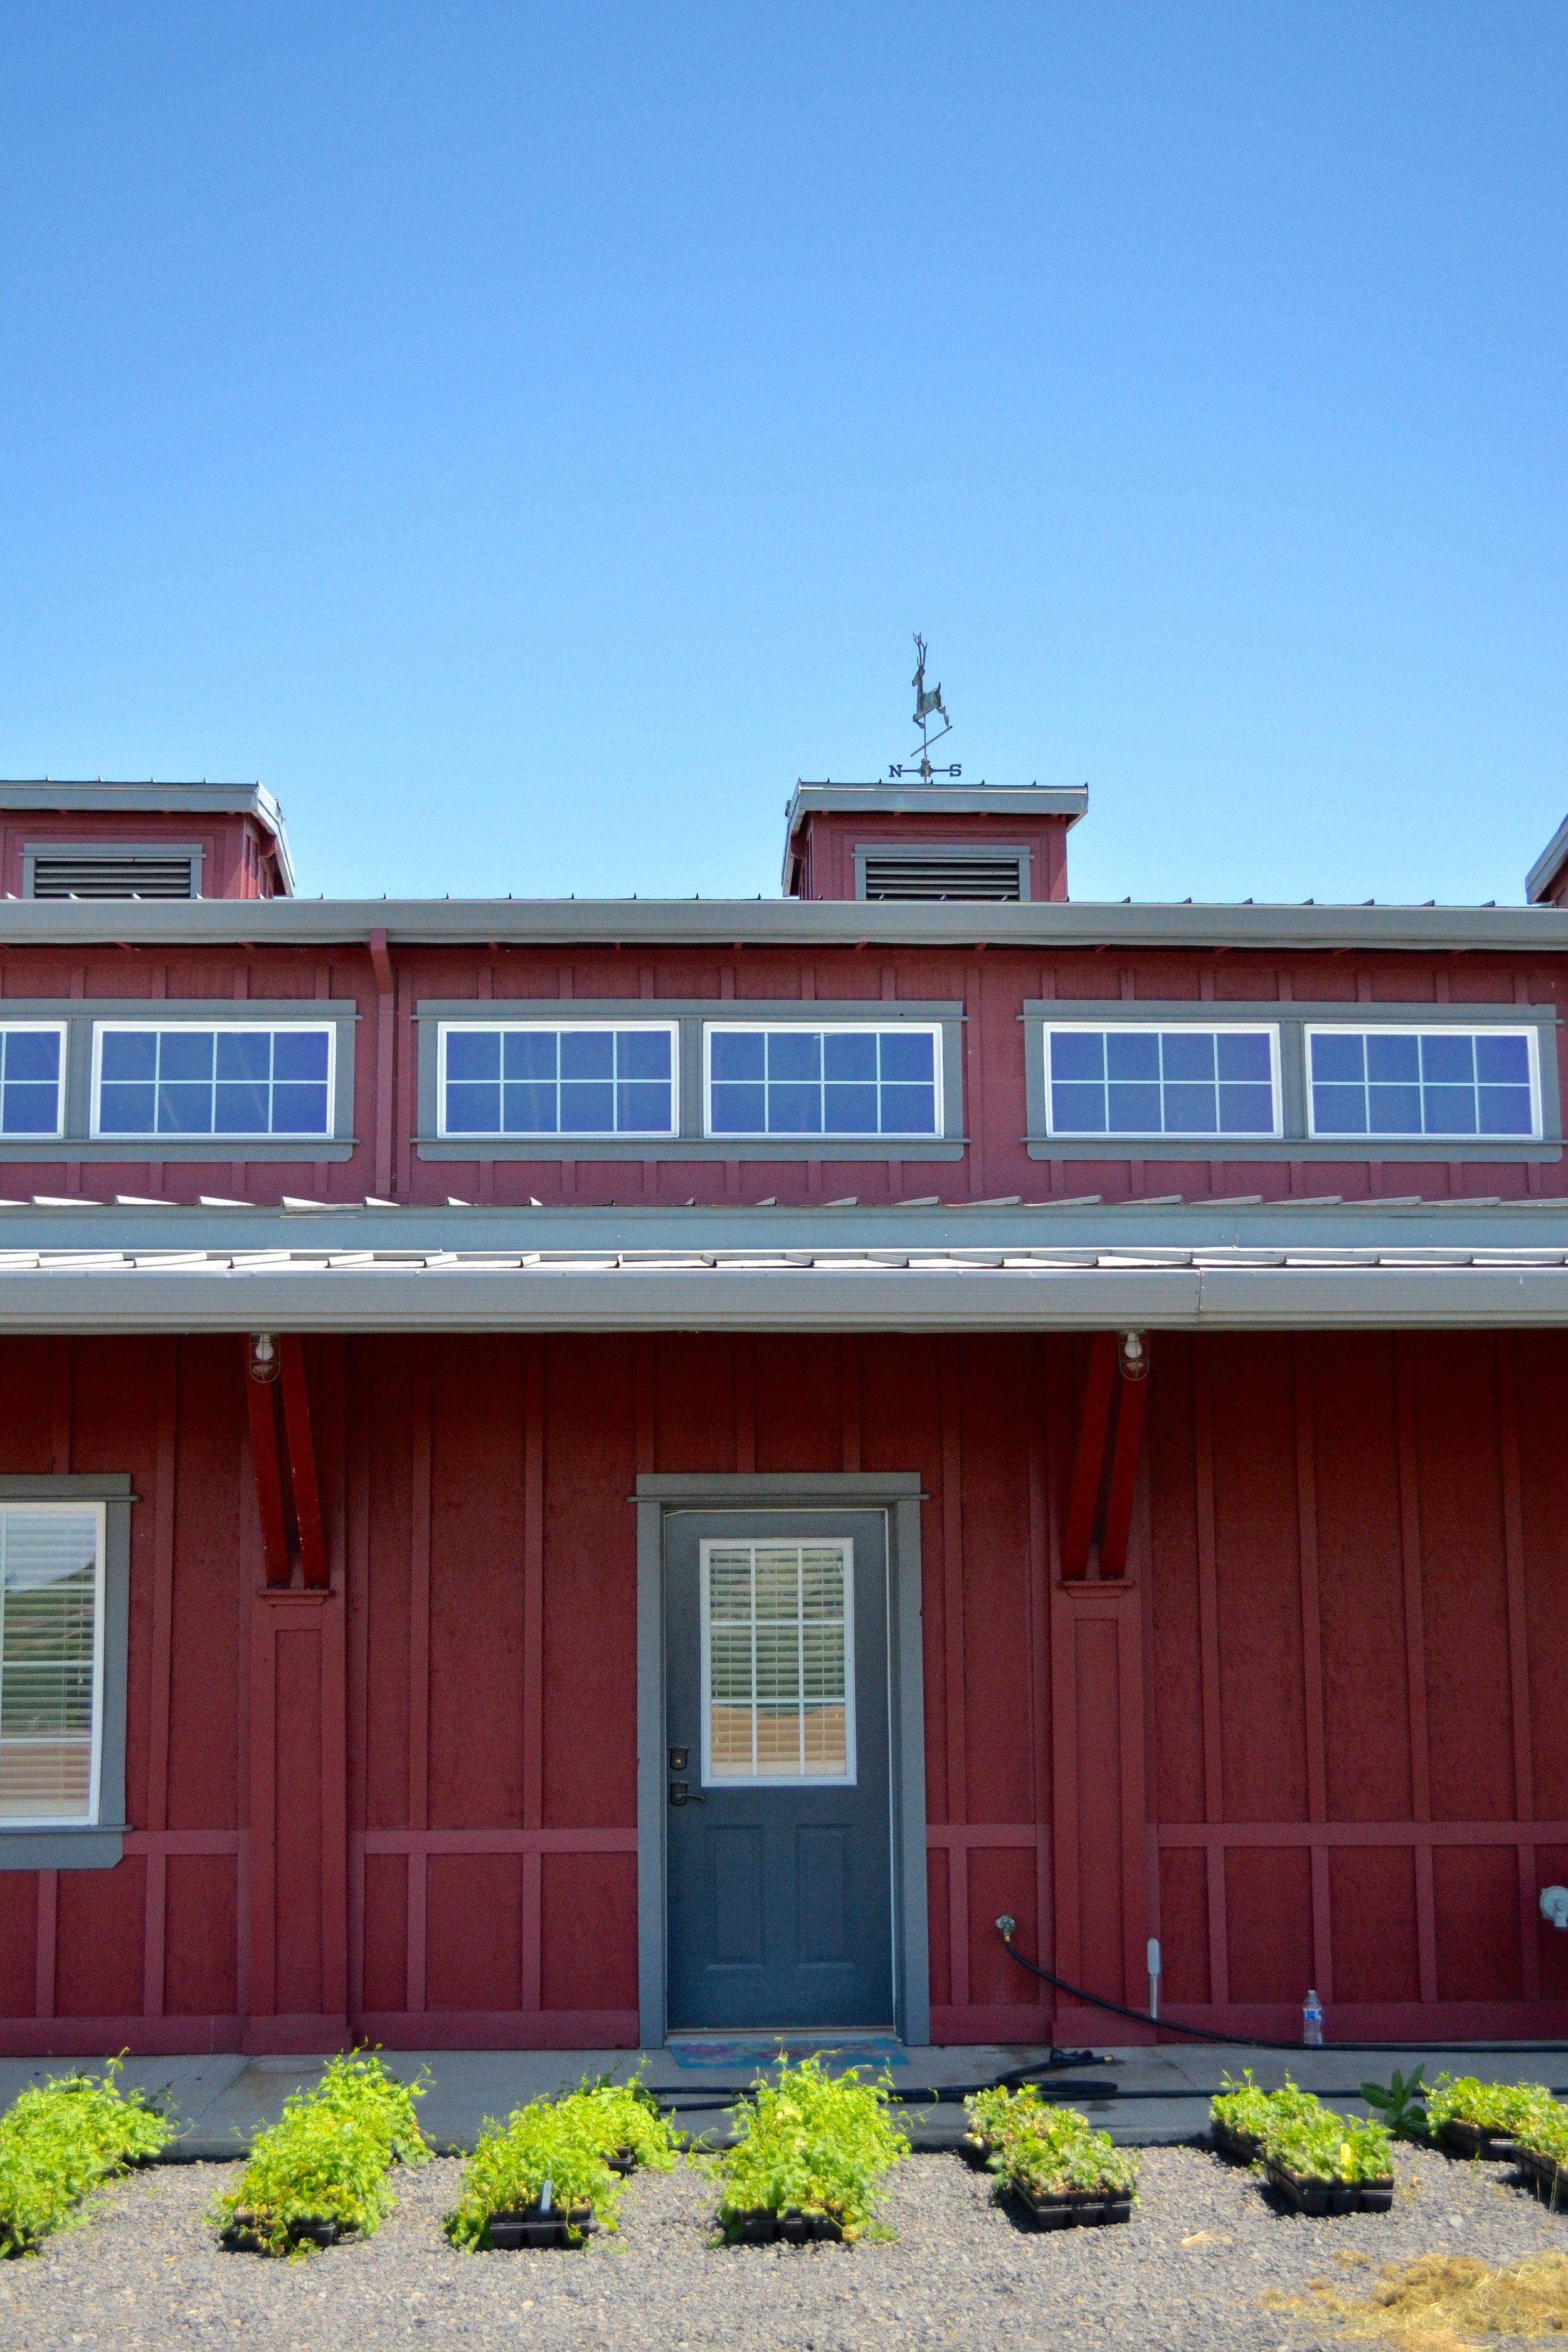
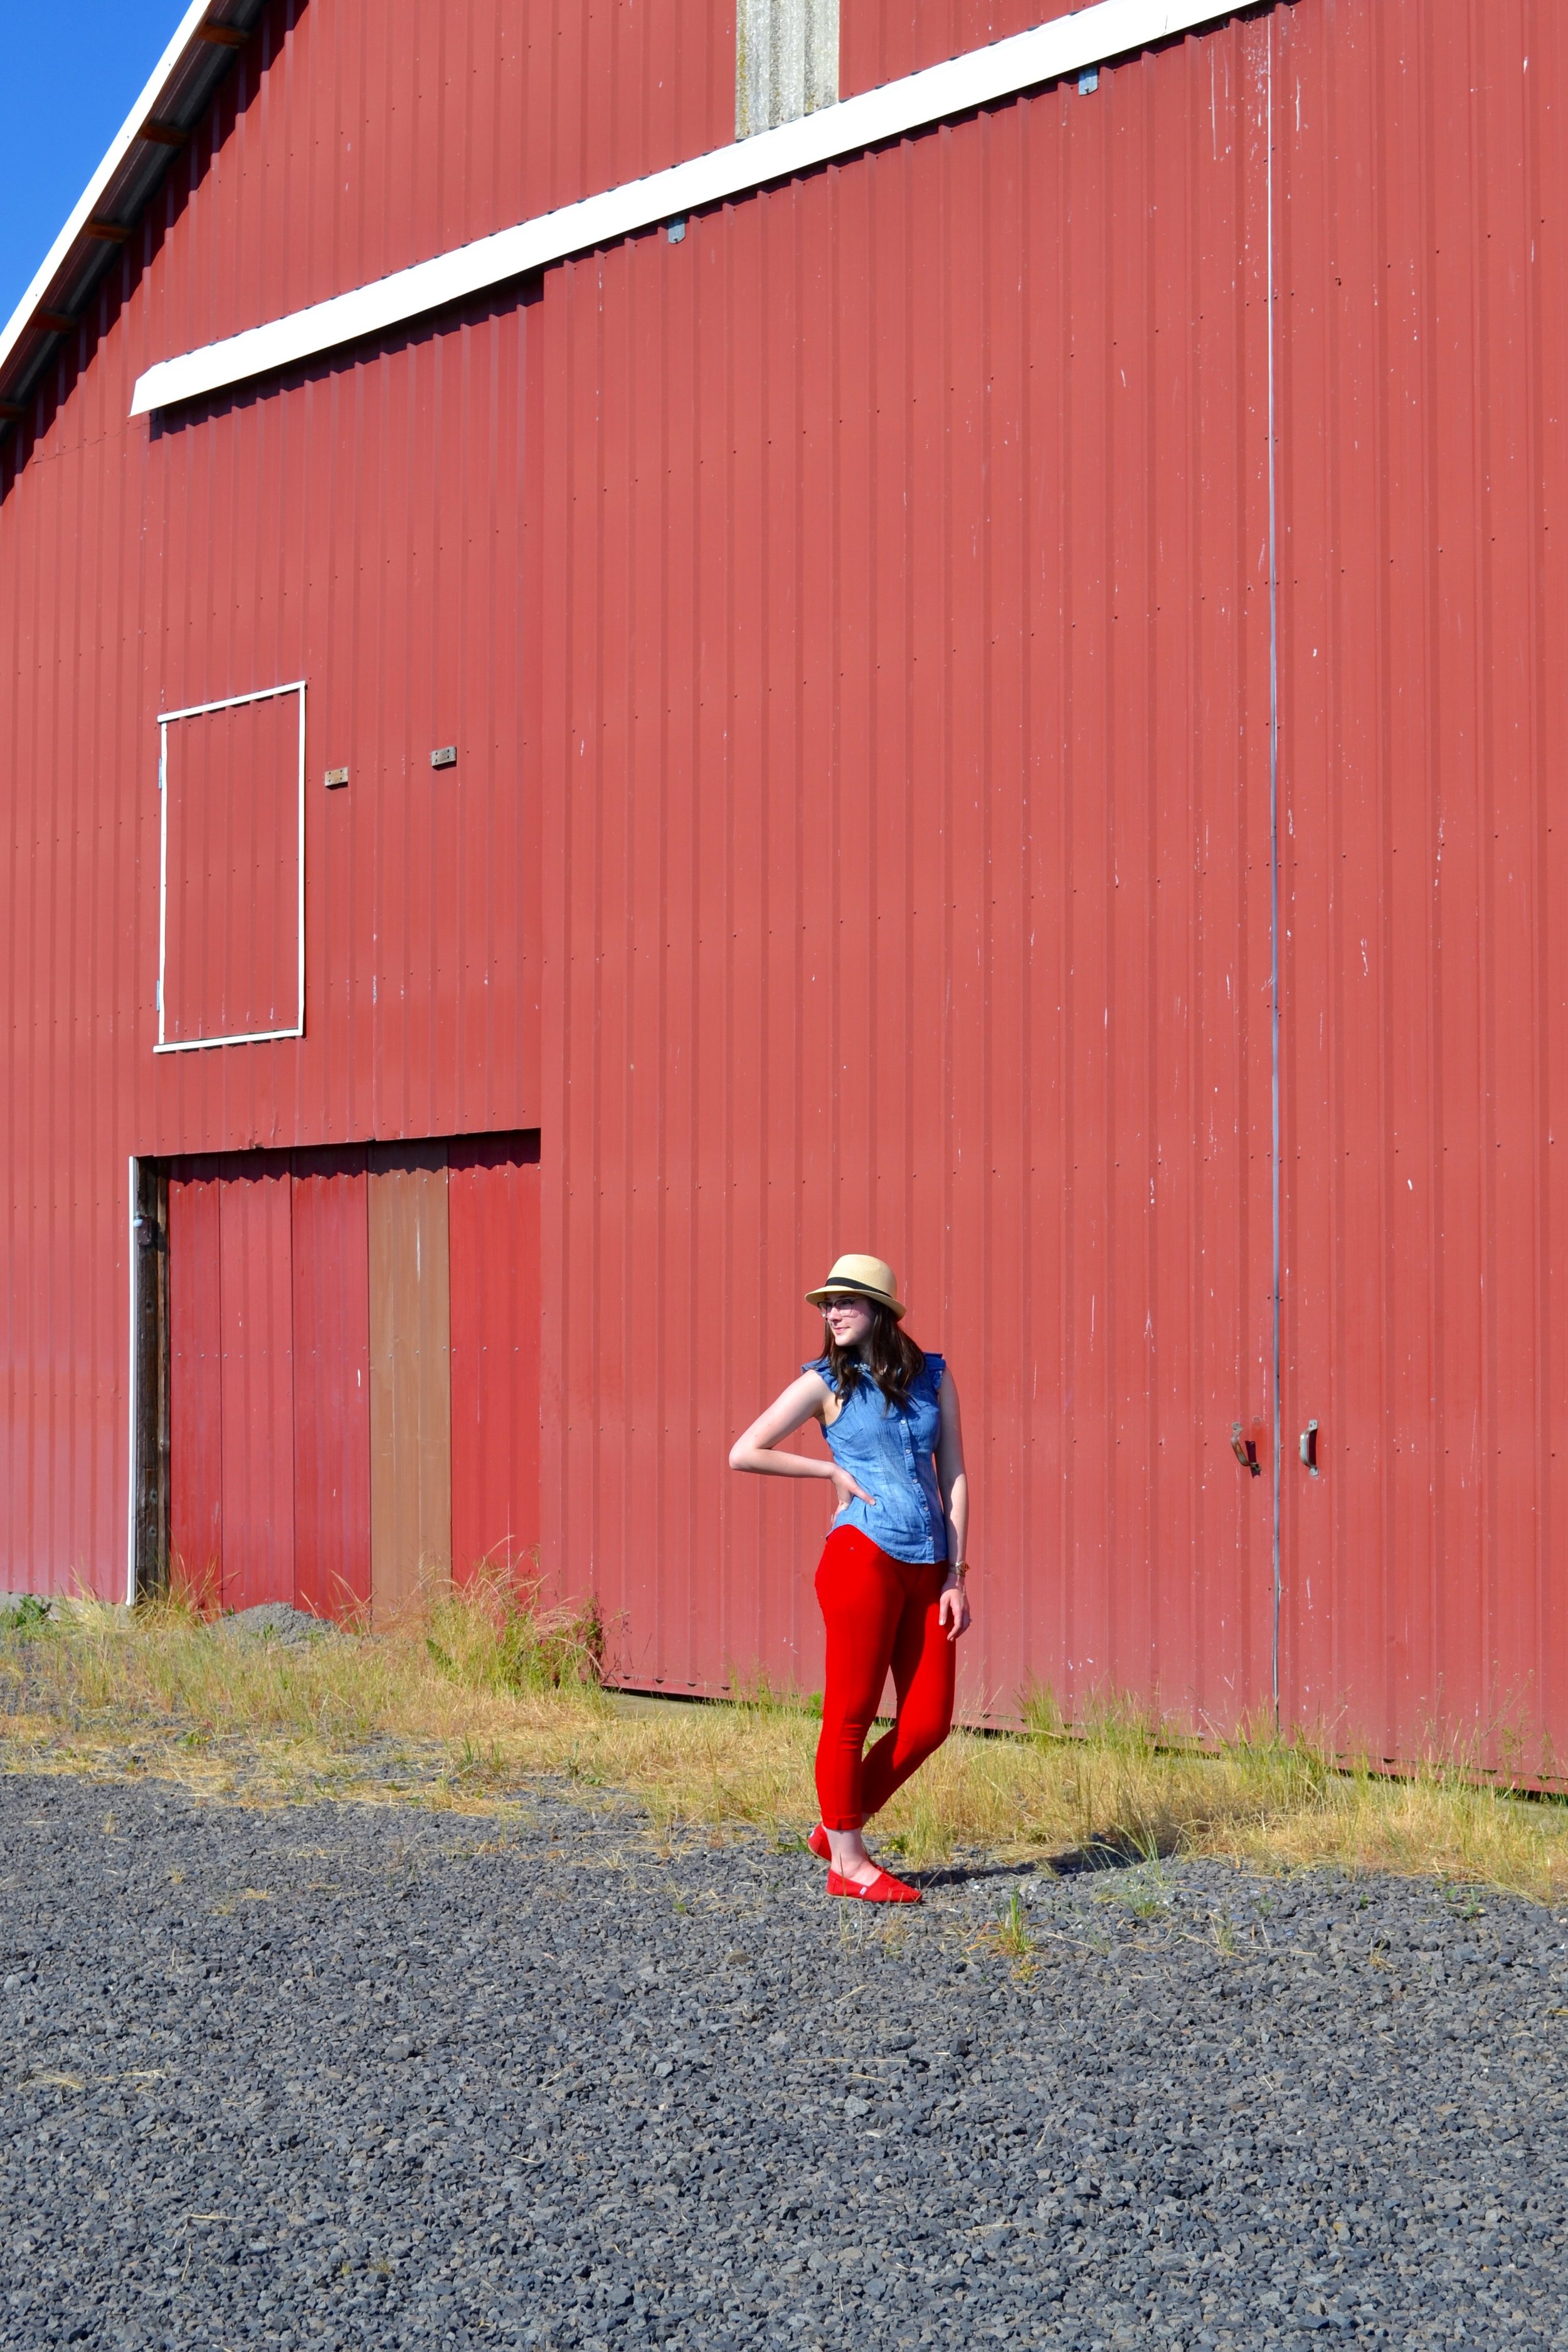
During our stay, I ventured out here and there to take a few photos of the farm to document its beginnings. It's such a gorgeous place and it's exciting to see it grow (pun intended) from the start. Did you know hops can grow up to a foot per day? Crazy, right?

We closed out the long weekend with a delicious BBQ of ribs with homemade sauce, corn on the cob, the bread I made by hand(!), and more mouth-watering sides. They always feed and treat us so well when we visit! It's hard to go home ;)

Here's to farm life and what a joy it is to finally have some day trip-close family in Oregon!

Abbey Road Project | Carlton, OR

DIY // A Wreath for All Seasons

Spring Wreath with Felt Flowers

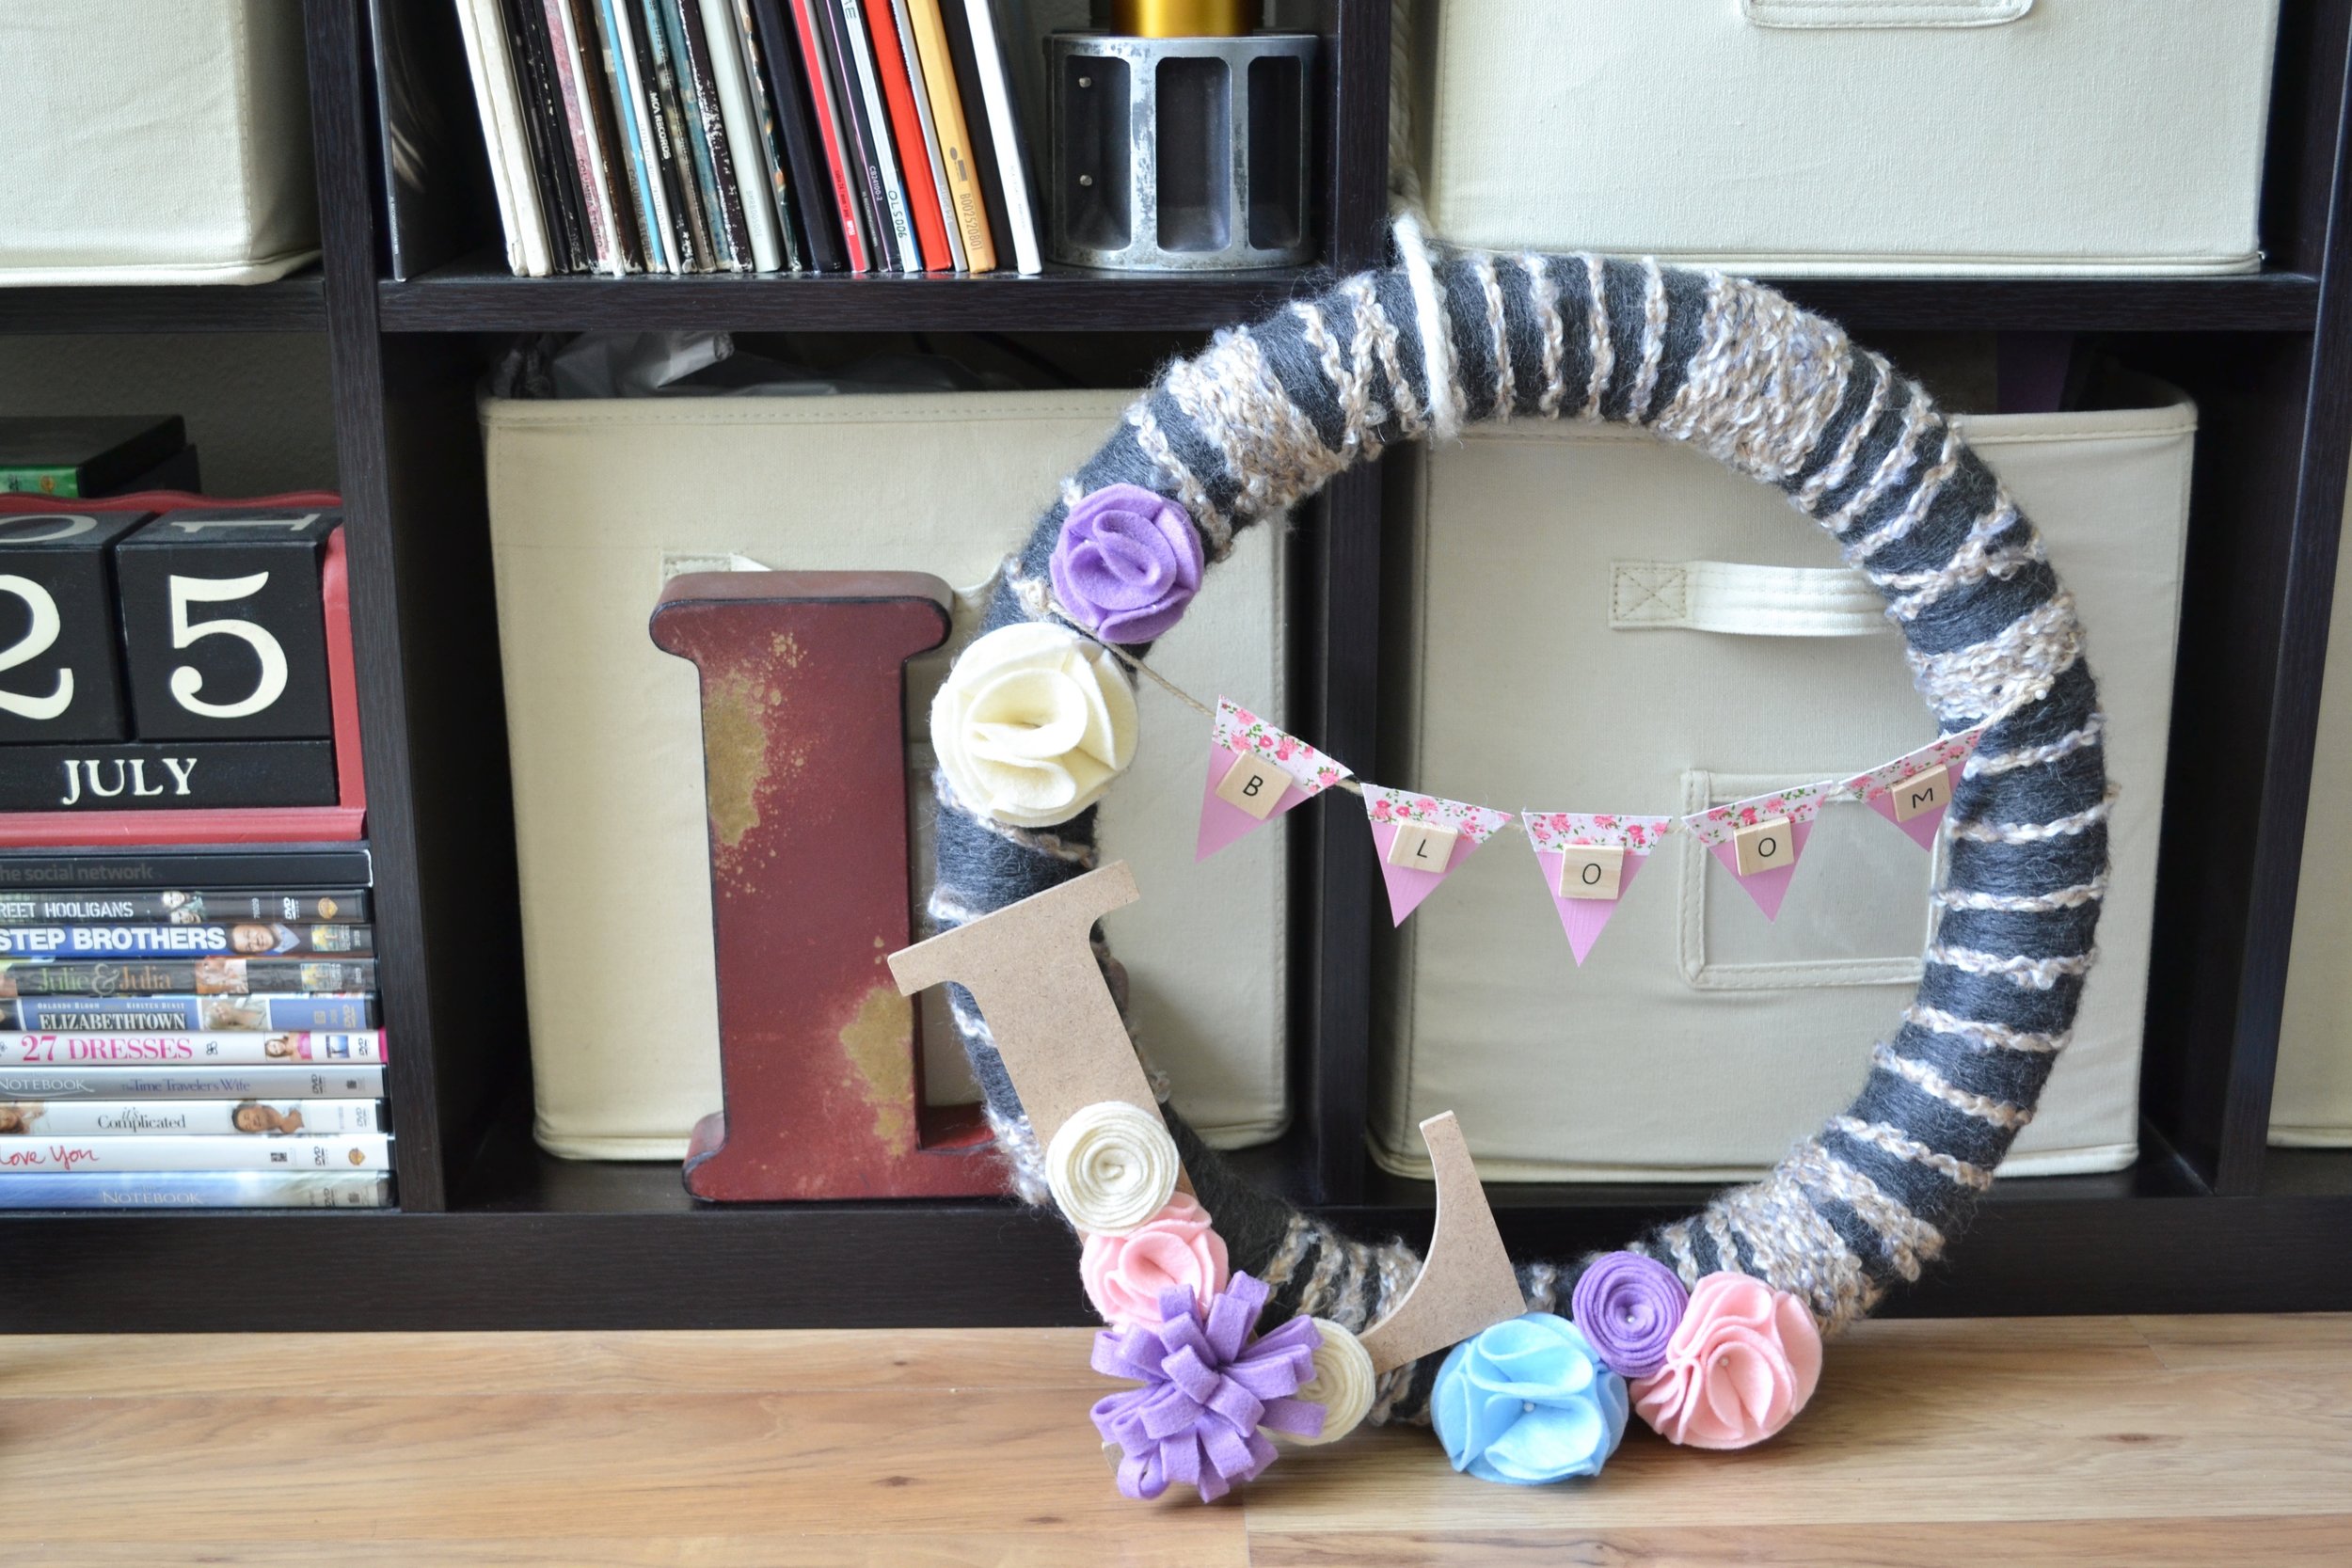
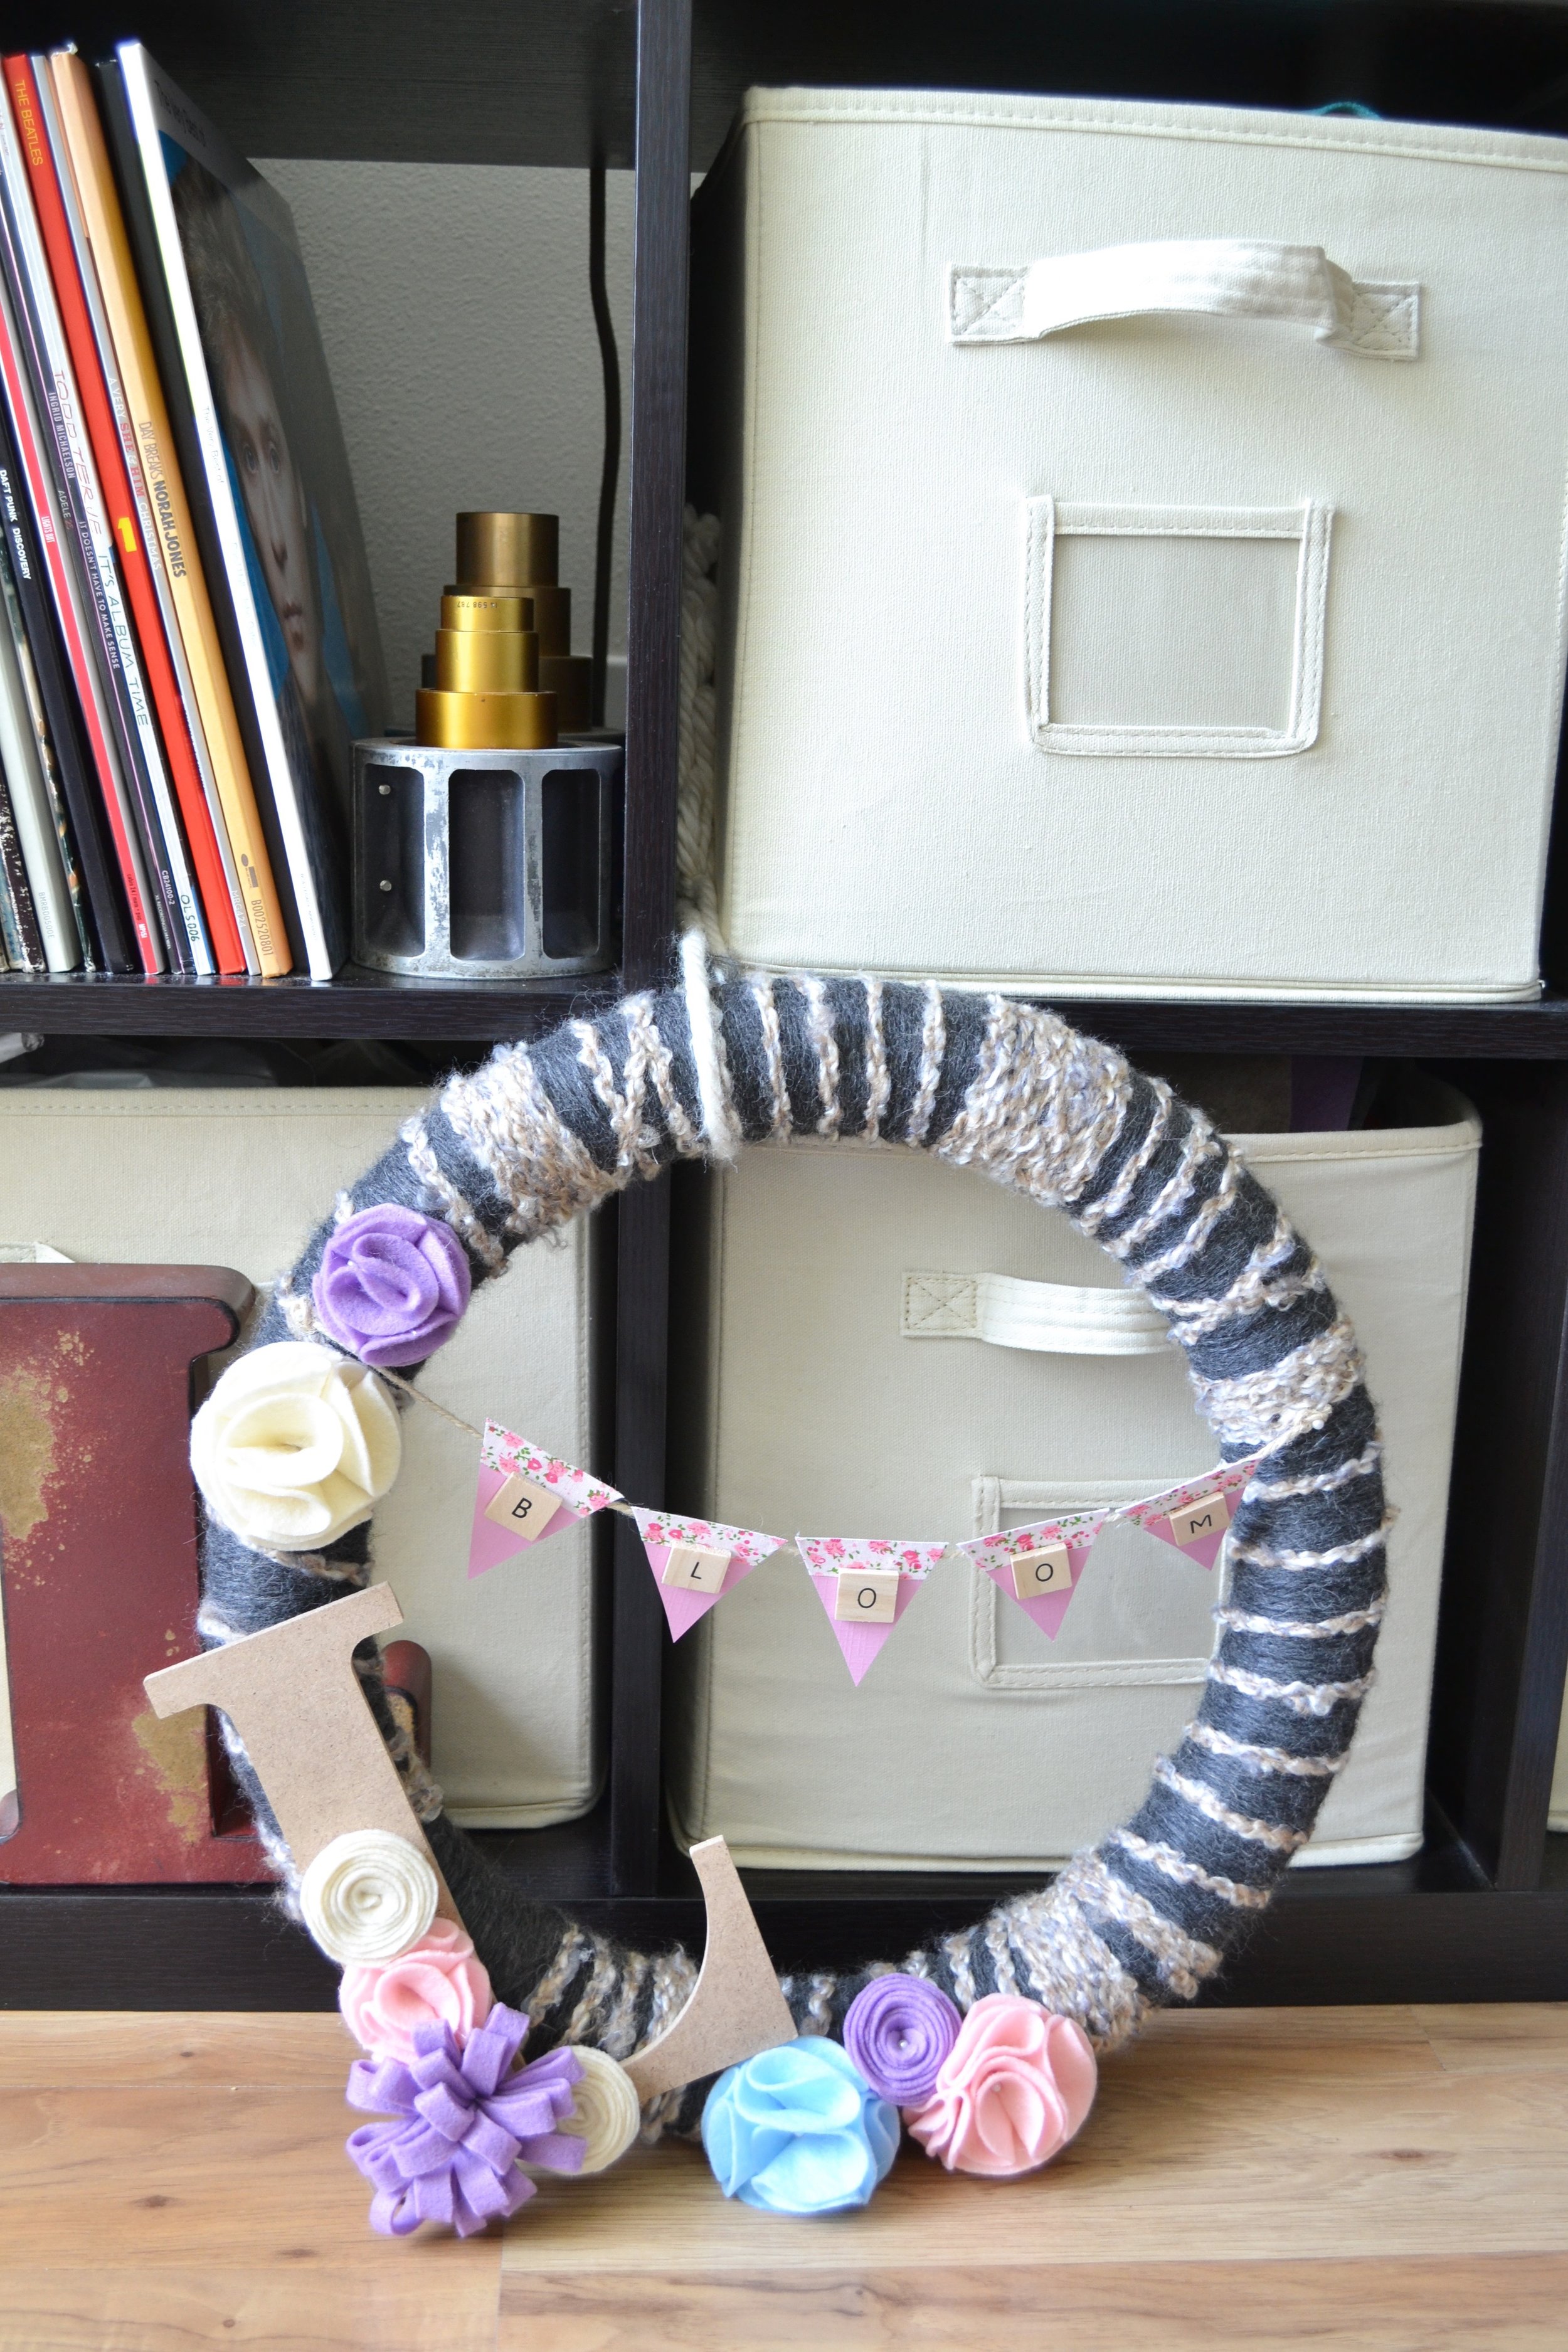
I've always been a sucker for cute wreaths, but living in an apartment that's less than 600 square feet creates great limitations for storing wreaths for every season. So I decided to solve that problem by making one interchangeable wreath for all four seasons and all the celebrations in between! The picture above is my spring wreath, complete with the cutest flag banner with scrabble pieces spelling out "bloom." 

When Tim's mom, my "mother-in-love," was visiting at the end of March, we decided to have a craft day. I knew I wanted to solve my wreath problem, but didn't exactly know how I wanted to make it yet. We browsed Pinterest and hit up Michaels for some inspiration. We decided felt flowers would not only be budget-friendly, but would also be absolutely adorable, easy to swap out, and, best of all, small enough to store anywhere.

Summer Wreath with Felt Flowers

Once we purchased all of our supplies, we got to work. Candace purchased a large letter "L" to decorate with felt flowers for her family room and immediately started cutting and hot gluing her flowers together. I began with wrapping my styrofoam wreath with yarn I had on-hand, and boy did that take FOR.EV.ER. It felt so good once I was finished and could finally join in on the fun of making the flowers!

We decided to stick to three main flower designs. This blogger's post does a good job of explaining how to make all three.

DIY Felt Flowers

I wanted to make sure the "base" of my wreath was neutral enough to cross over all seasons and celebrations, so I followed the color pattern we have throughout our home - grays and neutrals. You might recognize the yarn I chose from my DIY yarn wall hanging post awhile back. It was important to me that the wreath integrated well with the rest of our home decor. 

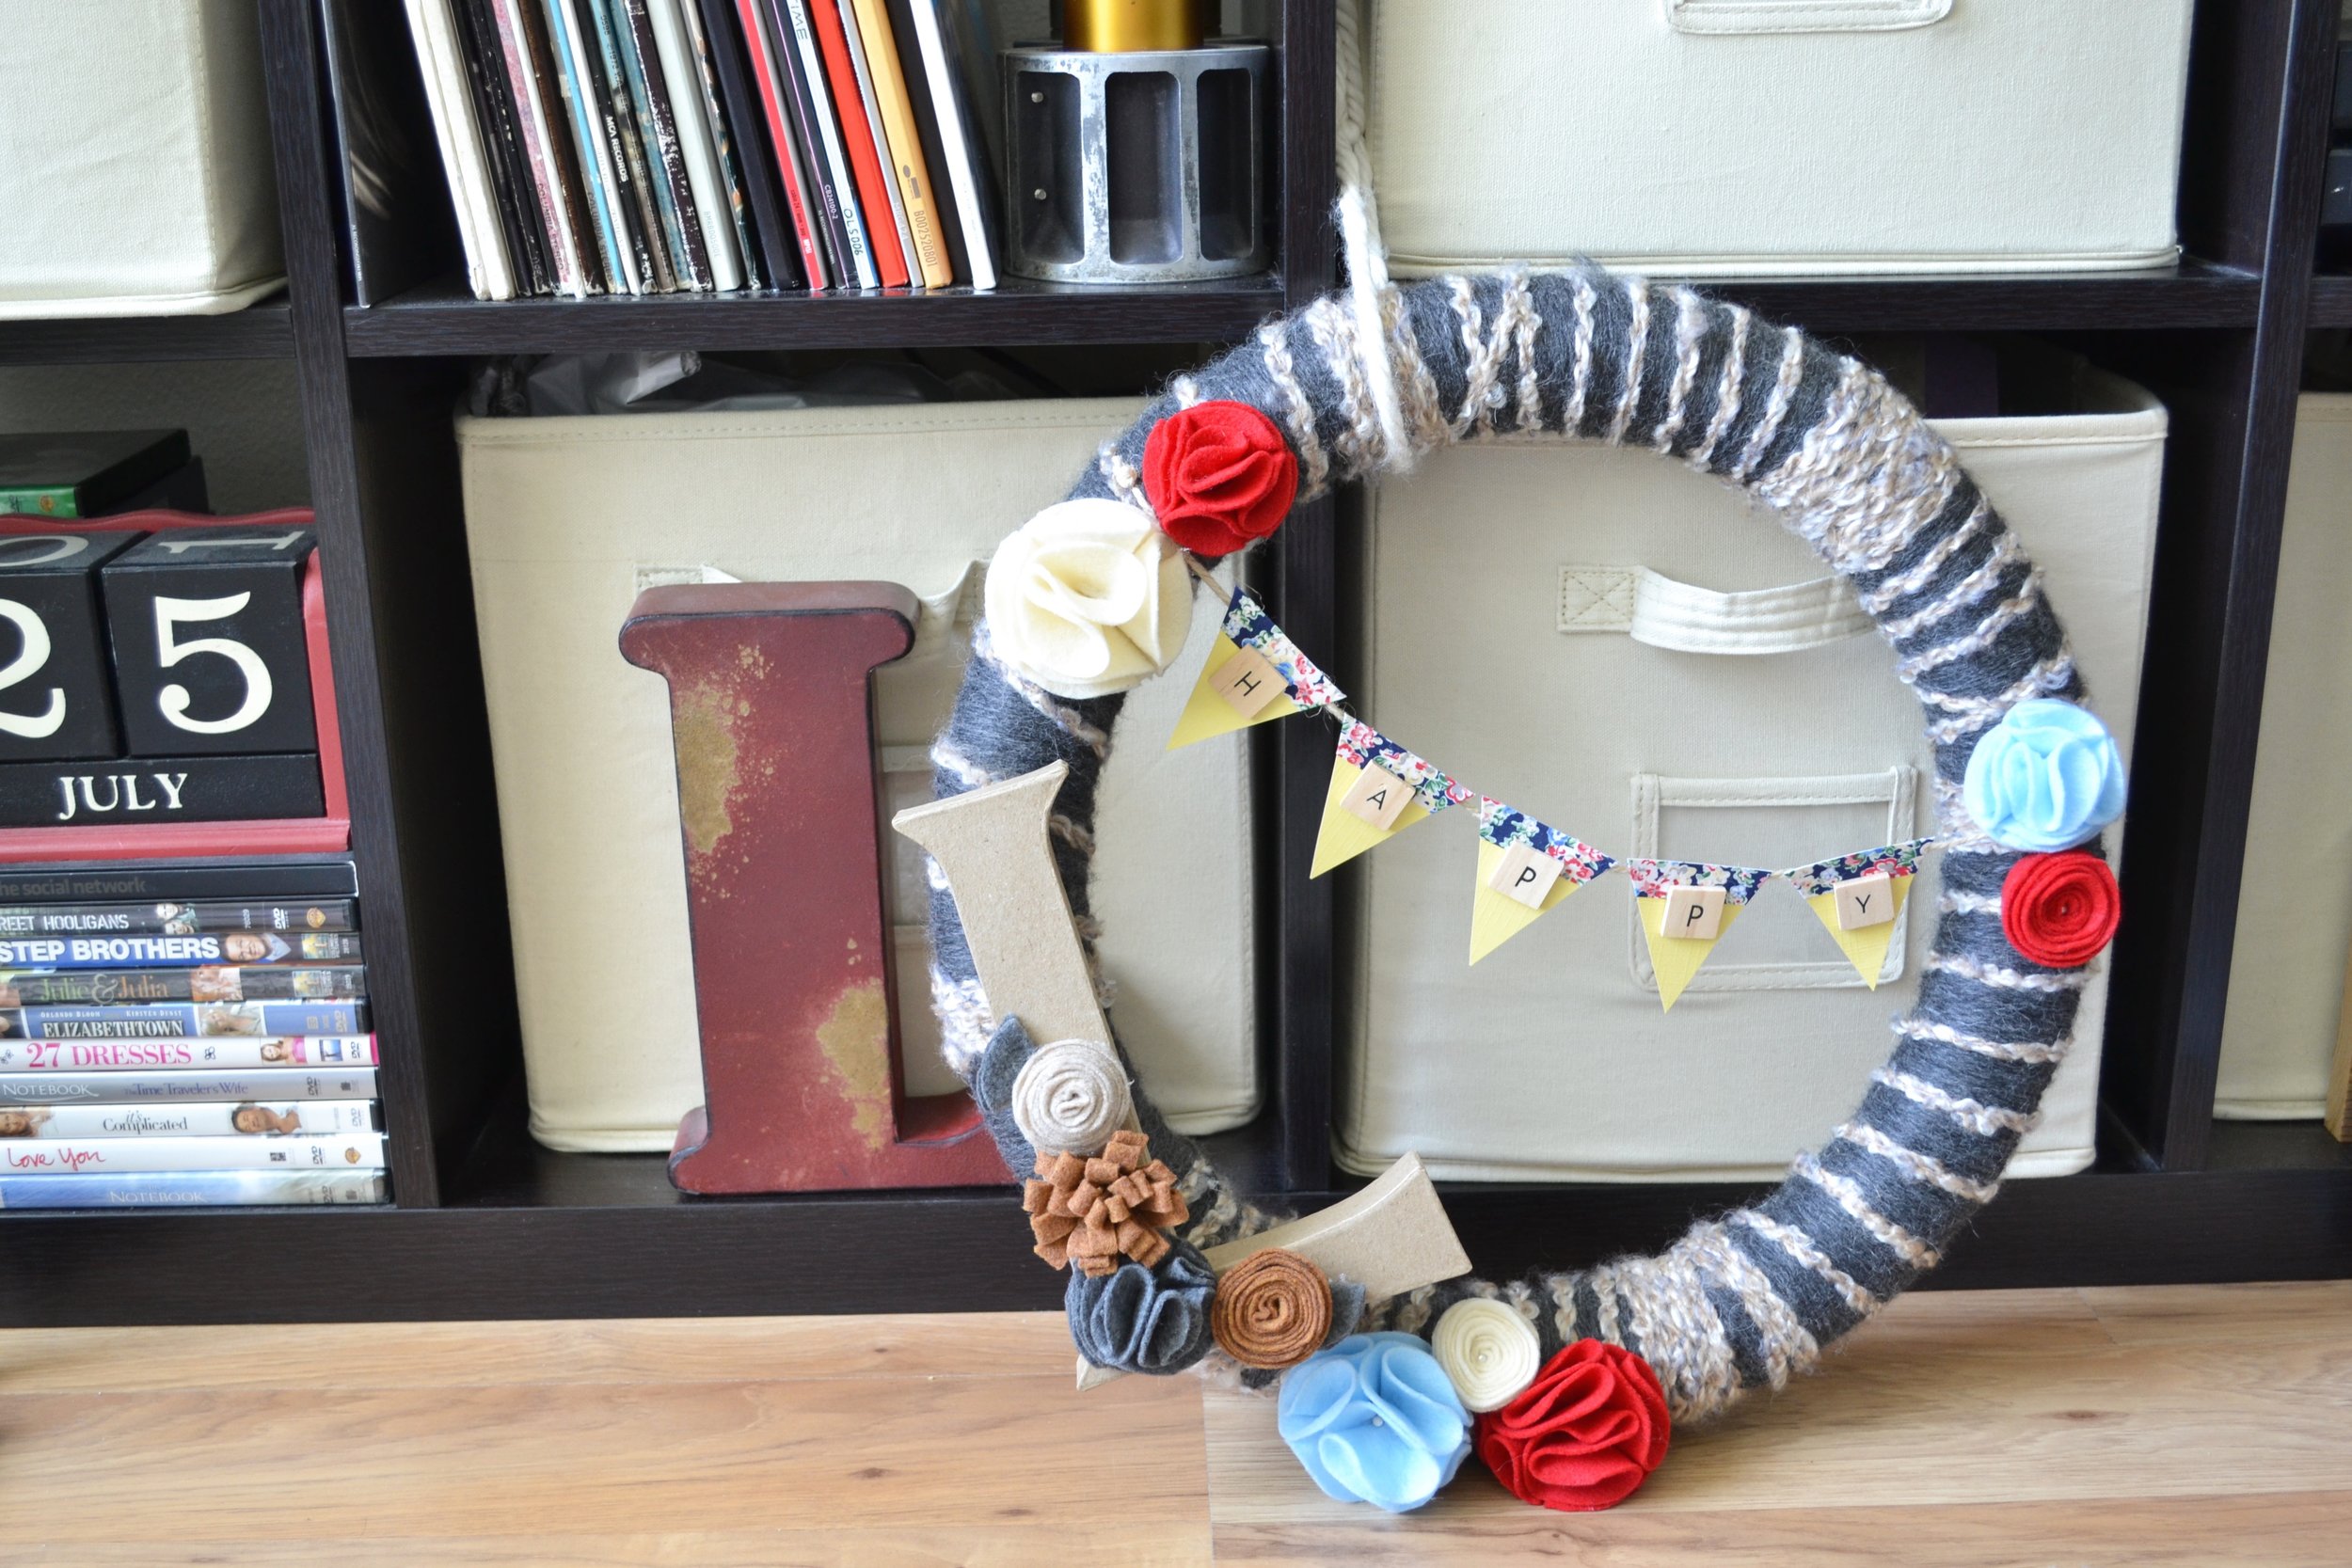
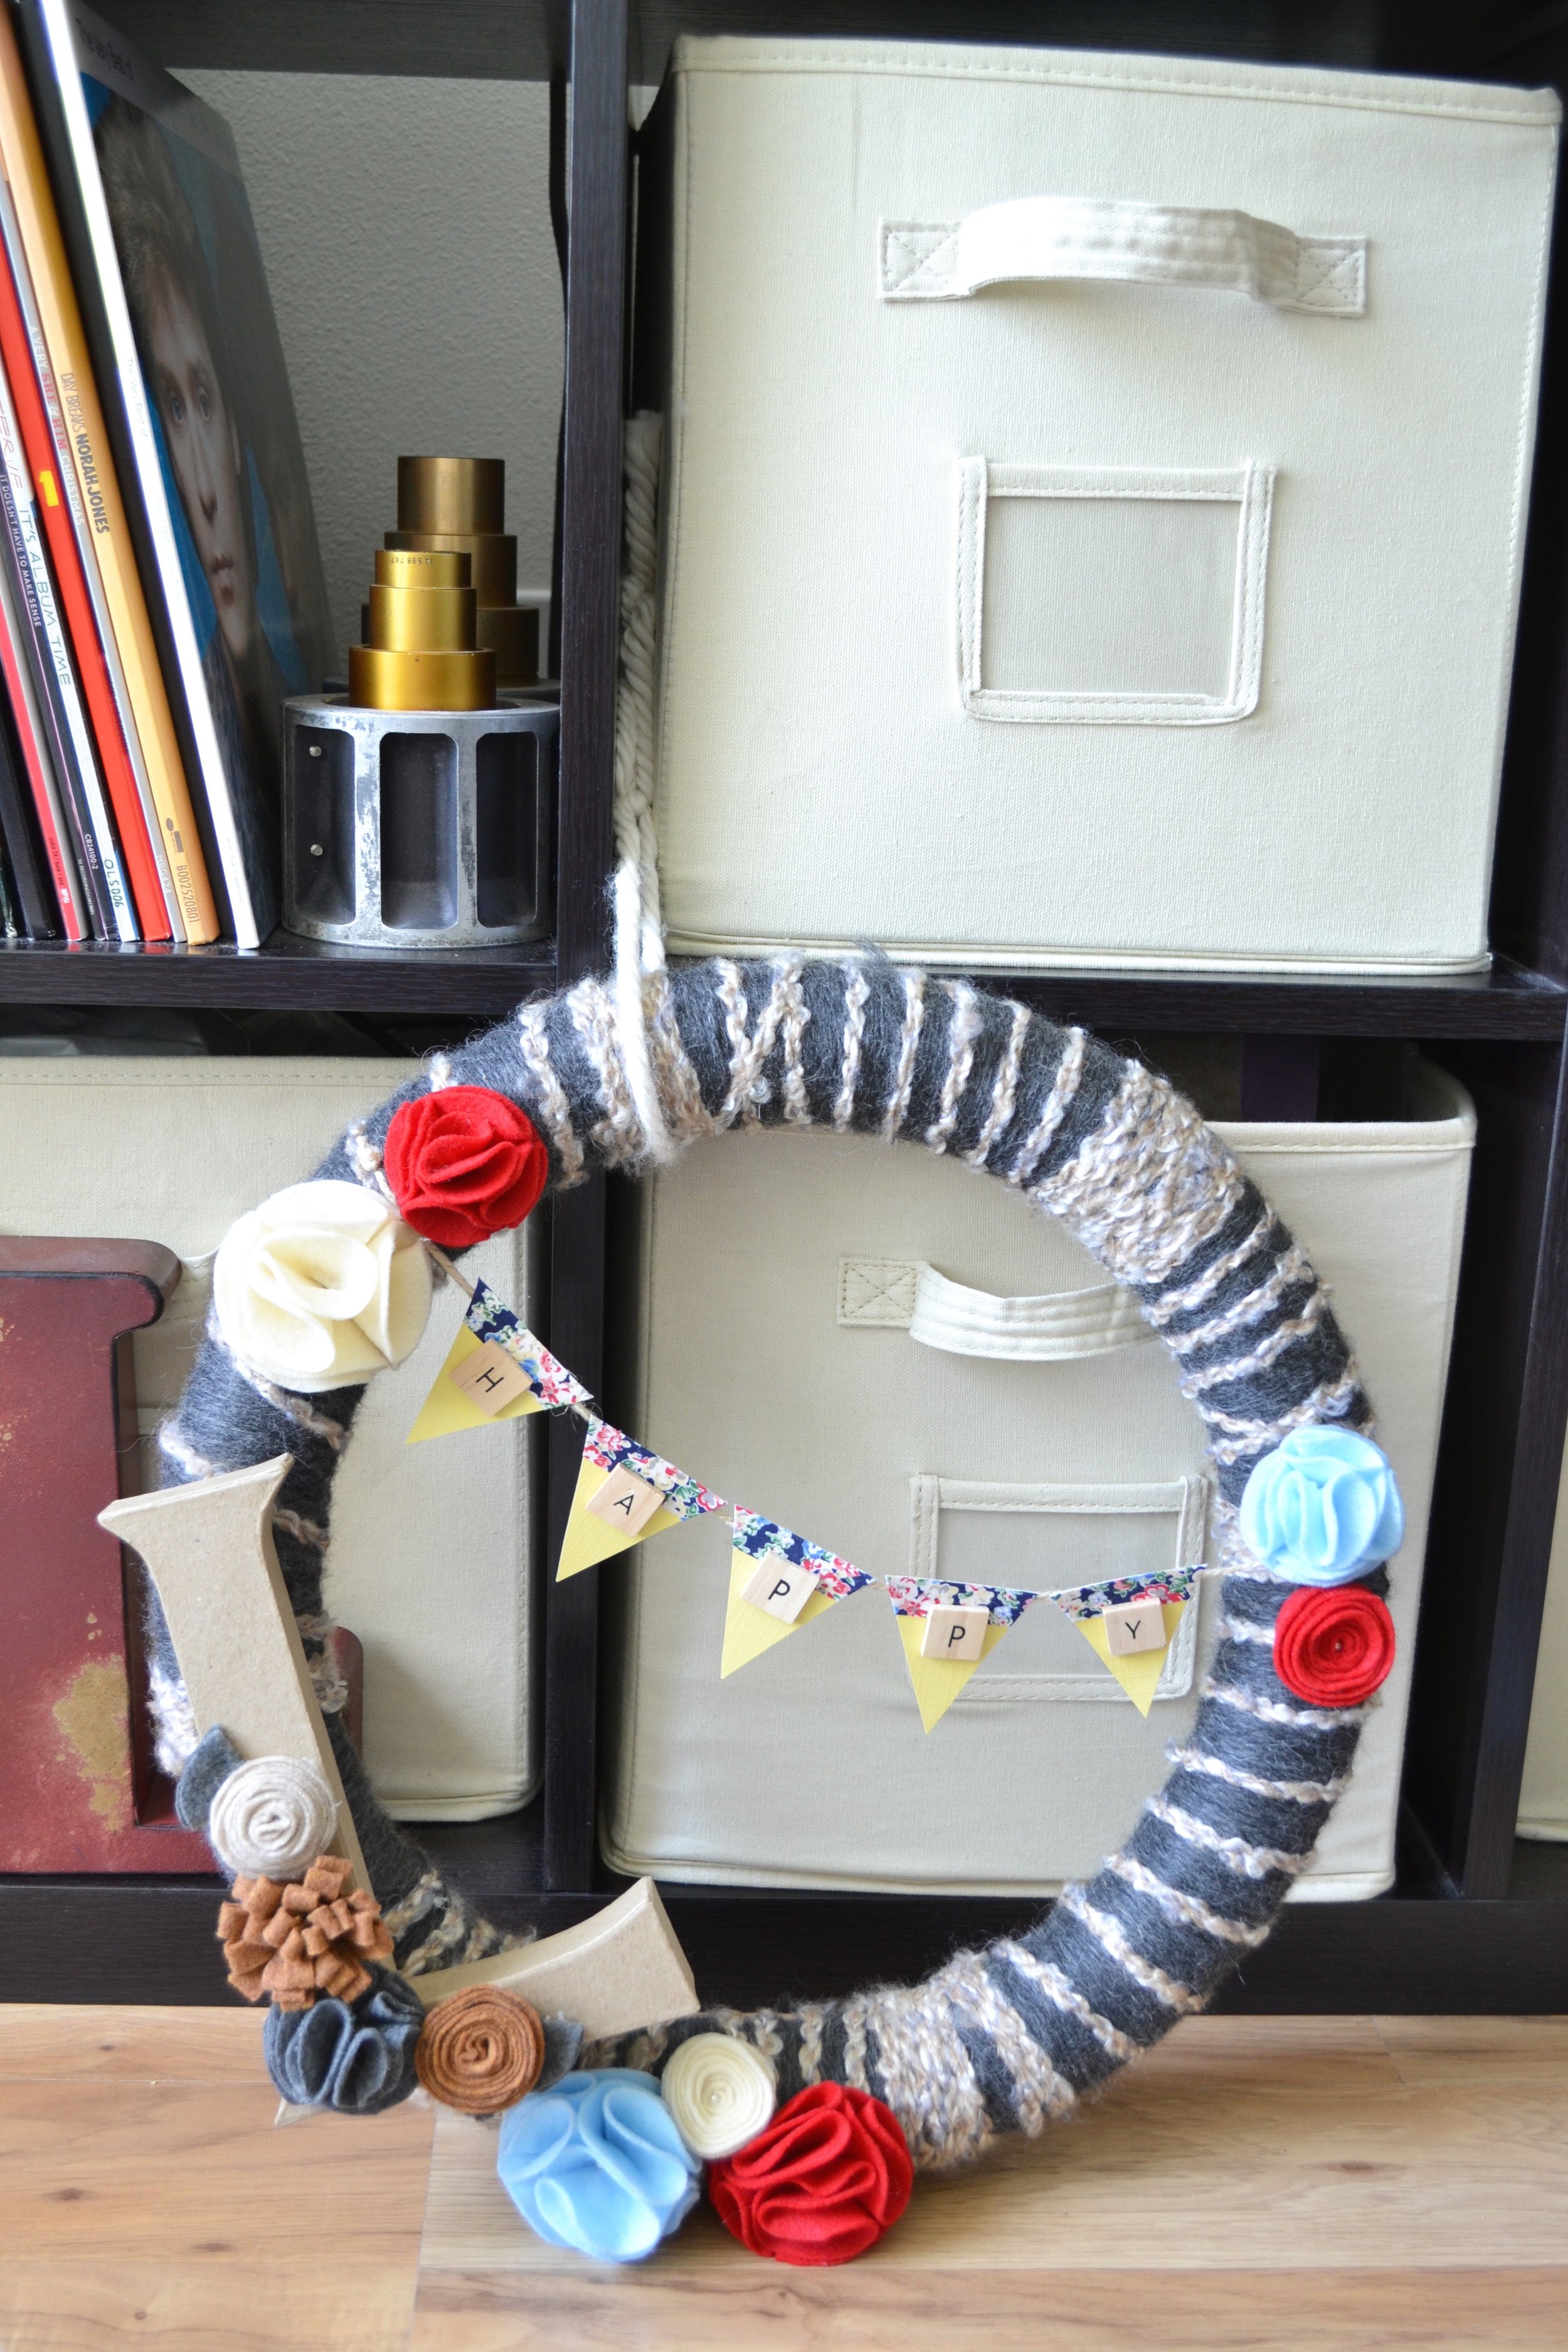
That being said, I still wanted each wreath to have its own personality, so I created 3 letter "Ls" - one for spring, one for fall, and a neutral one I could use all year long. To attach them, I cut out twelve square pieces of velcro, attached three of one side to the wreath and three of the other side to each of the Ls. Because this was such a fun project, I will probably end up buying more Ls and decorate them for summer and Christmas.

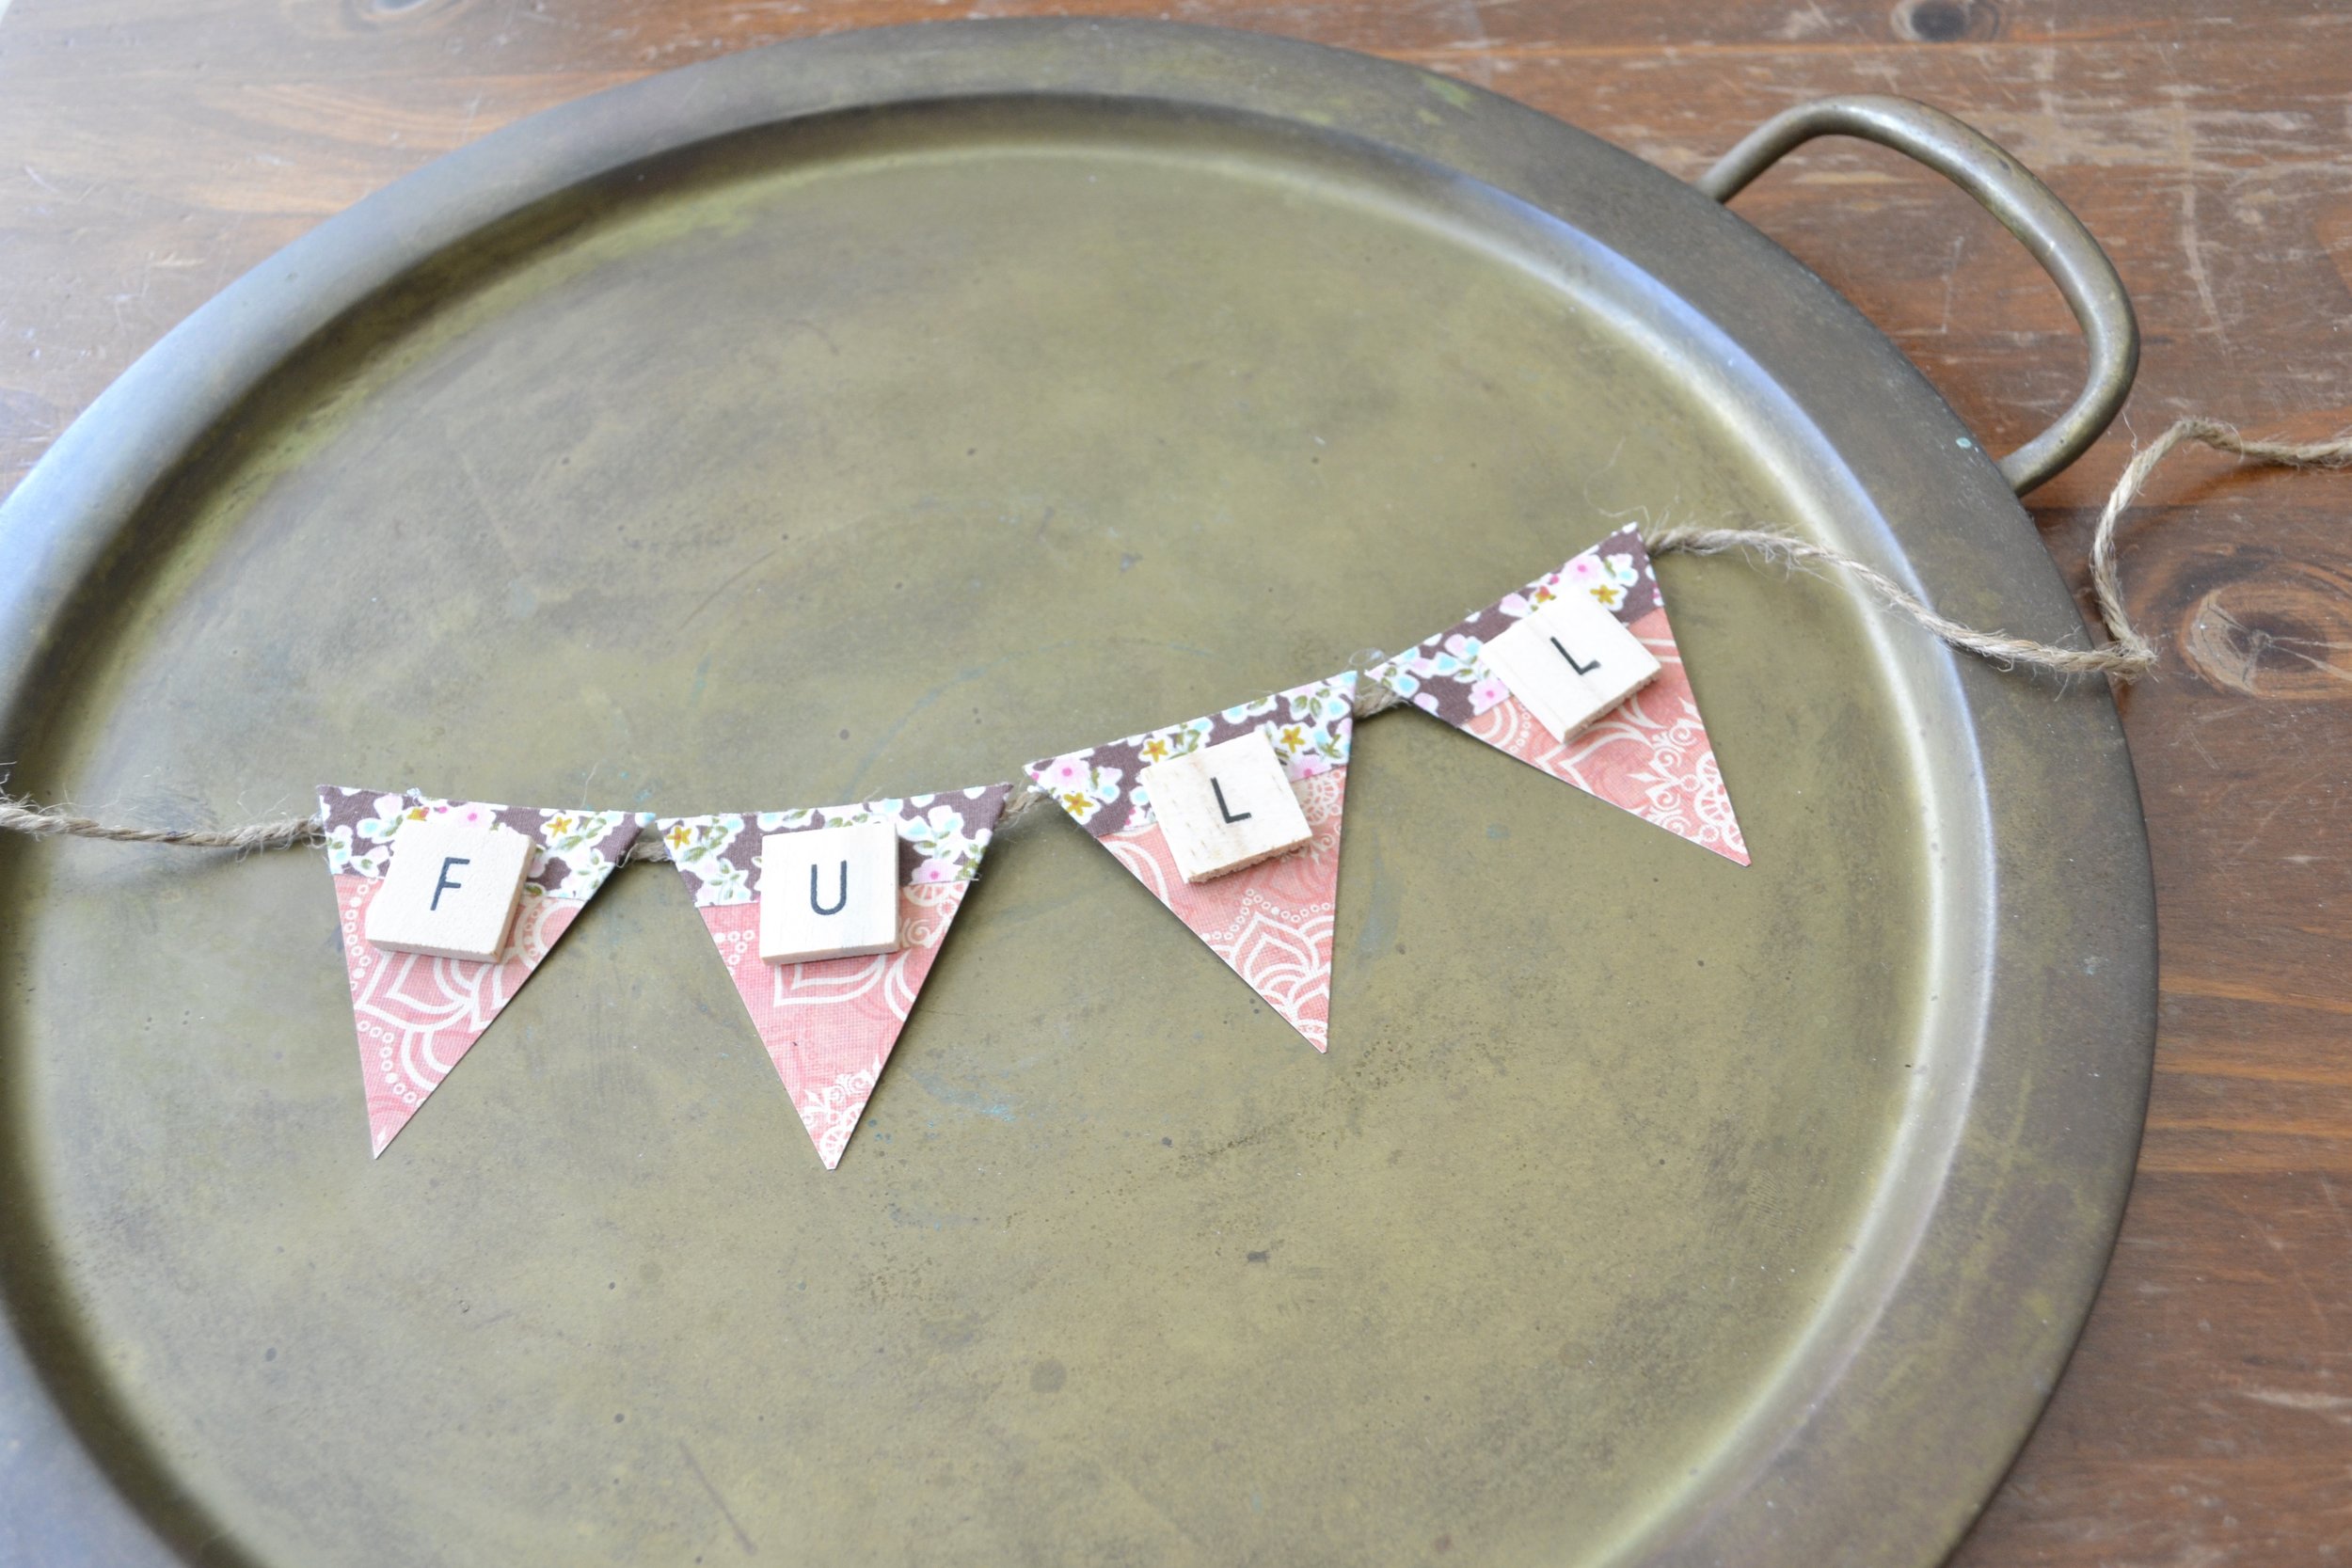
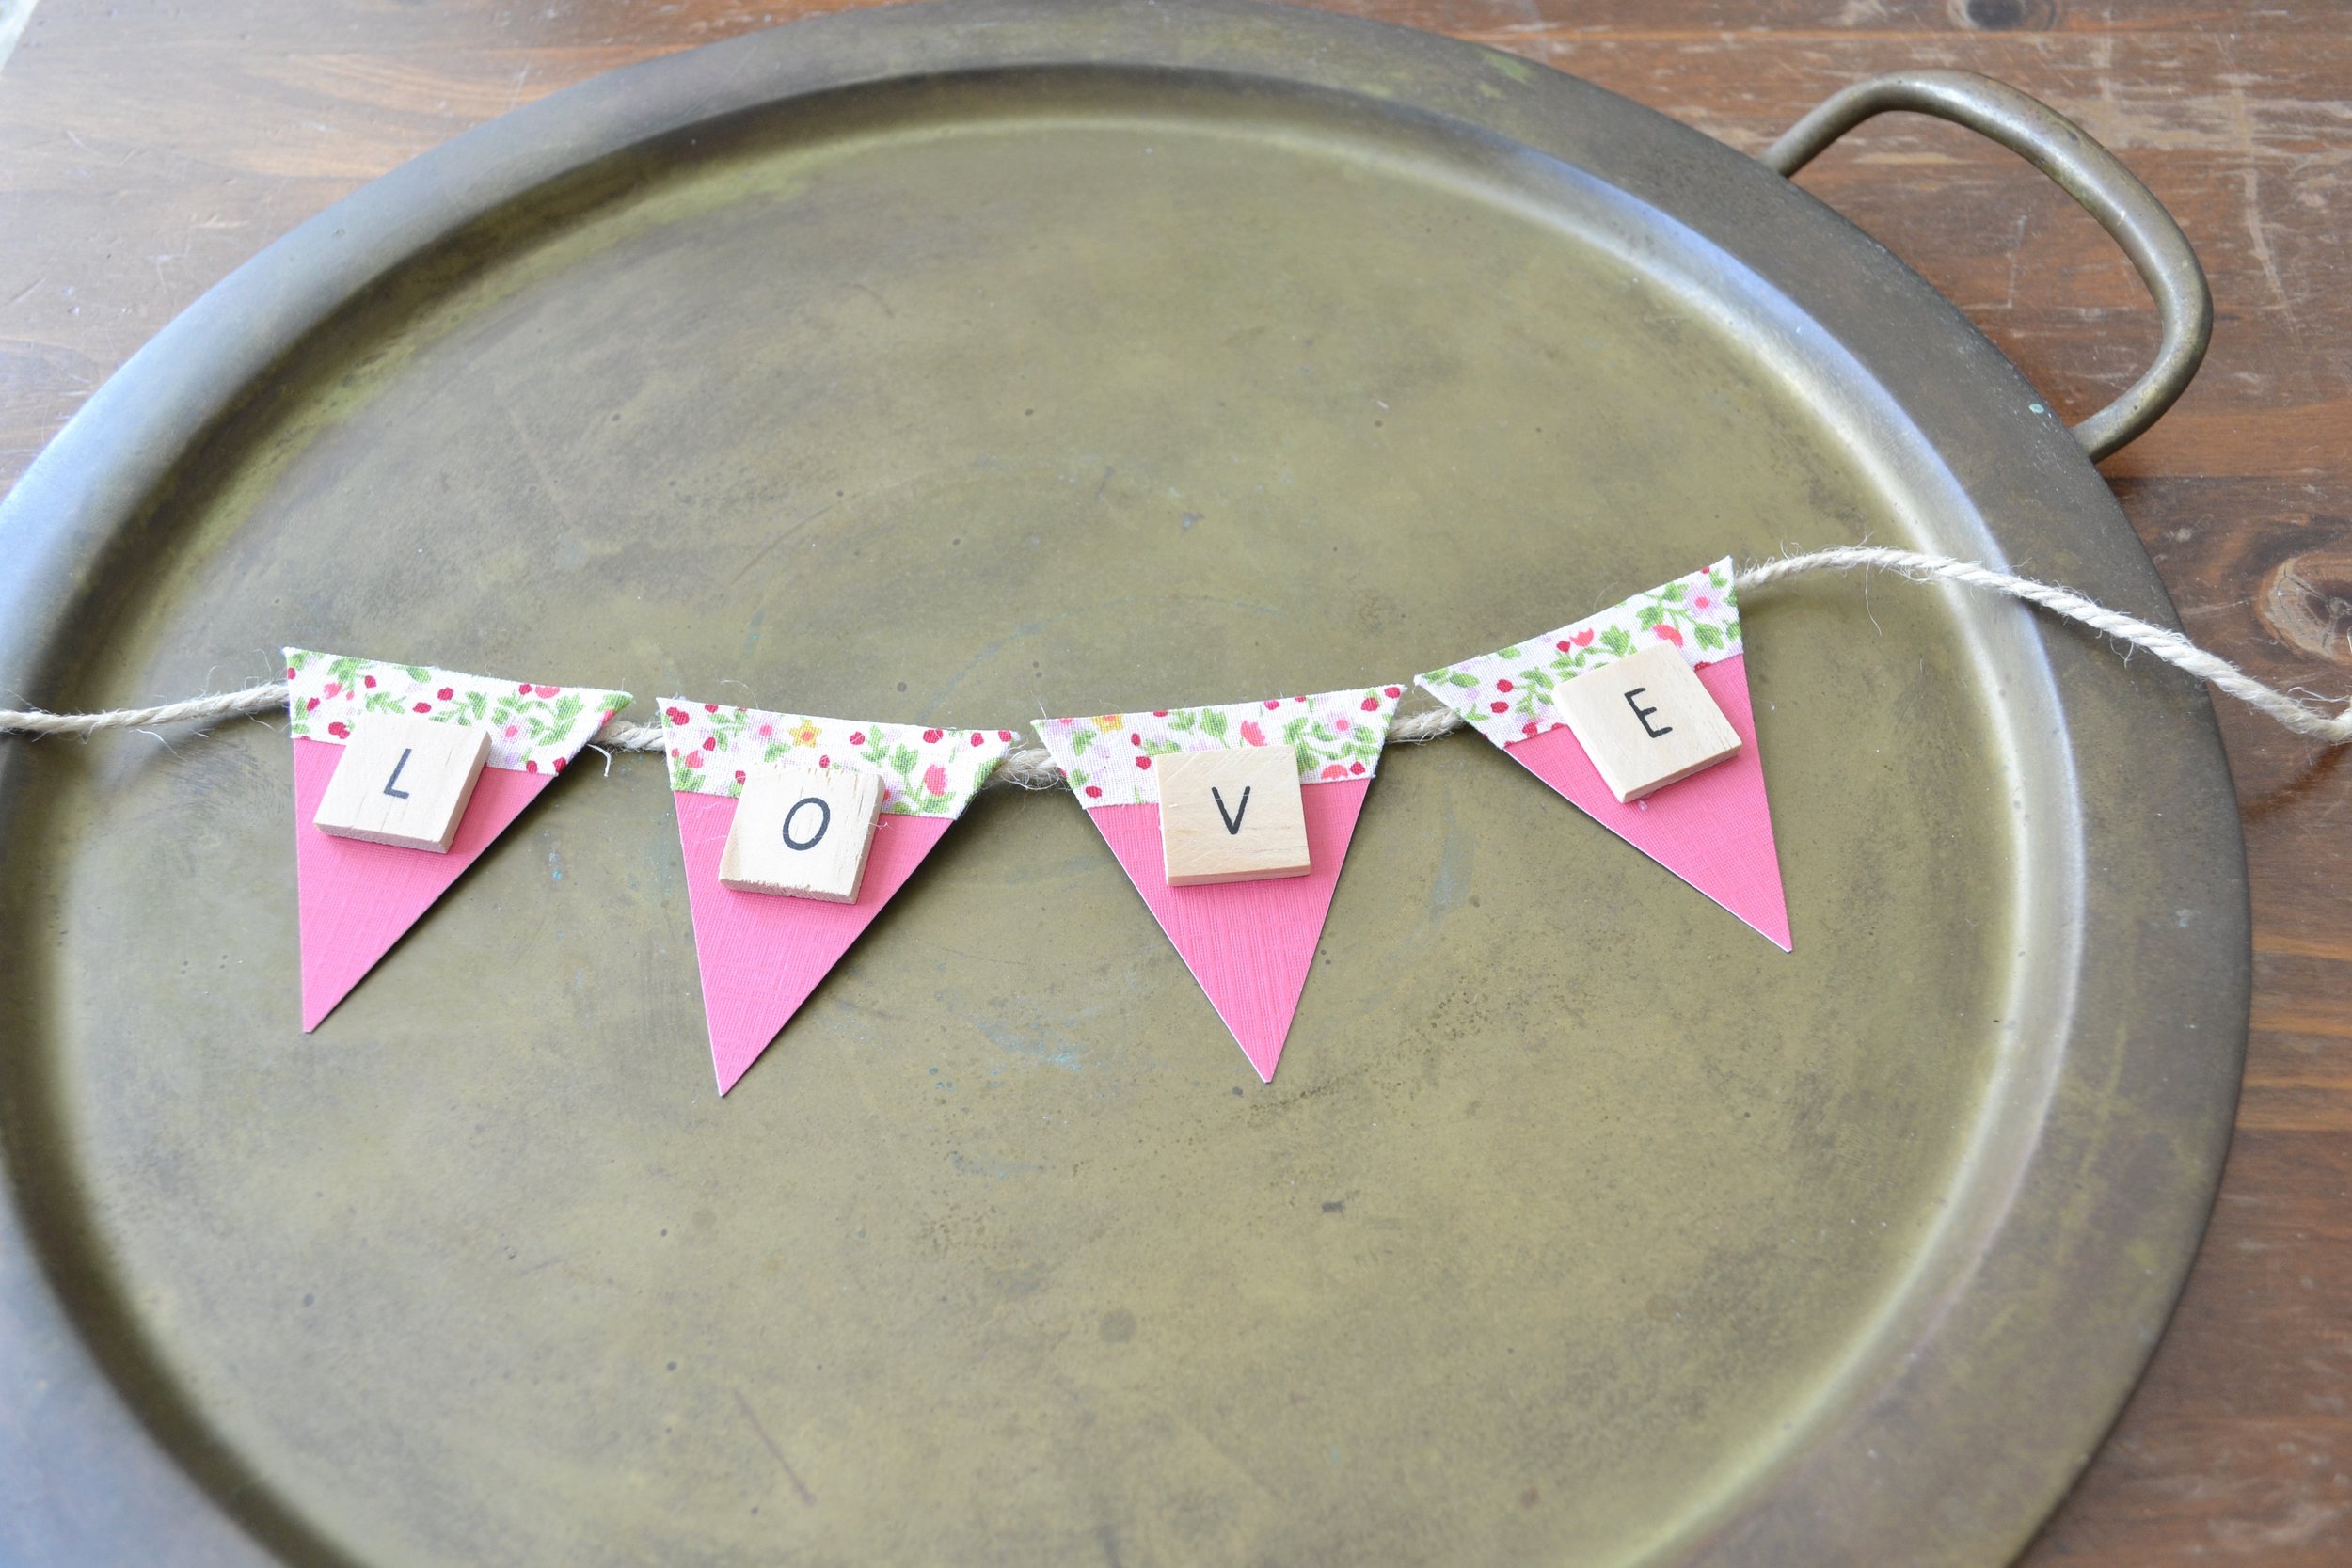
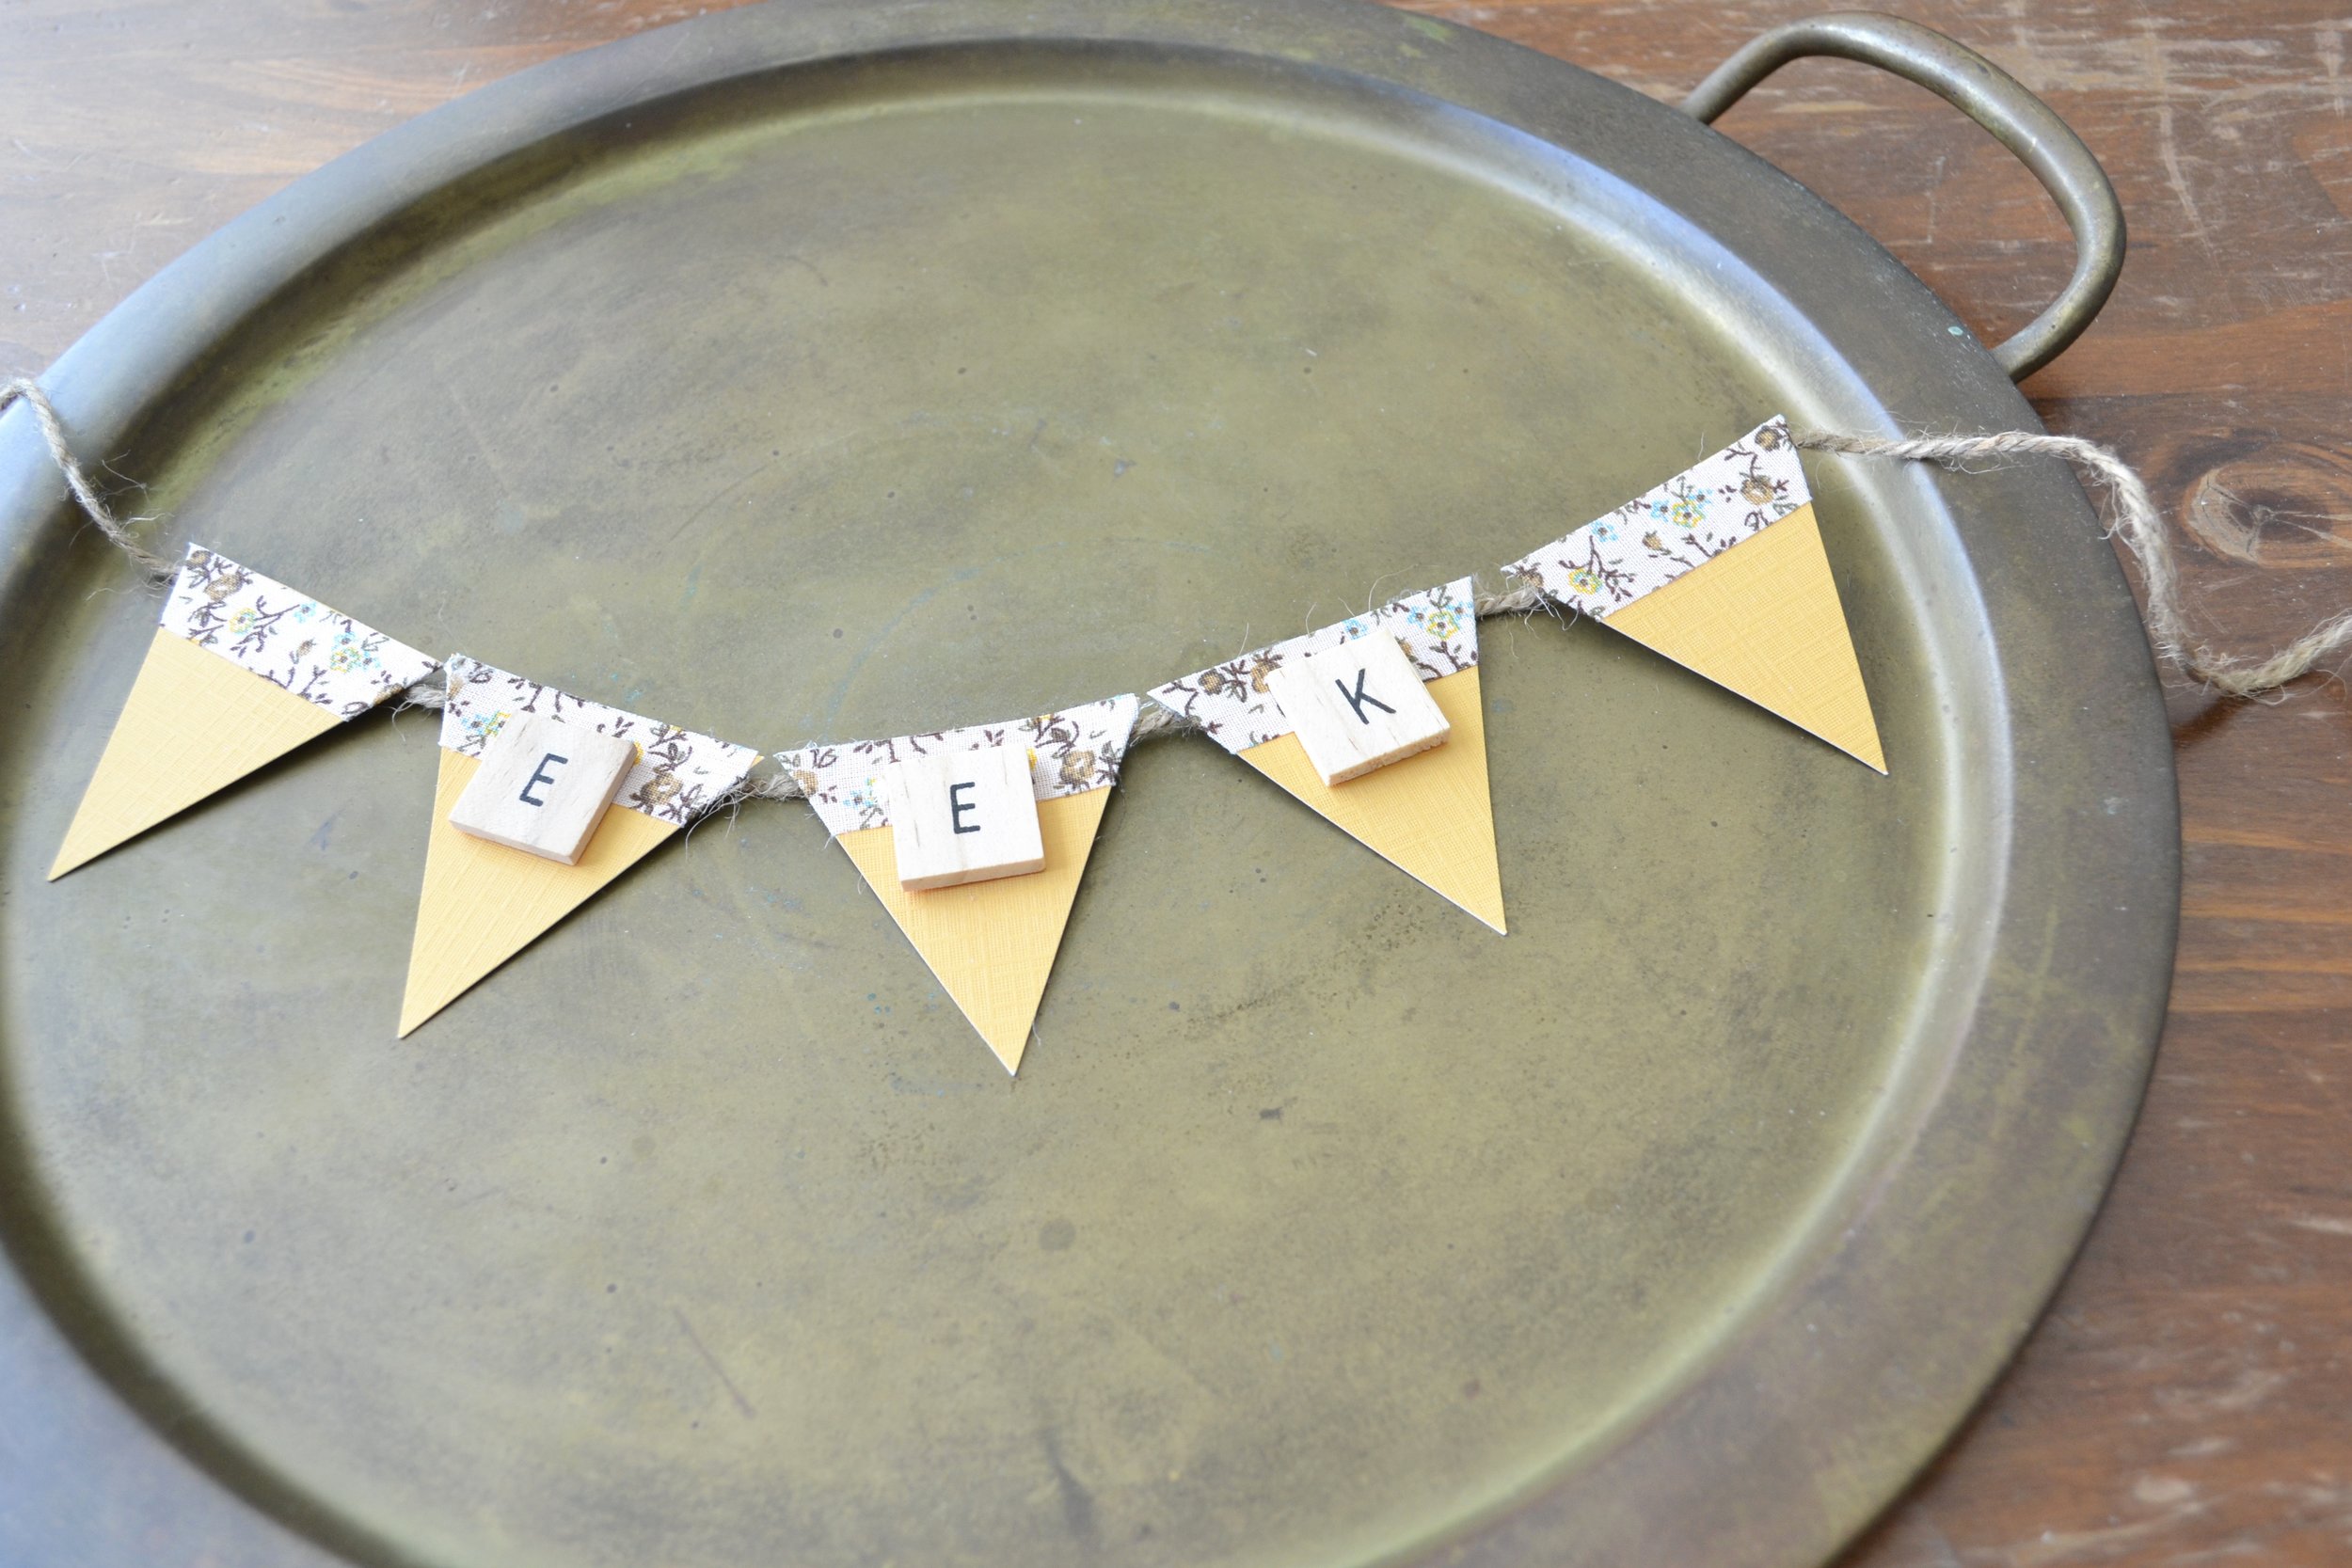
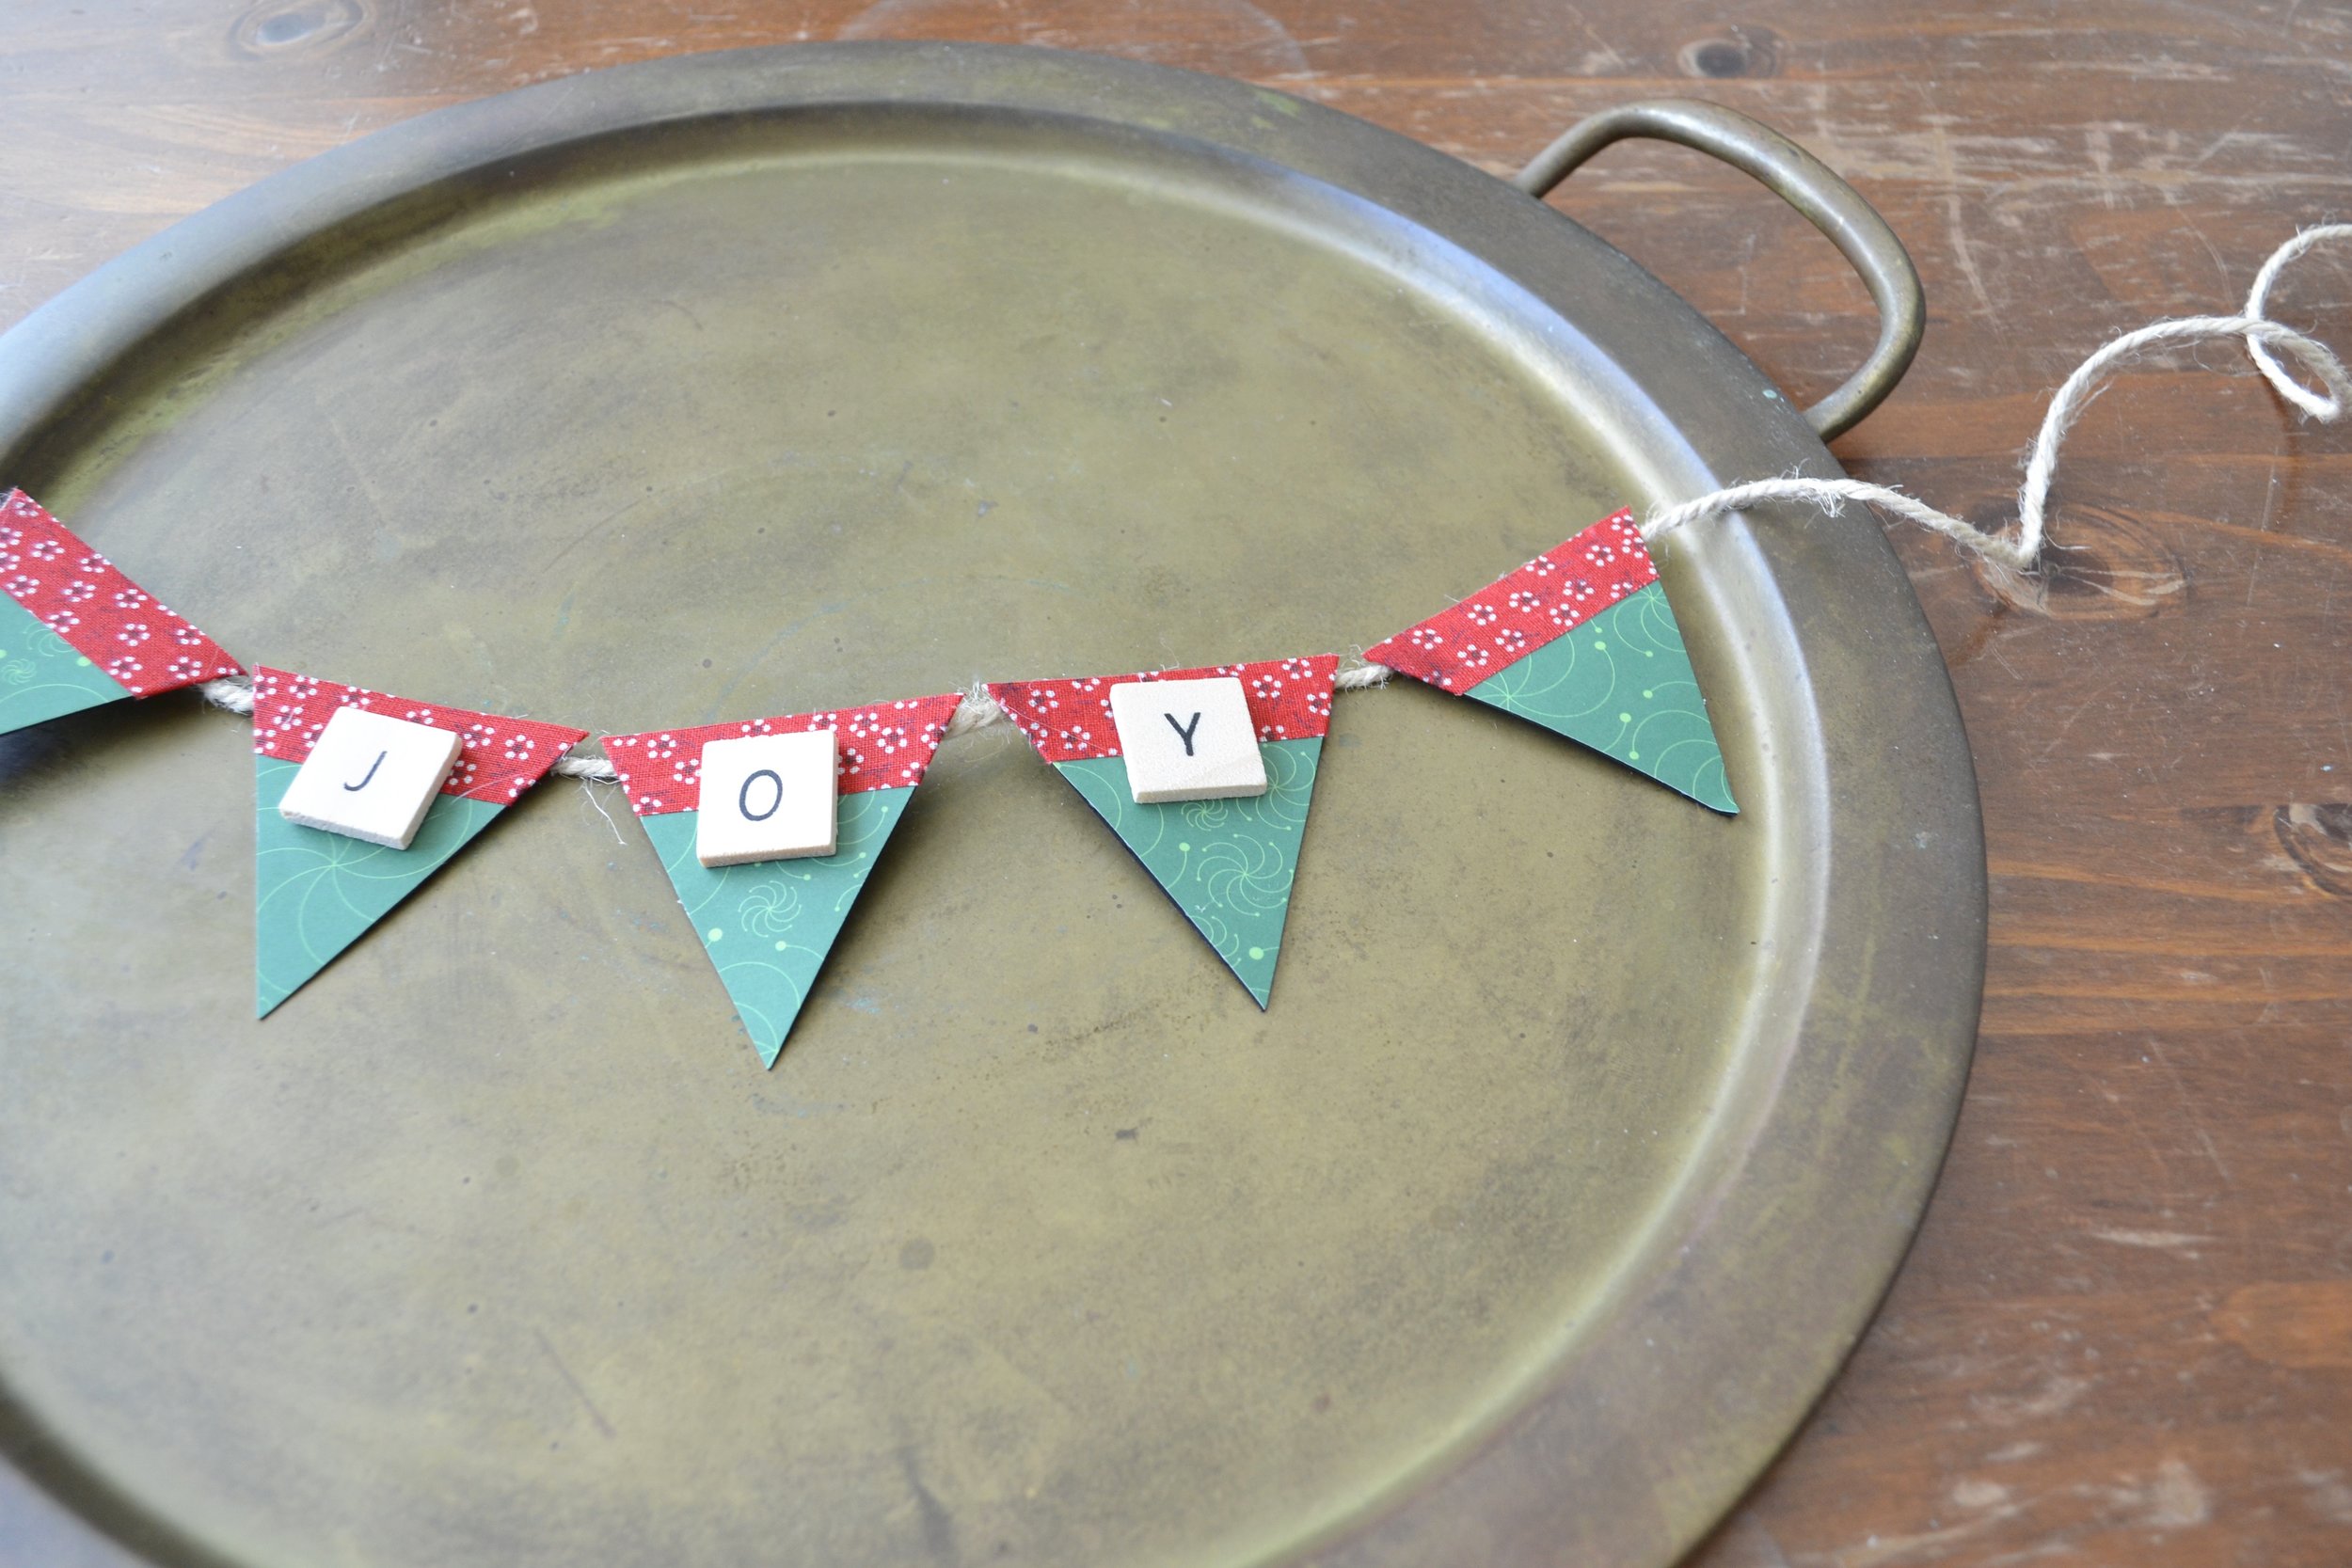
Candace helped me create the charming little banners, which, in my opinion, totally pull everything together. We found the cutest fabric tape on sale and purchased a small pad of sturdy card stock that came with a ton of different colors. As the year goes on, I can't wait to update you with my Halloween, fall, and holiday wreaths!

Make your own all-season wreath!

Supplies you'll need:

  1. Styrofoam floral wreath

  2. Yarn in colors that match your home decor

  3. About 20 pieces of felt in a wide array of colors

  4. 3-4 medium density fiberboard letters

  5. Card stock in various colors

  6. Fabric tape in various colors and patterns

  7. Scrabble piece letters

  8. Sewing pins to attach the flowers and banners (I used these)

  9. Misc: scissors, hot glue gun, twine, lids or jars to measure circles on the felt